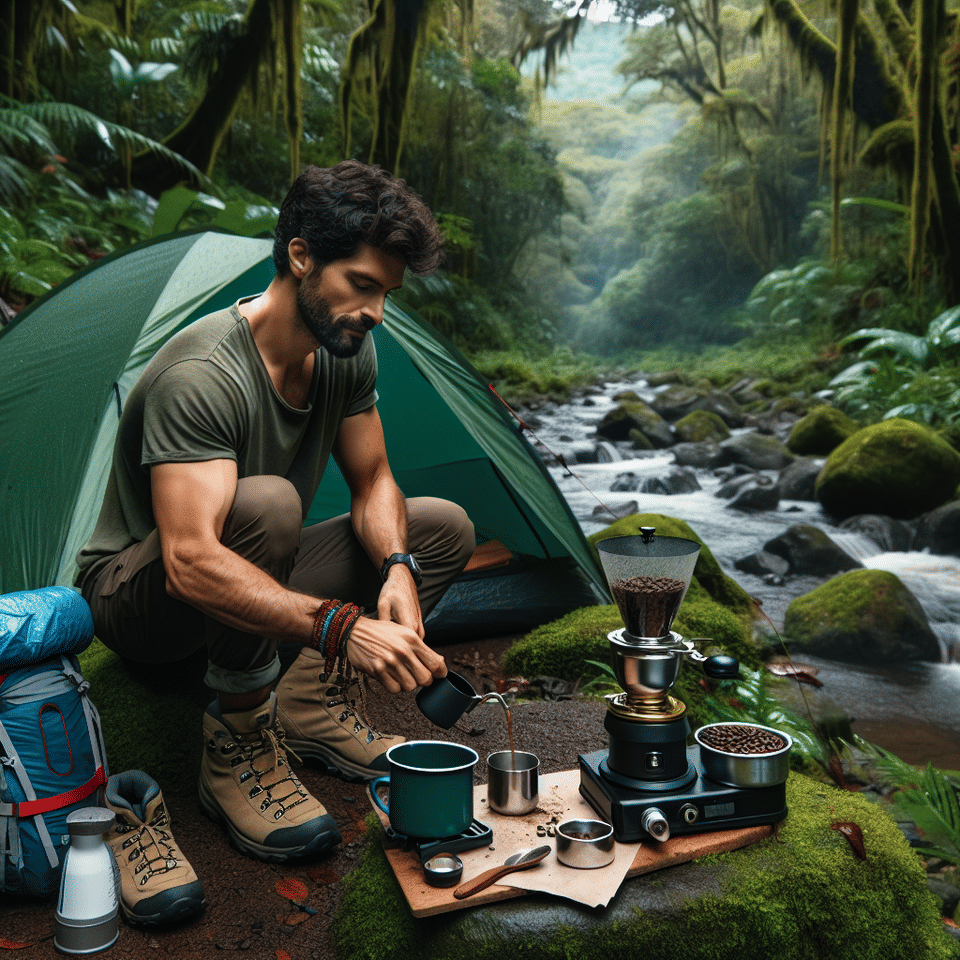

There's a certain magic in sipping a perfectly brewed cup of coffee while surrounded by the tranquility of the backcountry. The aroma alone is enough to stir the soul, and the first sip? Pure wilderness bliss. But how does one achieve barista-level excellence with nothing more than a backpacking stove and the great outdoors as your café? It’s simpler than you might think, and I'm here to guide you through crafting that impeccable cup of Joe amid nature's splendor.
Choosing Your Coffee Brewing Method
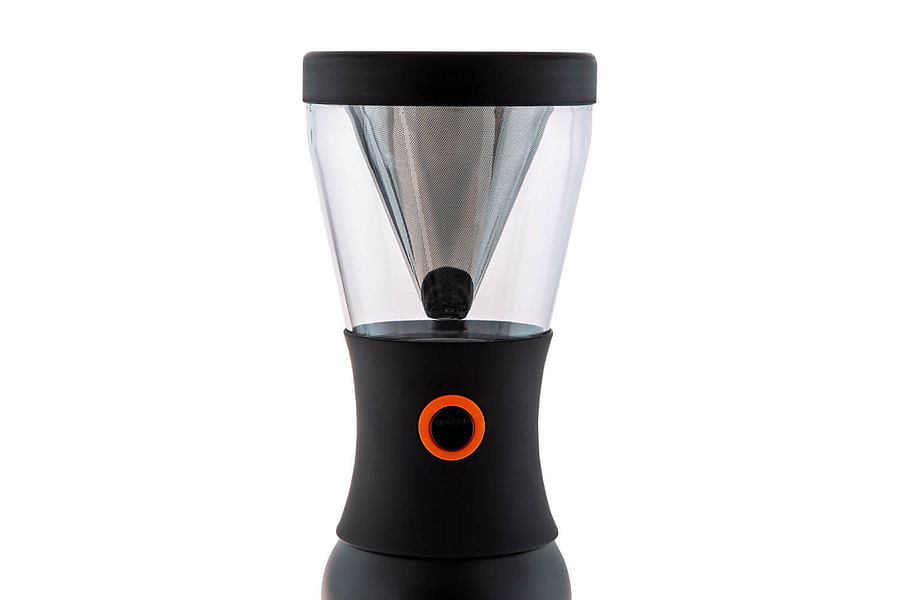
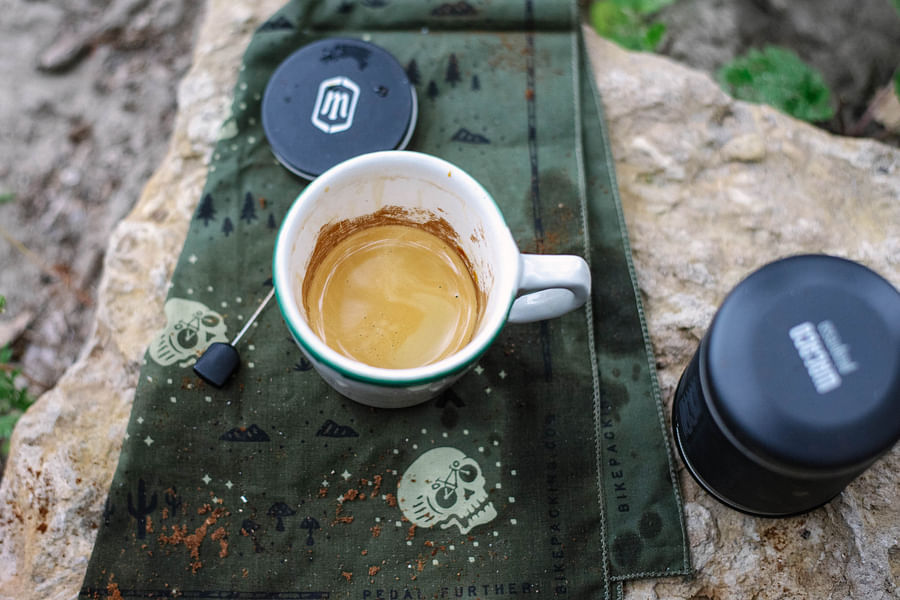
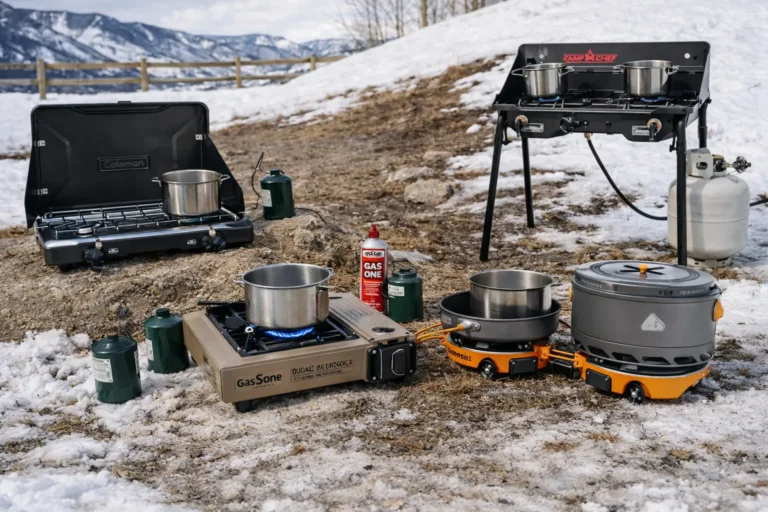
First things first: selecting your brewing method is critical. Will it be a classic drip, a robust French press, or perhaps an espresso for those who prefer a concentrated punch? Each method has its own charm and requires specific tools. For the weight-conscious trekker, an ultralight drip filter is ideal, while others might prefer the fuller body that a portable French press delivers. And for espresso enthusiasts, there are now compact devices designed specifically for backpacking that don't skimp on pressure.
Portable Brew Methods
- French Press - A classic method that involves steeping coffee grounds in hot water before pressing down the filter.
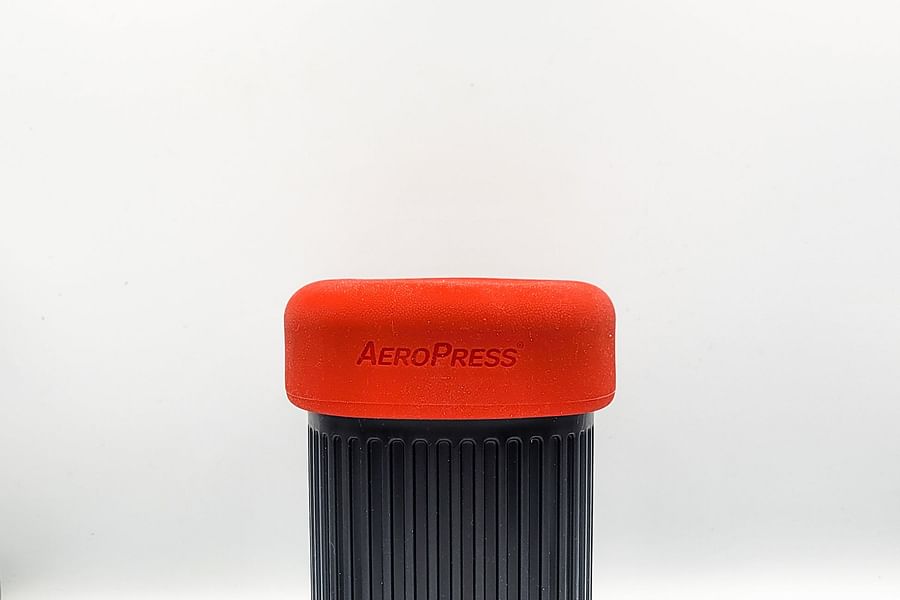
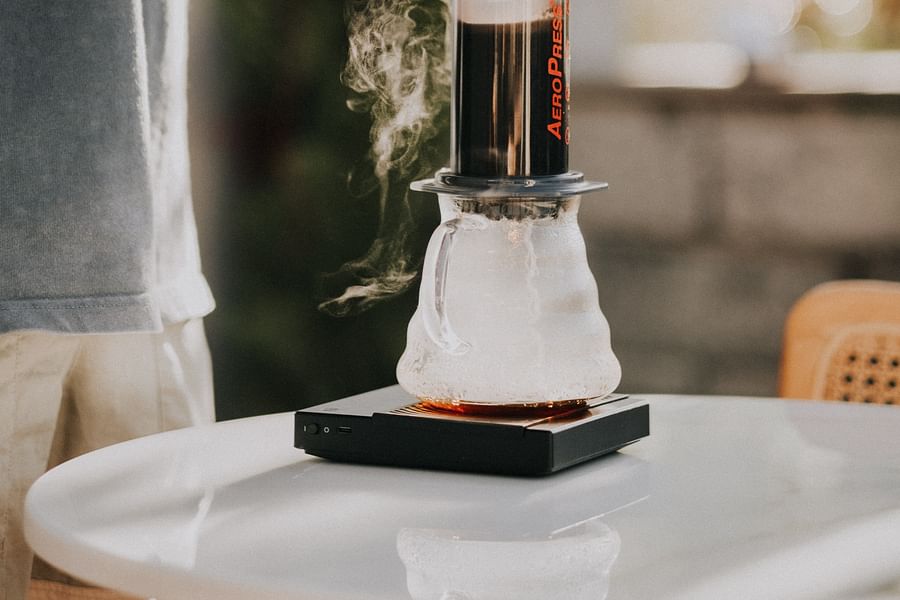
- AeroPress - A compact, lightweight device that uses air pressure to push hot water through coffee grounds.
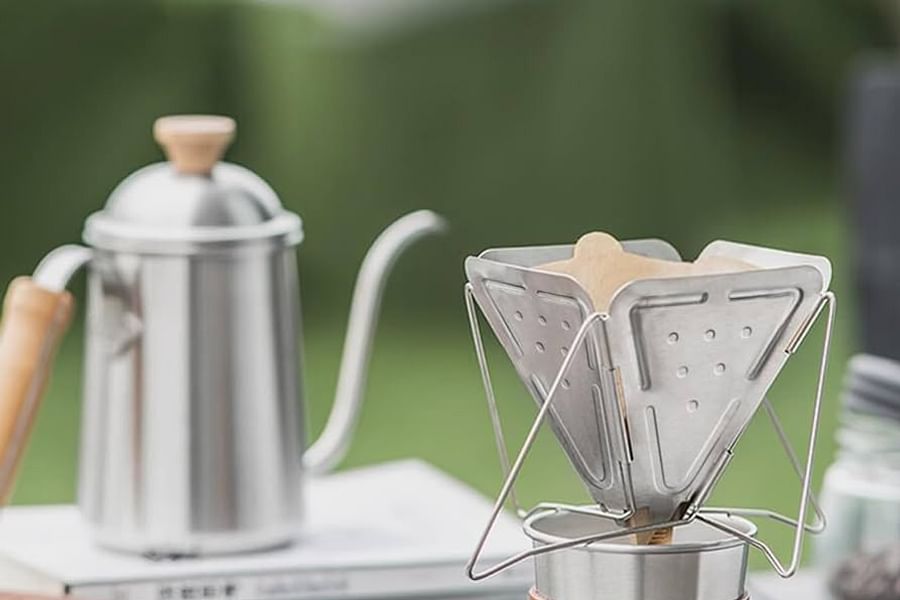
- Pour-Over - Requires a cone-shaped dripper and filter, allowing hot water to drip through coffee grounds into a cup.
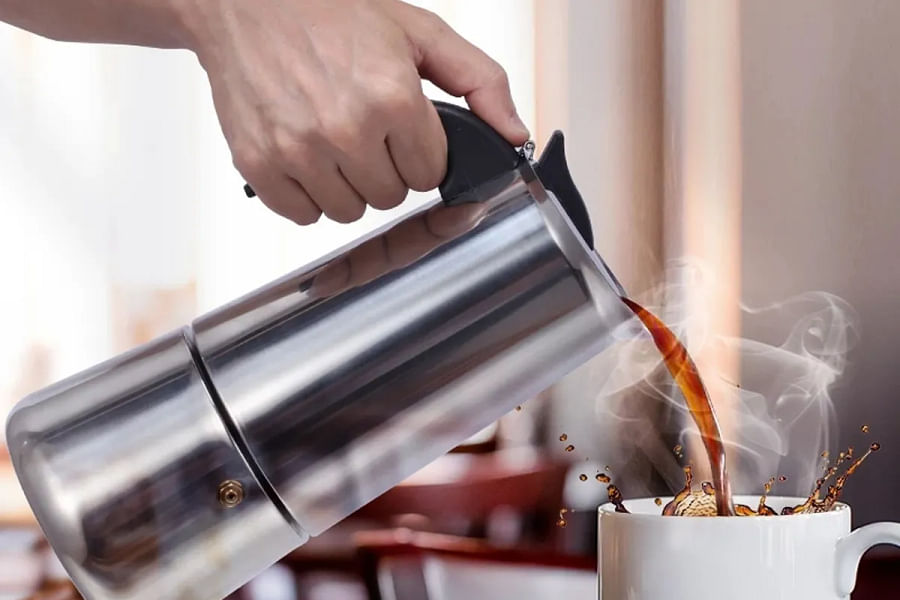
- Moka Pot - An Italian stovetop espresso maker that brews coffee by passing boiling water pressurized by steam through ground coffee.
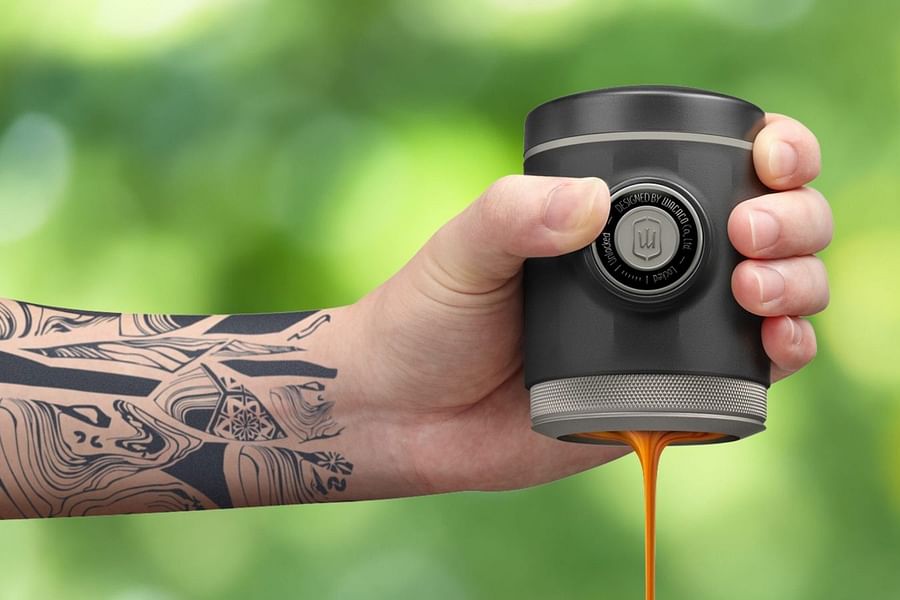
- Espresso Hand Press - A hand-operated espresso maker that forces hot water through finely-ground coffee to make a shot of espresso.
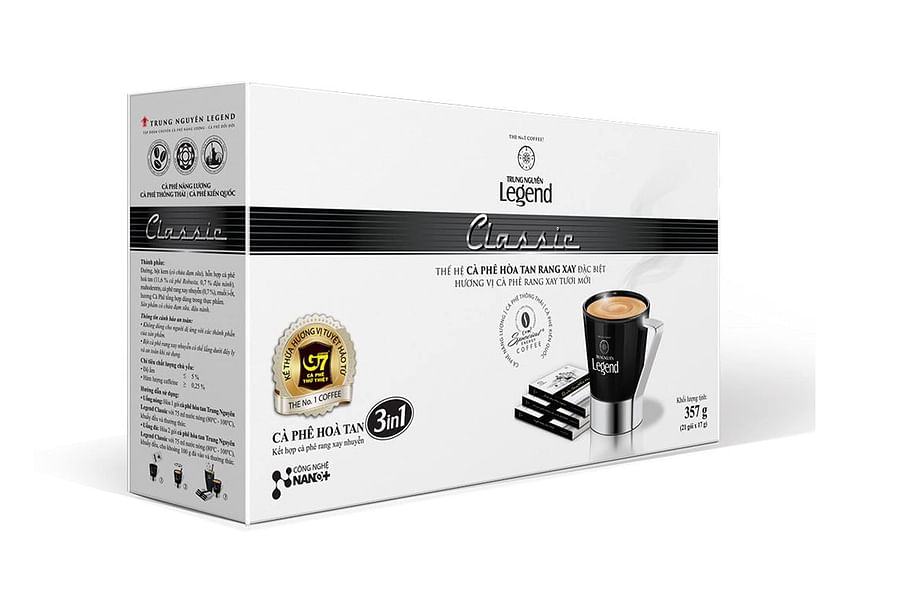
- Instant Coffee - The simplest method involving just adding hot water to pre-ground, freeze-dried coffee.
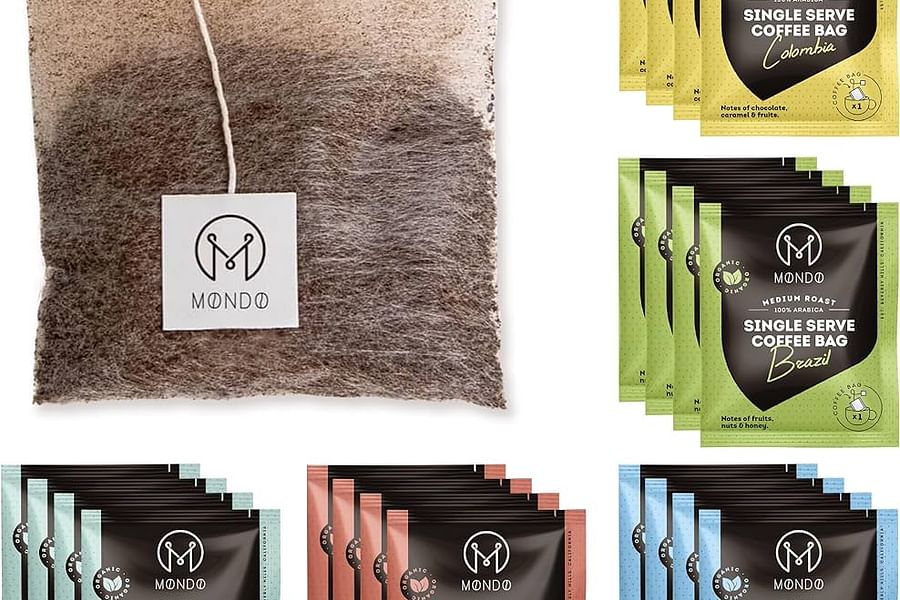
- Single-Serve Coffee Bags - Similar to tea bags, but filled with coffee grounds, steeped in hot water then removed.
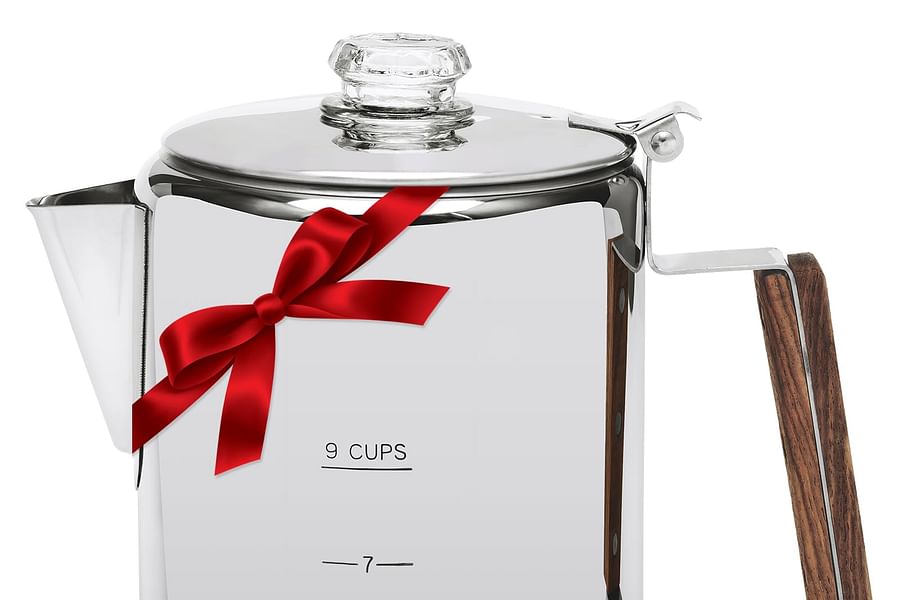
- Percolator - A pot that brews coffee by cycling boiling water through coffee grounds using gravity until the desired strength is reached.
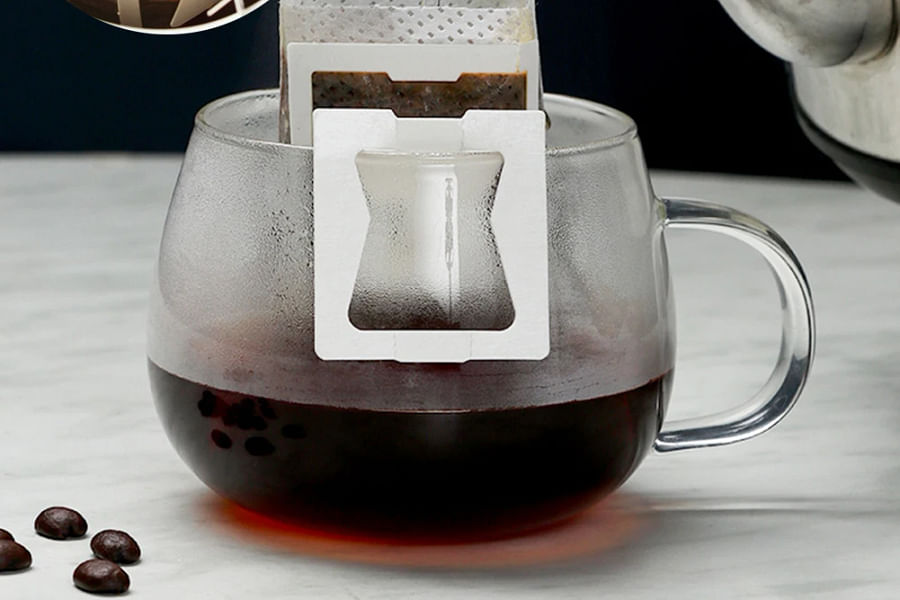
- Coffee Drip Bags - Convenient packets that hang on the rim of your mug, where hot water is poured through to brew the coffee.
- Cold Brew Bottle - A portable bottle that allows for cold brewing by steeping coffee grounds in cold water for an extended period.
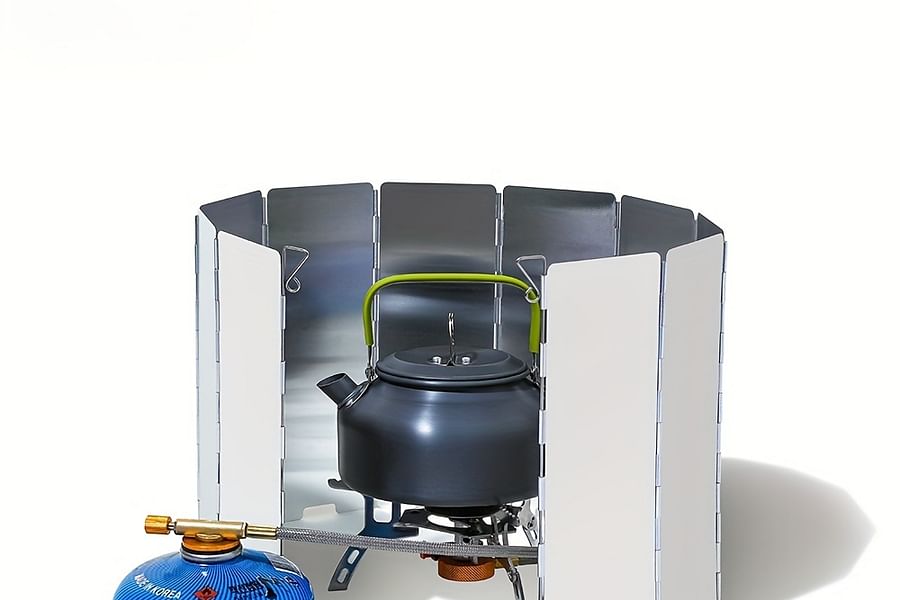
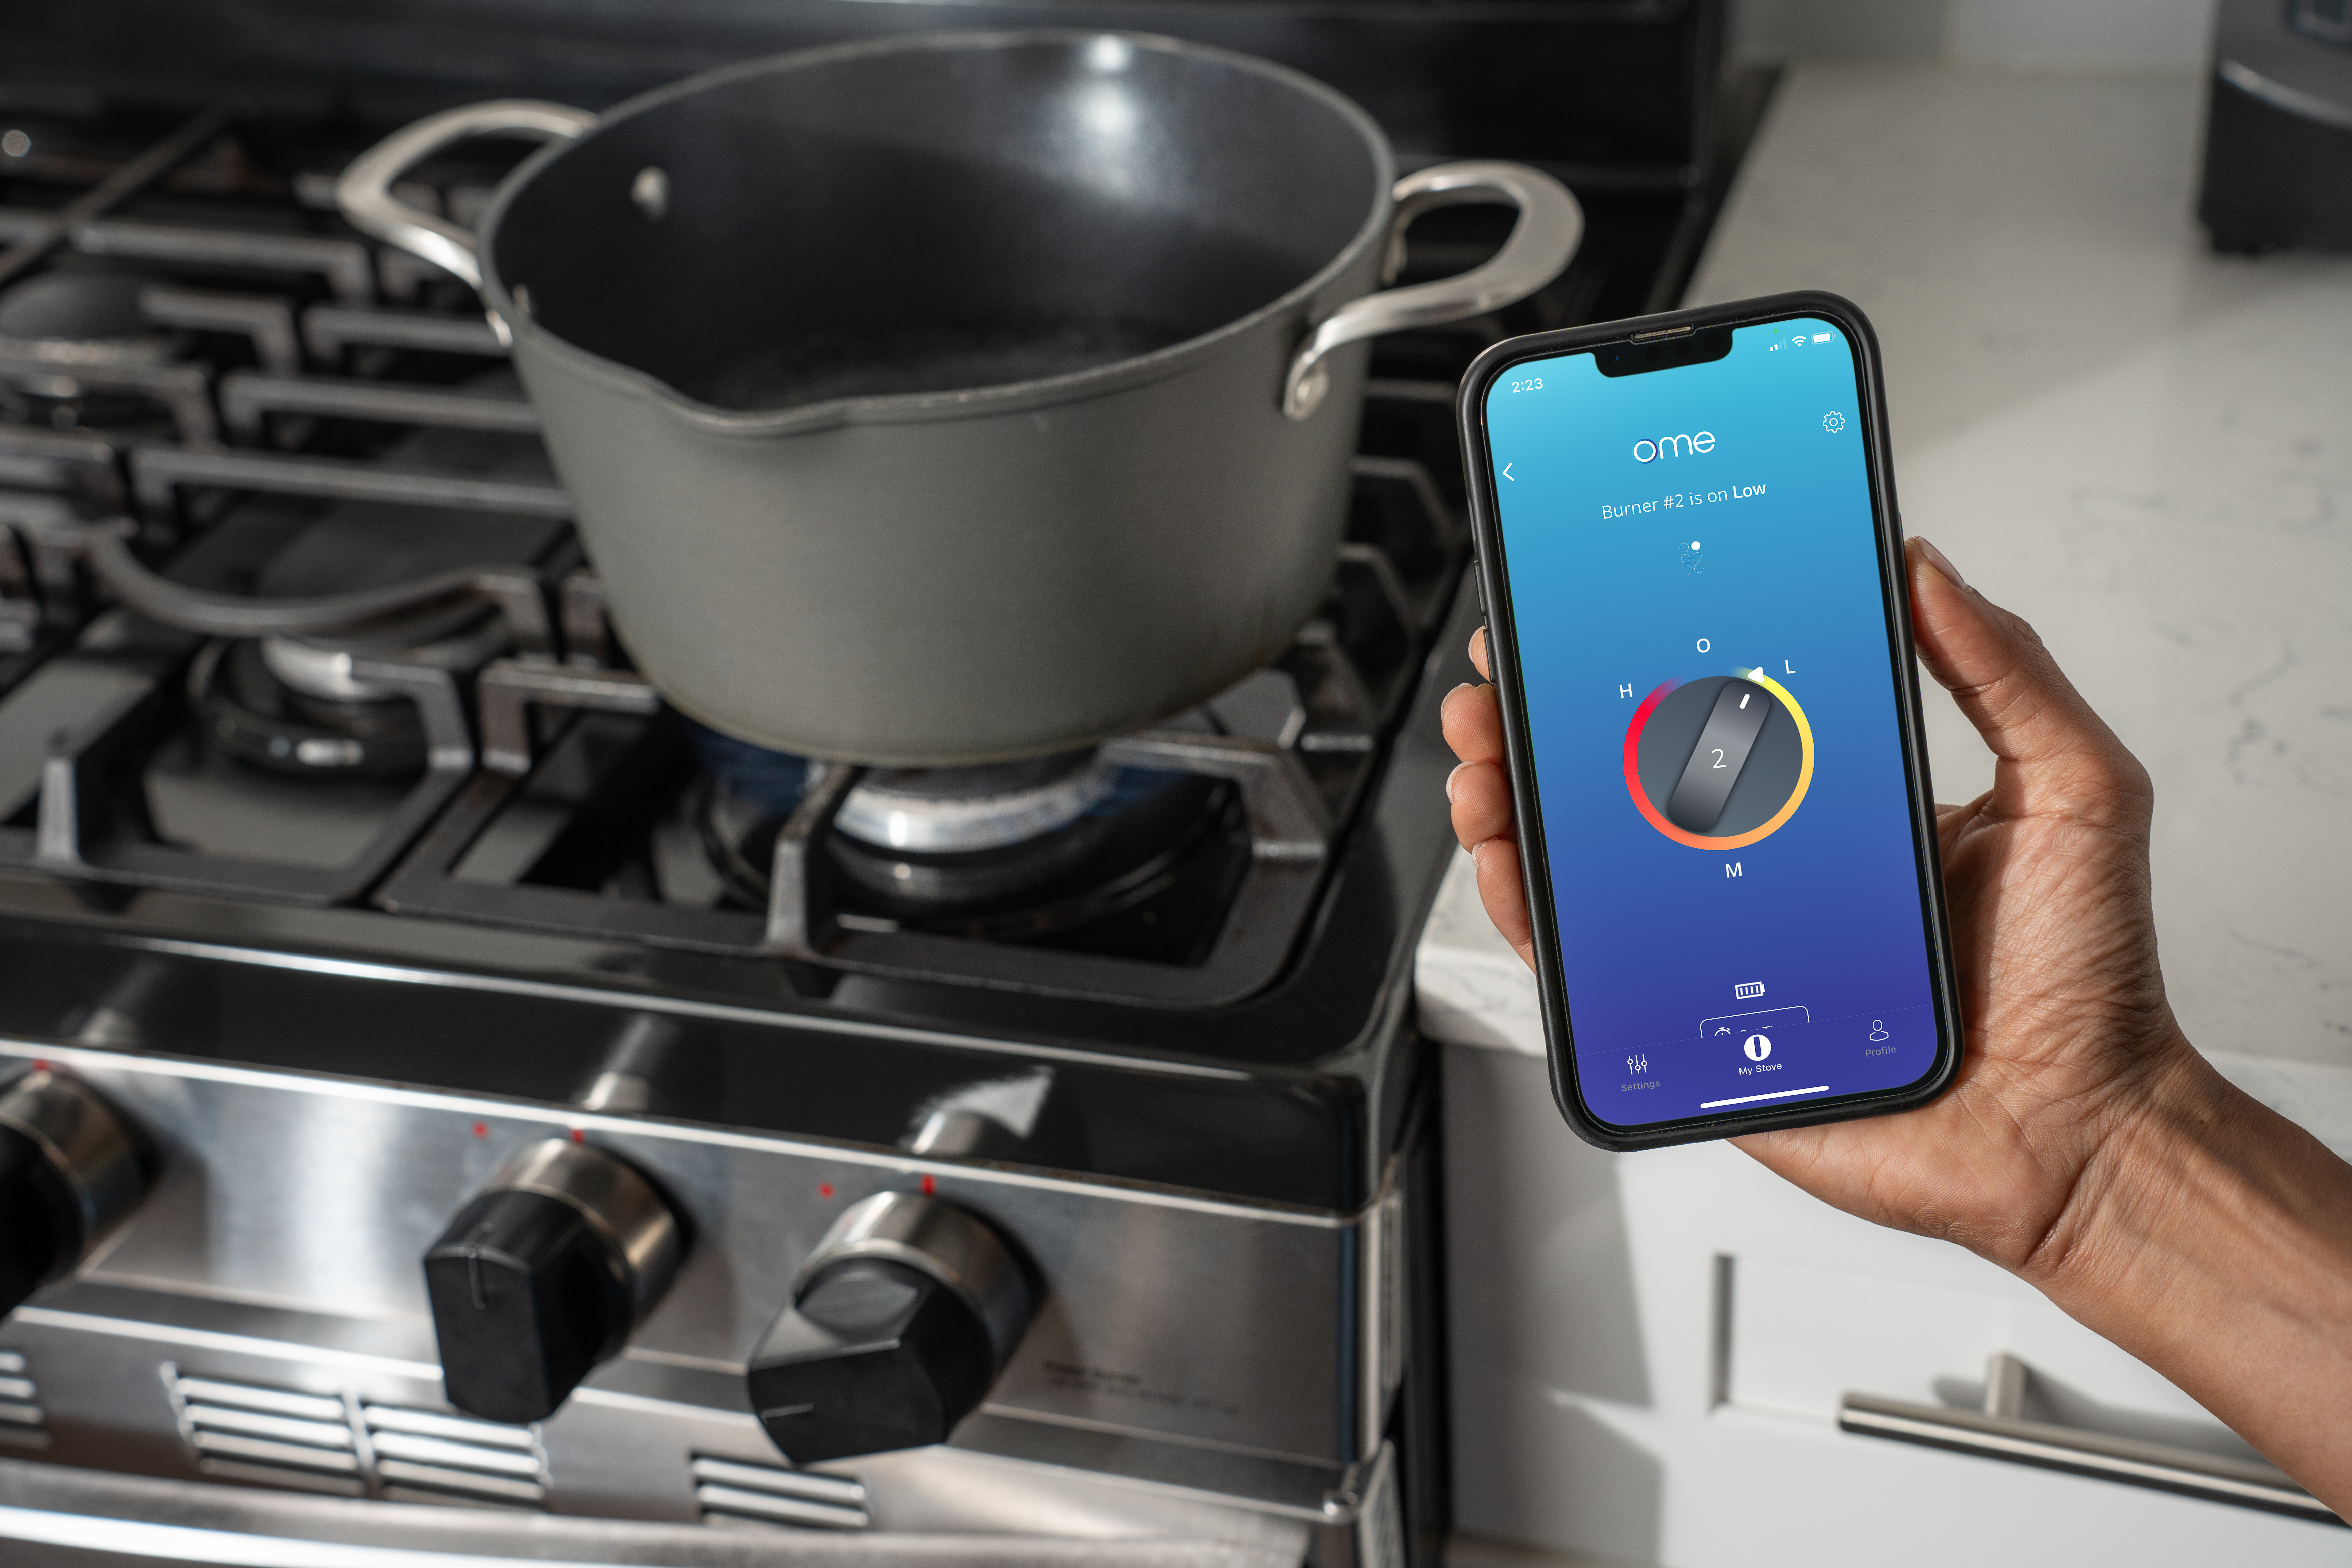
Once you've chosen your preferred brewing style, it's time to consider the stove that will become your wilderness café’s hearth. Whether you’re using a homemade alcohol stove or a high-tech integrated canister system, consistent heat is key for extracting all those complex coffee flavors.
The Art of Water Temperature & Coffee-to-Water Ratios
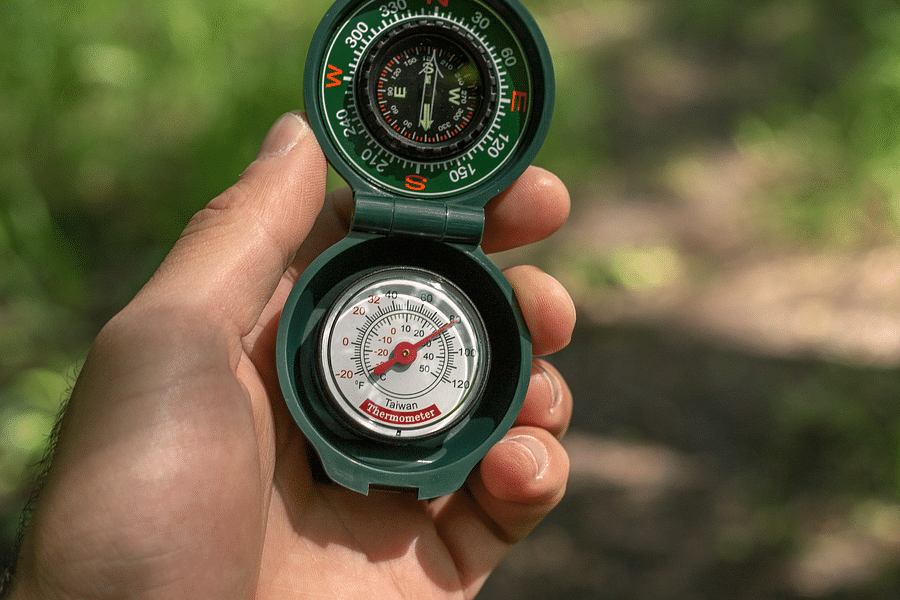
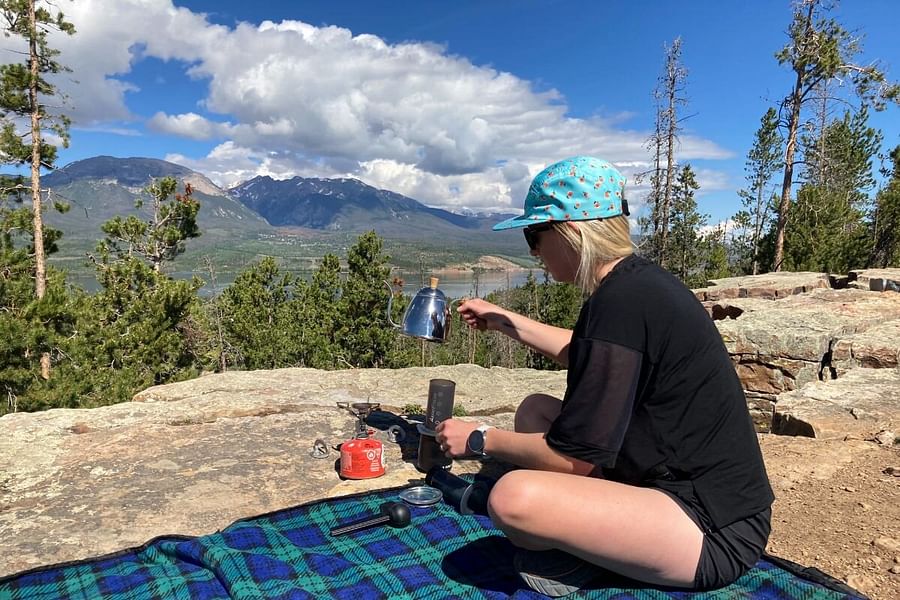
Achieving the right water temperature is essential in extracting the best flavor from your coffee beans. Most experts agree that water just off-boil, around 195°F to 205°F (90°C to 96°C), makes for an ideal extraction. But without a thermometer in the wild, how do you nail this temperature? Here’s where experience and a little know-how come into play. Listen closely for when your water starts to sing – just before it reaches a rolling boil – and you'll be close to coffee perfection.
Brewing Without a Thermometer: Estimating Water Temperature in the Wild


Equally important is mastering your coffee-to-water ratio. Too much coffee and you might find yourself over-caffeinated and jittery on a narrow trail; too little and your morning brew will lack that energizing kick we all crave in the backcountry. A general rule of thumb is about 1 gram of coffee to every 15-18 grams of water, but this can vary based on personal preference and bean strength.
Finding Your Perfect Grind
The grind size of your beans can make or break your backcountry brew. A fine grind may suit an espresso maker but could clog up your drip filter leaving you with an over-extracted mess. Conversely, too coarse a grind in a French press might mean weak coffee that lacks body and depth. For most backpacking methods, aiming for consistency akin to table salt provides a good starting point.
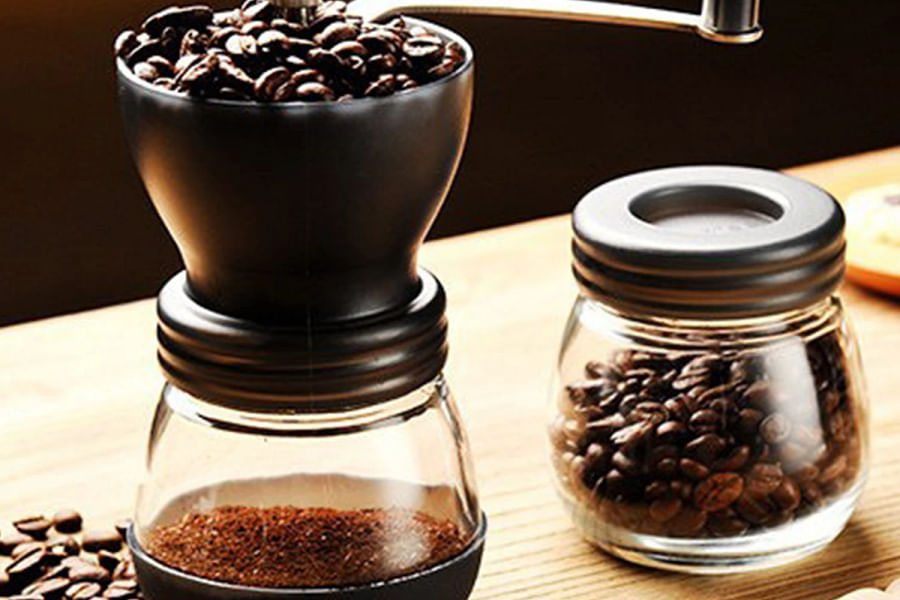
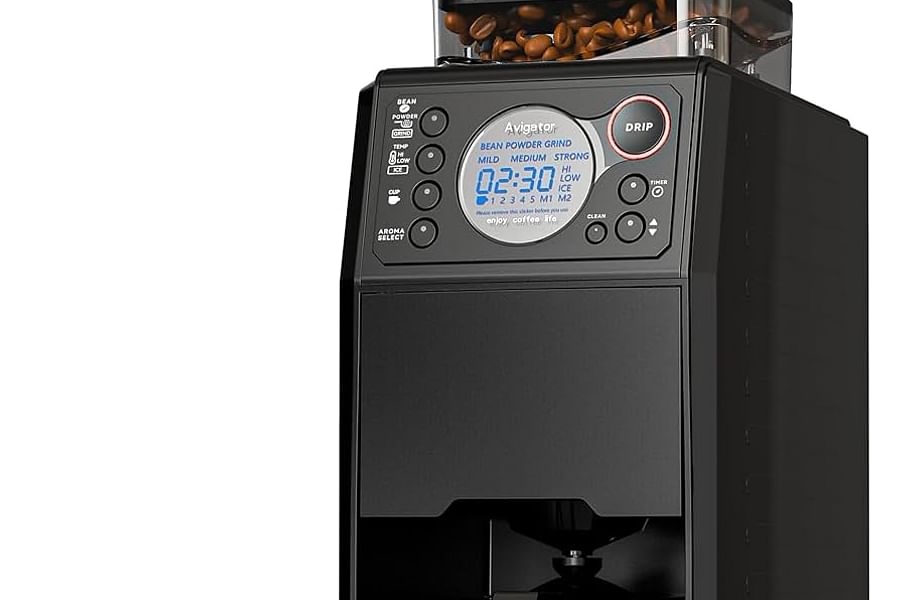
A good grinder is as important as any other tool in your outdoor kitchen arsenal. While pre-ground coffee might seem convenient, it loses its freshness rapidly – something you cannot afford when looking for that perfect wilderness cuppa. Investing in a quality hand grinder allows you fresh grounds every morning without adding too much weight to your pack.
Brew on the Move: Top Picks for Backpacking Coffee Grinders
In addition to these fundamentals, remember that great outdoor coffee starts with great beans. Opting for single-origin or high-quality blends will ensure each cup has character and complexity worthy of your scenic surroundings. And if possible, always aim to grind your beans just before brewing; this will maximize flavor and aroma - turning each sip into an unforgettable sensory experience amidst nature's grandeur.
Incorporating these elements into your backcountry routine doesn't have to weigh down your pack either; innovations in backpacking cooking gear have made it possible to enjoy luxury-level coffee without unnecessary bulk or weight.
Selecting the Right Coffee Maker
When it comes to brewing coffee in the backcountry, your choice of coffee maker is paramount. Options range from the classic French press to more modern solutions like the aeropress or pour-over cones. Each method has its own merits. The French press, for example, is durable and straightforward to use but can be a bit heavier and requires a coarser grind. Aeropress systems are lightweight and compact, making them ideal for backpackers who prioritize space and weight. Pour-over devices are the middle ground, offering a balance between weight and flavor complexity.
Backcountry Brew-Off: Comparing Coffee Makers in the Wild
Remember that the right coffee maker isn't just about taste—it's also about how well it fits into your pack and aligns with your journey's demands. Consider factors like durability, ease of cleaning, and versatility before making your decision.
Coffee Brewing Techniques & Tips
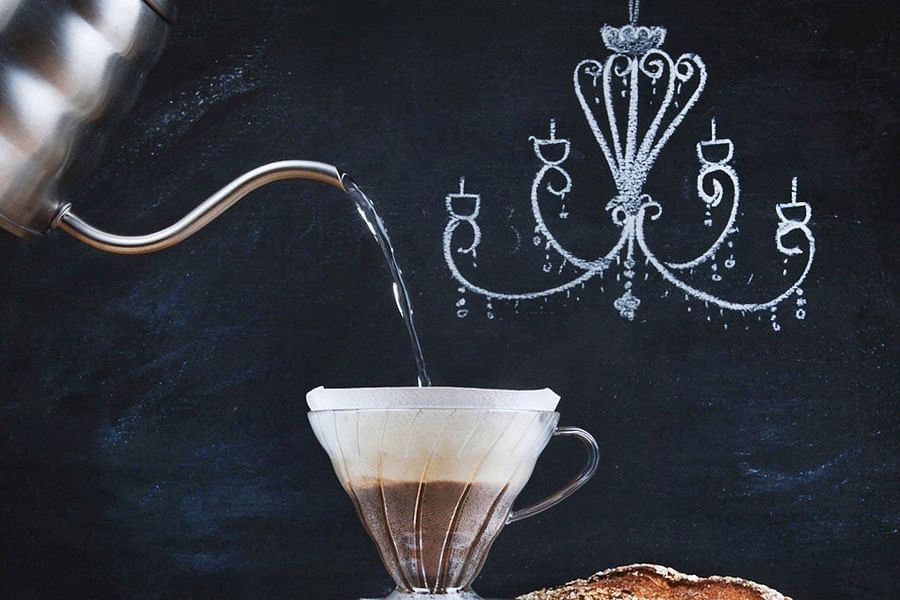
Brewing the perfect cup of coffee outdoors is an art form that combines patience with technique. Start by heating your water to just below boiling; around 200°F is optimal for extracting full flavor without bitterness. If you don't have a thermometer, bring the water to a boil and then let it sit for about 30 seconds.
Brewing Mastery Outdoors
- Preheat Your Cup - Warm your cup with hot water before brewing to maintain your coffee's temperature.
- Water Temperature - Aim for 195°F to 205°F, using a thermometer or estimating 30 seconds off boil.
- Grind Size Matters - Use a coarser grind at higher altitudes to compensate for lower boiling points.
- Bloom Your Coffee - Pour a little hot water over the grounds first to let the coffee 'bloom' for better flavor extraction.
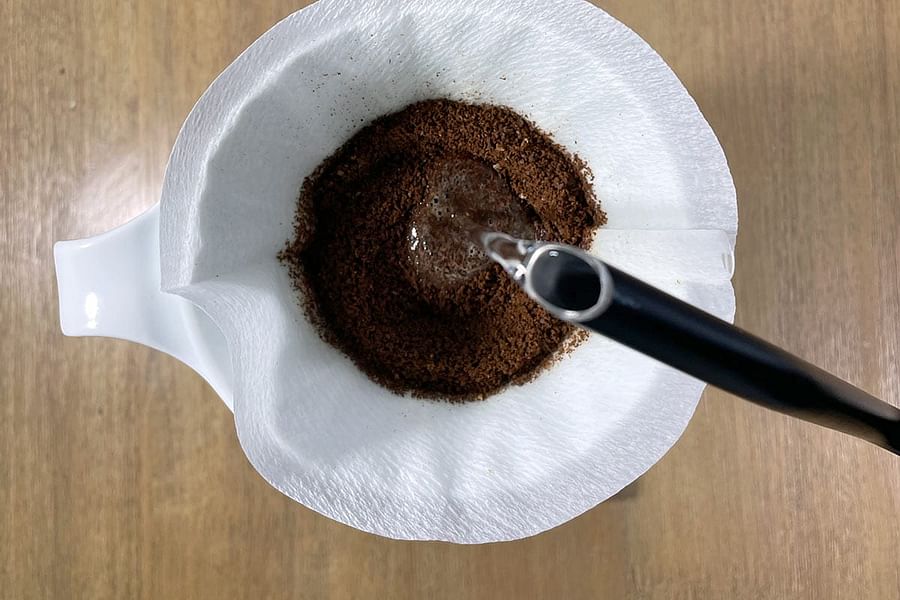
- Steady Pour - Keep your pouring steady and circular to ensure even saturation of the grounds.
- Timing is Key - Total brew time should be about 2-4 minutes, depending on your method and preference.
- Altitude Adjustments - Remember that water boils at lower temperatures at higher altitudes, so adjust your brewing time accordingly.
- Clean Water Source - Always use the cleanest water possible, which may mean packing in your own if the source is questionable.

- Insulate Your Brew - Use a windscreen around your stove and cup to maintain temperature in cold environments.
- Practice Makes Perfect - Experiment with your setup at home before hitting the trail to fine-tune your technique.
Grind size matters too—finer grinds for espresso-based methods like Aeropress or Moka pots, coarser grinds for French presses. And don't forget that altitude can affect both water's boiling point and coffee extraction; you may need to adjust your grind size or steep time accordingly.
Your technique will also vary depending on your chosen method. For instance, pour-over requires a steady hand to ensure even saturation of the grounds, while French press involves a few minutes of waiting before plunging to separate the grounds from the liquid.
Cleaning Up & Leaving No Trace
Cleaning up after brewing is crucial in preserving our natural spaces. Dispose of used coffee grounds properly; pack them out with you or scatter them widely in areas where it's allowed. Never leave grounds near campsites or trails as they can impact local wildlife and ecosystems.
For cookware cleaning, use biodegradable soap sparingly if needed and always clean well away from natural water sources. Strive to follow Leave No Trace principles by minimizing campfire impacts if you've used one for boiling water and by respecting wildlife throughout your entire brewing process.
In conclusion—though we're not saying "in conclusion"—crafting that impeccable cup of backcountry coffee boils down to selecting suitable gear tailored to your needs, honing your brewing skills with practice, adhering closely to environmental responsibilities, and savoring each sip amidst nature's tranquility.
If you're keen on further refining your outdoor cooking prowess or looking into DIY options like creating your own stove system or enhancing existing gear with creative touches, explore our guides on DIY backpacking stove ideas, learn more through our DIY Backpacking Stove Quiz, or delve into our comprehensive list of backpacking cooking gear essentials. And remember—whether it's a robust espresso beneath towering pines or a smooth latte by an alpine lake—the best cup is one enjoyed at nature's pace.


No comments yet. Be the first to share your thoughts!