
Welcome to the World of DIY Trail Cooking 🍳
Imagine this: You're miles deep into the wilderness, the embers of the day are dying out, and your stomach is grumbling louder than a bear in the woods. What if you could whip up a hot meal right there on the trail, using a stove you built yourself? Welcome to the world of DIY trail cooking, where necessity meets creativity and gives birth to some of the best backpacking stoves you could ever dream of. This guide will introduce you to the art of crafting your own outdoor cooking gear, from ultralight backpacking stove ideas to high altitude cooking gear. Wondering how to choose the right cooking equipment for your backpacking trip? Or perhaps you're curious about the essential components of a well-designed outdoor kitchen? Buckle up, fellow adventurers, and prepare to embark on a culinary journey like no other!
Getting to Know Your DIY Backpacking Stove: The Basics
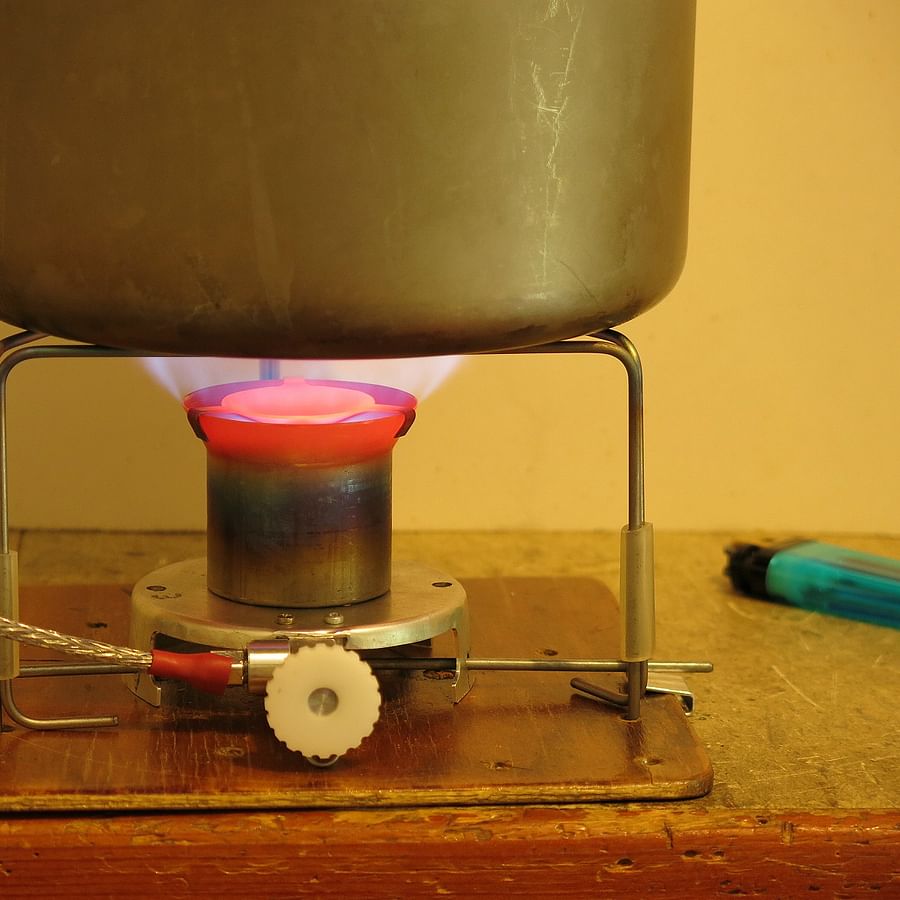
Ever wondered what the secret sauce is to a successful DIY backpacking stove? It's all about the clever combination of simplicity, ingenuity, and efficiency. A DIY backpacking stove is a compact, self-made cooking device perfect for the wilderness. It's typically composed of a heat source (like an alcohol or wood burner), a pot stand, and a windscreen.
So, why go the DIY route? Well, not only can making your own stove be a fun and rewarding project, it also allows for customization to suit your specific needs. Whether it's the best backpack stove for high altitude cooking or an ultralight backpacking stove idea for those long treks, the choice is yours. And let's not forget, it's a great way to save some money without compromising on the quality of your outdoor cooking gear. Intrigued? Find out more about the best budget-friendly stoves for every adventure.
Discover Different DIY Backpacking Stove Styles: From Wood to Alcohol
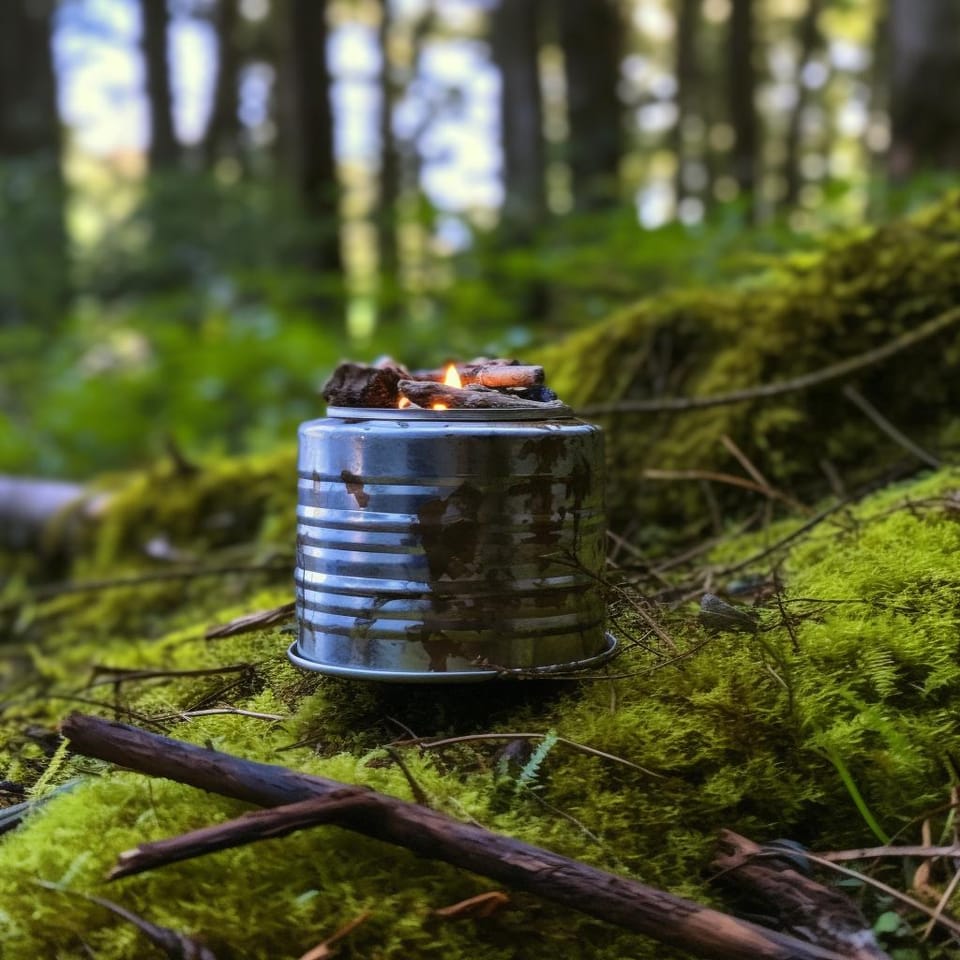
As we delve into the realm of DIY backpacking stoves, three types dominate the scene: wood burning, alcohol, and can stoves. Each has its unique charm and functionality. The wood-burning stove, for instance, is the epitome of rustic trail cooking. It's the best backpack stove for those who relish the scent of burning wood and the joy of gathering fuel from nature. Then we have the alcohol stove - a lightweight, compact, and silent cooking companion. It’s a top pick in our backpacking cookware guide. Lastly, the can stove, a symbol of resourcefulness and a testament to the adage, "waste not, want not." Made from used soda or beer cans, it's an ultralight backpacking stove idea that's as green as it gets. Curious about how these stoves work? Check out our FAQ section.
Types of DIY Backpacking Stoves
- Can Stove: An eco-friendly option crafted from used soda or beer cans. It's ultralight, compact, and perfect for alcohol-based fuels.
- Wood Burning Stove: This stove is made from a tin can or similar container. It uses readily available wood and twigs as fuel, making it a sustainable and cost-effective choice.
- Alcohol Stove: Typically made from aluminum bottles or cans, this stove runs on denatured alcohol. It's lightweight, efficient, and easy to construct.
- Solid Fuel Tablet Stove: A simple design using a small metal plate and stand to hold fuel tablets. It's compact, lightweight, and ideal for short trips.
- DIY Rocket Stove: A more complex build, this stove is highly efficient, using less fuel for more heat. It's great for campers who enjoy a DIY challenge.
- Tuna Can Stove: Made from an empty tuna can and cardboard, this stove is fueled by wax or oil. It's a fun, simple project that's perfect for beginners.
Crafting Time: How to Build a Backpacking Stove from Scratch
Now that we've explored the basics and types of DIY backpacking stoves, let's dive into the exciting part: building your own. Here's a simple step-by-step guide to help you craft your own backpacking stove:
Crafting Your Own Trail-Ready Stove: A Step-by-Step Guide

Learn more about 🔥 Crafting Your Own Trail-Ready Stove: A Step-by-Step Guide 🔥 or discover other Chef Camper guides.
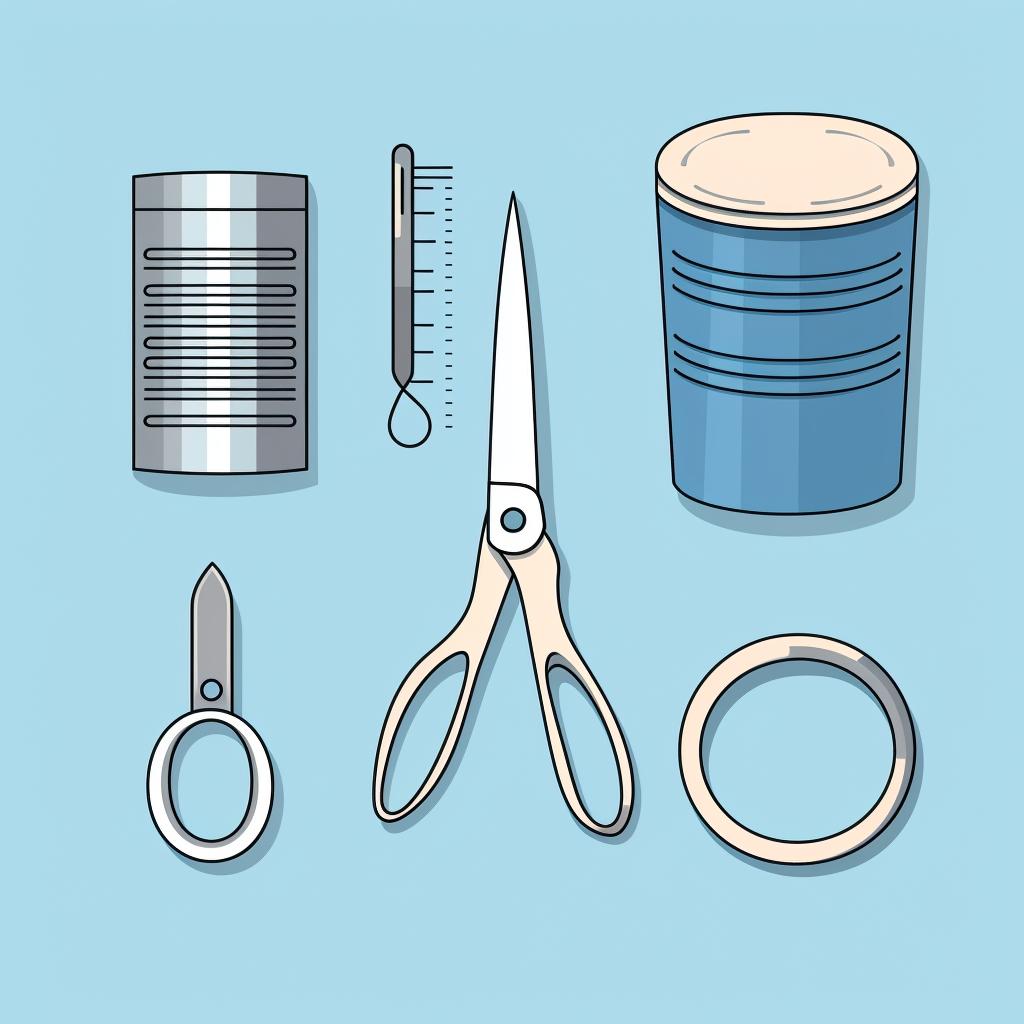
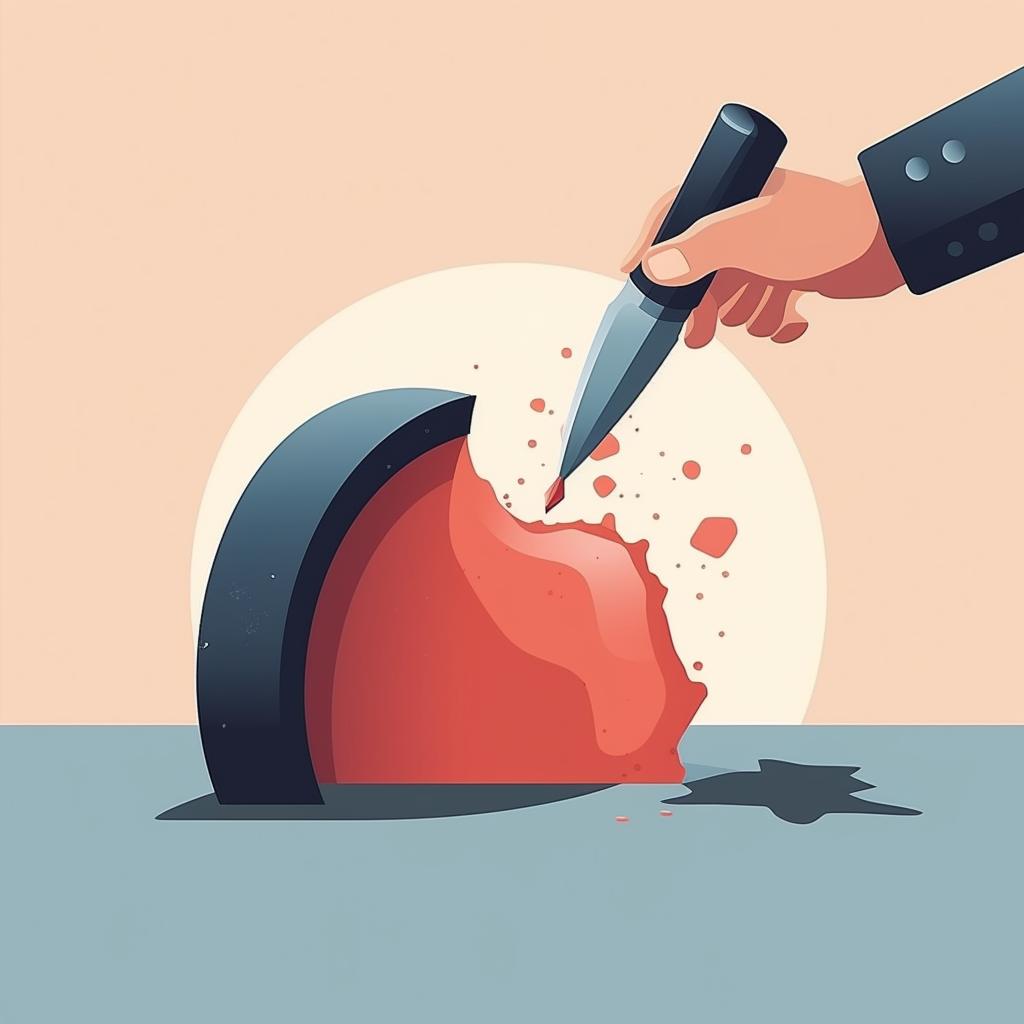
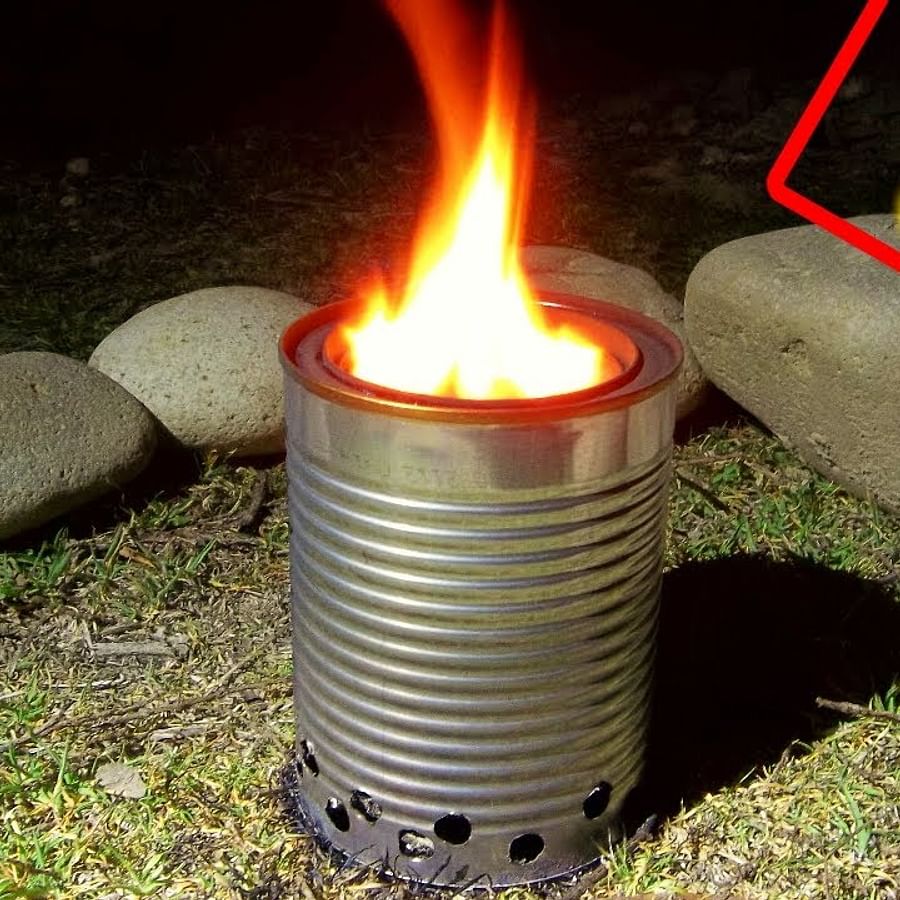
And there you have it! Your very own DIY backpacking stove. Let's take a look at some images of the stove building process to further illustrate these steps.
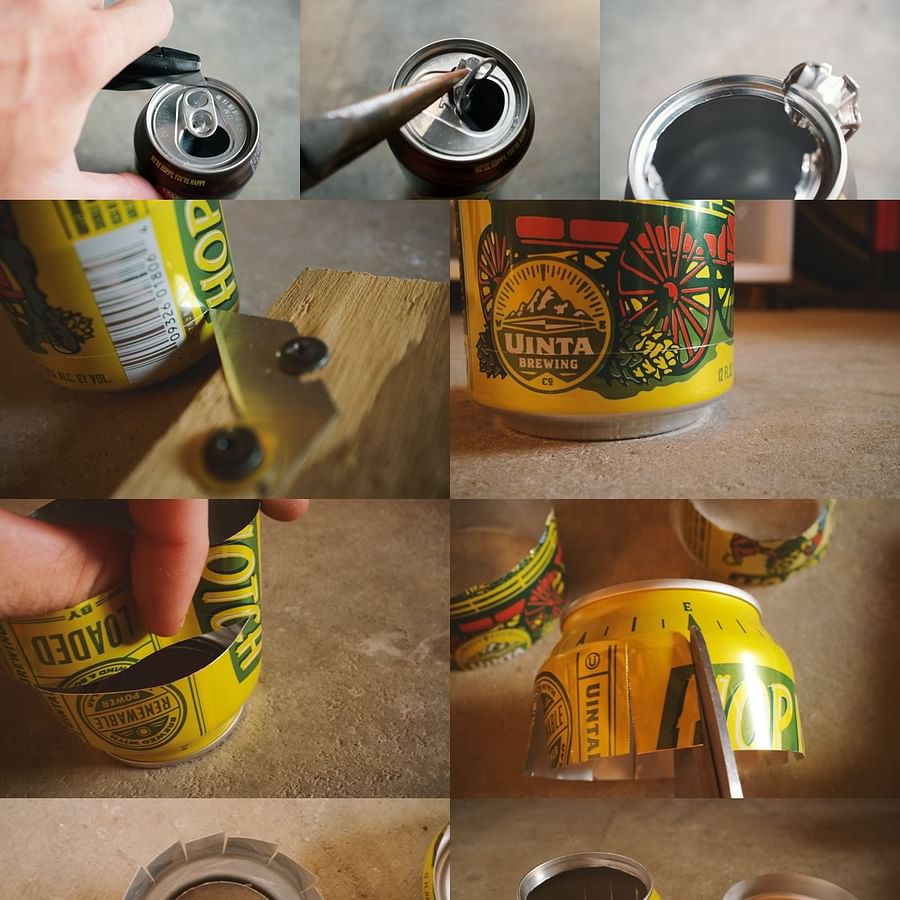
Now that we have seen the step-by-step images of the stove building process, let's watch a video tutorial that will guide us through creating our own DIY backpacking stove.
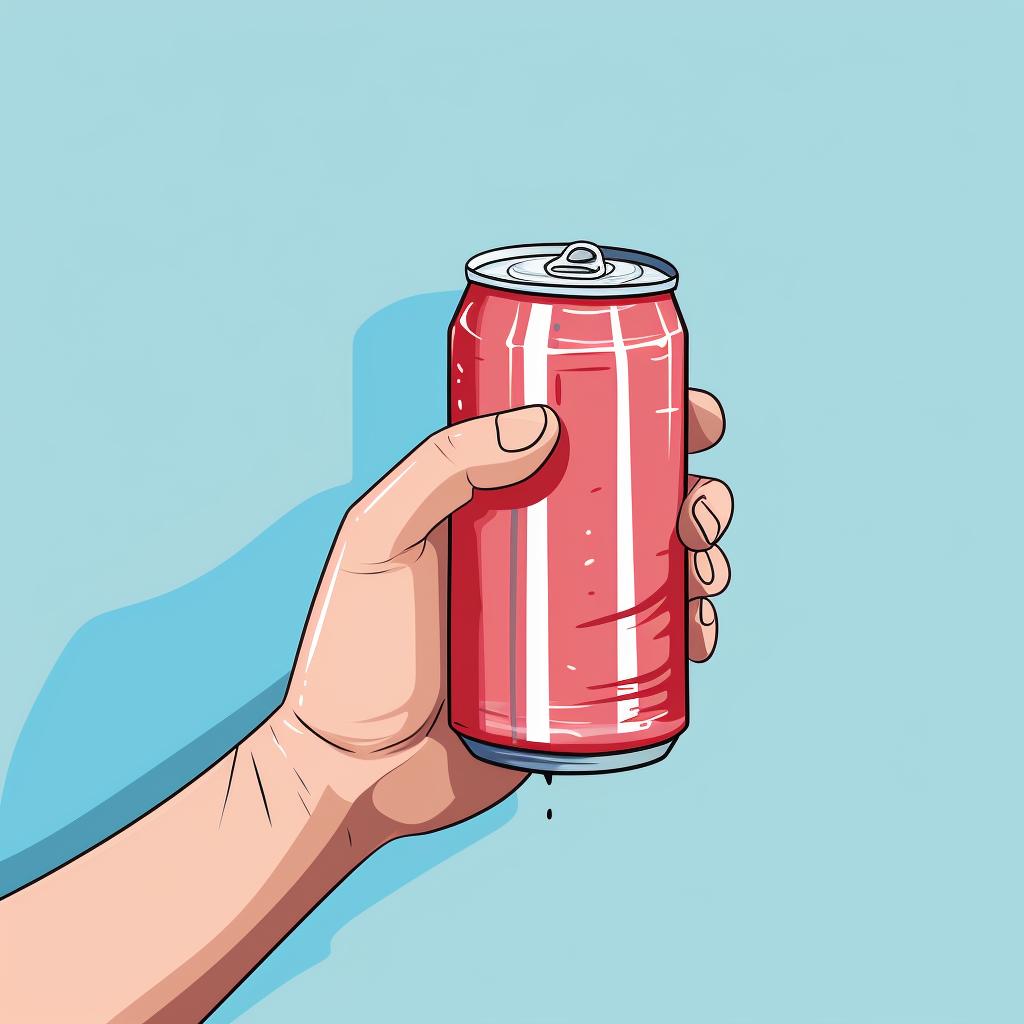
In the video, you saw how a simple tuna can could be transformed into a functional backpacking stove. Next, we will discuss the best materials to use for your DIY stove, which will help you understand why a tuna can could be a great choice.
Choosing Your Tools: What Materials Make the Best DIY Stoves?
When it comes to crafting your own backpacking stove DIY, the materials you choose can make a world of difference. Ever thought about using an old soda can? It's lightweight, easily moldable, and perfect for an ultralight backpacking stove idea. Or perhaps a tin can, sturdy and resilient, ideal for a more robust, wood-burning stove. For the alcohol stove enthusiasts, a simple glass jar can be your best friend. Each material has its own unique benefits, and potential drawbacks, but that's the beauty of it, isn't it? The ability to tailor-make your outdoor cooking gear to suit your specific needs and preferences. But remember, while creativity is key, safety should always come first. So, before you start your DIY trail cooking journey, why not check out our backpacking stove safety tips?
Materials for DIY Backpacking Stoves: Benefits and Drawbacks
Now that we've discussed the various materials you can use to craft your DIY stove, let's take a closer look at their benefits and potential drawbacks.
| Material | Benefits | Potential Drawbacks |
|---|---|---|
| Aluminum Cans 🥫 | Lightweight, readily available, easy to work with | Not very durable, can be easily damaged |
| Stainless Steel 🥣 | Durable, resistant to rust and corrosion | Heavier than other materials, requires special tools to work with |
| Tin Cans 🥫 | Readily available, easy to work with | Can rust over time, not as durable as other materials |
| Copper 🥉 | Excellent heat conductor, durable | Heavier than other materials, can be difficult to work with |
| Ceramic 🍶 | Excellent heat retention, durable | Heavy, fragile, difficult to work with |
In the following section, we'll show you some images of these materials in use, so you can get a better idea of what to expect when you start crafting your DIY backpacking stove.
Stay Safe on the Trail: Essential Tips for Using Your DIY Stove
When it comes to trail cooking, your backpacking cookware guide isn't complete without safety tips for your DIY stove. Remember, the best backpack stove is a safe one! First off, never use your stove inside the tent. Not only is there a risk of fire, but carbon monoxide poisoning is a silent killer. Secondly, ensure your stove is on a flat, stable surface to avoid any accidental spillage of hot food or flammable liquids. Additionally, keep a safe distance from flammable materials when your stove is in use. Lastly, remember to cool down your stove before packing it away. After all, the best backpacking stoves are those that serve us well and keep us safe. Need more safety tips? Check out our article on backpacking stove safety.
Before we wrap up, let's ensure you're prepared to use your DIY stove safely. Here's a checklist to follow every time you cook on the trail:
Follow these safety measures and you'll not only enjoy your meals but also ensure a safe camping experience. Now, let's conclude our journey into the world of DIY backpacking stoves.
Wrapping Up: The Joy of DIY Stoves and Outdoor Cooking
As we stroll back to the starting point of our culinary journey through the wilderness, we can't help but marvel at the ingenuity that a DIY backpacking stove embodies. It's more than just a tool—it’s an embodiment of creativity, resourcefulness, and the sheer joy of crafting something with your own hands. And when it comes to taste, nothing beats a meal cooked on a stove you've made yourself. It’s like adding a secret spice, a sprinkle of satisfaction. But wait, did you ever wonder about the impact of altitude on your stove’s performance or what the best backpacking stoves out there are? Stick around, we’ve got you covered. After all, the trail to mastery in outdoor cooking is as thrilling as the adventure itself, isn’t it?
DIY Backpacking Stove and Trail Cooking Quiz
Test your knowledge on DIY backpacking stoves and trail cooking!
Learn more about 🔥 DIY Backpacking Stove and Trail Cooking Quiz or discover other Chef Camper quizzes.
Got Questions? We've Got Answers: DIY Stoves FAQ
Before we wrap up this guide, let's address some frequently asked questions about DIY backpacking stoves.
With these answers in hand, you're ready to embark on your DIY stove-making journey. Remember, the best stove is the one that suits your needs and brings you joy to use. Happy trail cooking!
No comments yet. Be the first to share your thoughts!