
How altitude changes your stove
High-altitude cooking is mostly a physics problem. As atmospheric pressure drops, water boils at lower temperatures. This isn't just about waiting longer for coffee; it's a safety issue. The Food Safety and Inspection Service (FSIS) notes that you need longer cook times to kill bacteria because your 'boiling' water isn't actually as hot as it would be at sea level.
Think about it this way: at sea level, water boils at 212°F (100°C). But for every 500 feet of elevation gain, the boiling point drops by roughly 1°F. This means your pasta won’t get as soft, your rice won't cook through, and that stew might not reach a safe internal temperature without adjustments. Ignoring this can lead to foodborne illness, so understanding the science is the first step to safe and successful high-altitude meals.
Here’s a quick reference for boiling points at different altitudes:
2026 stove test results
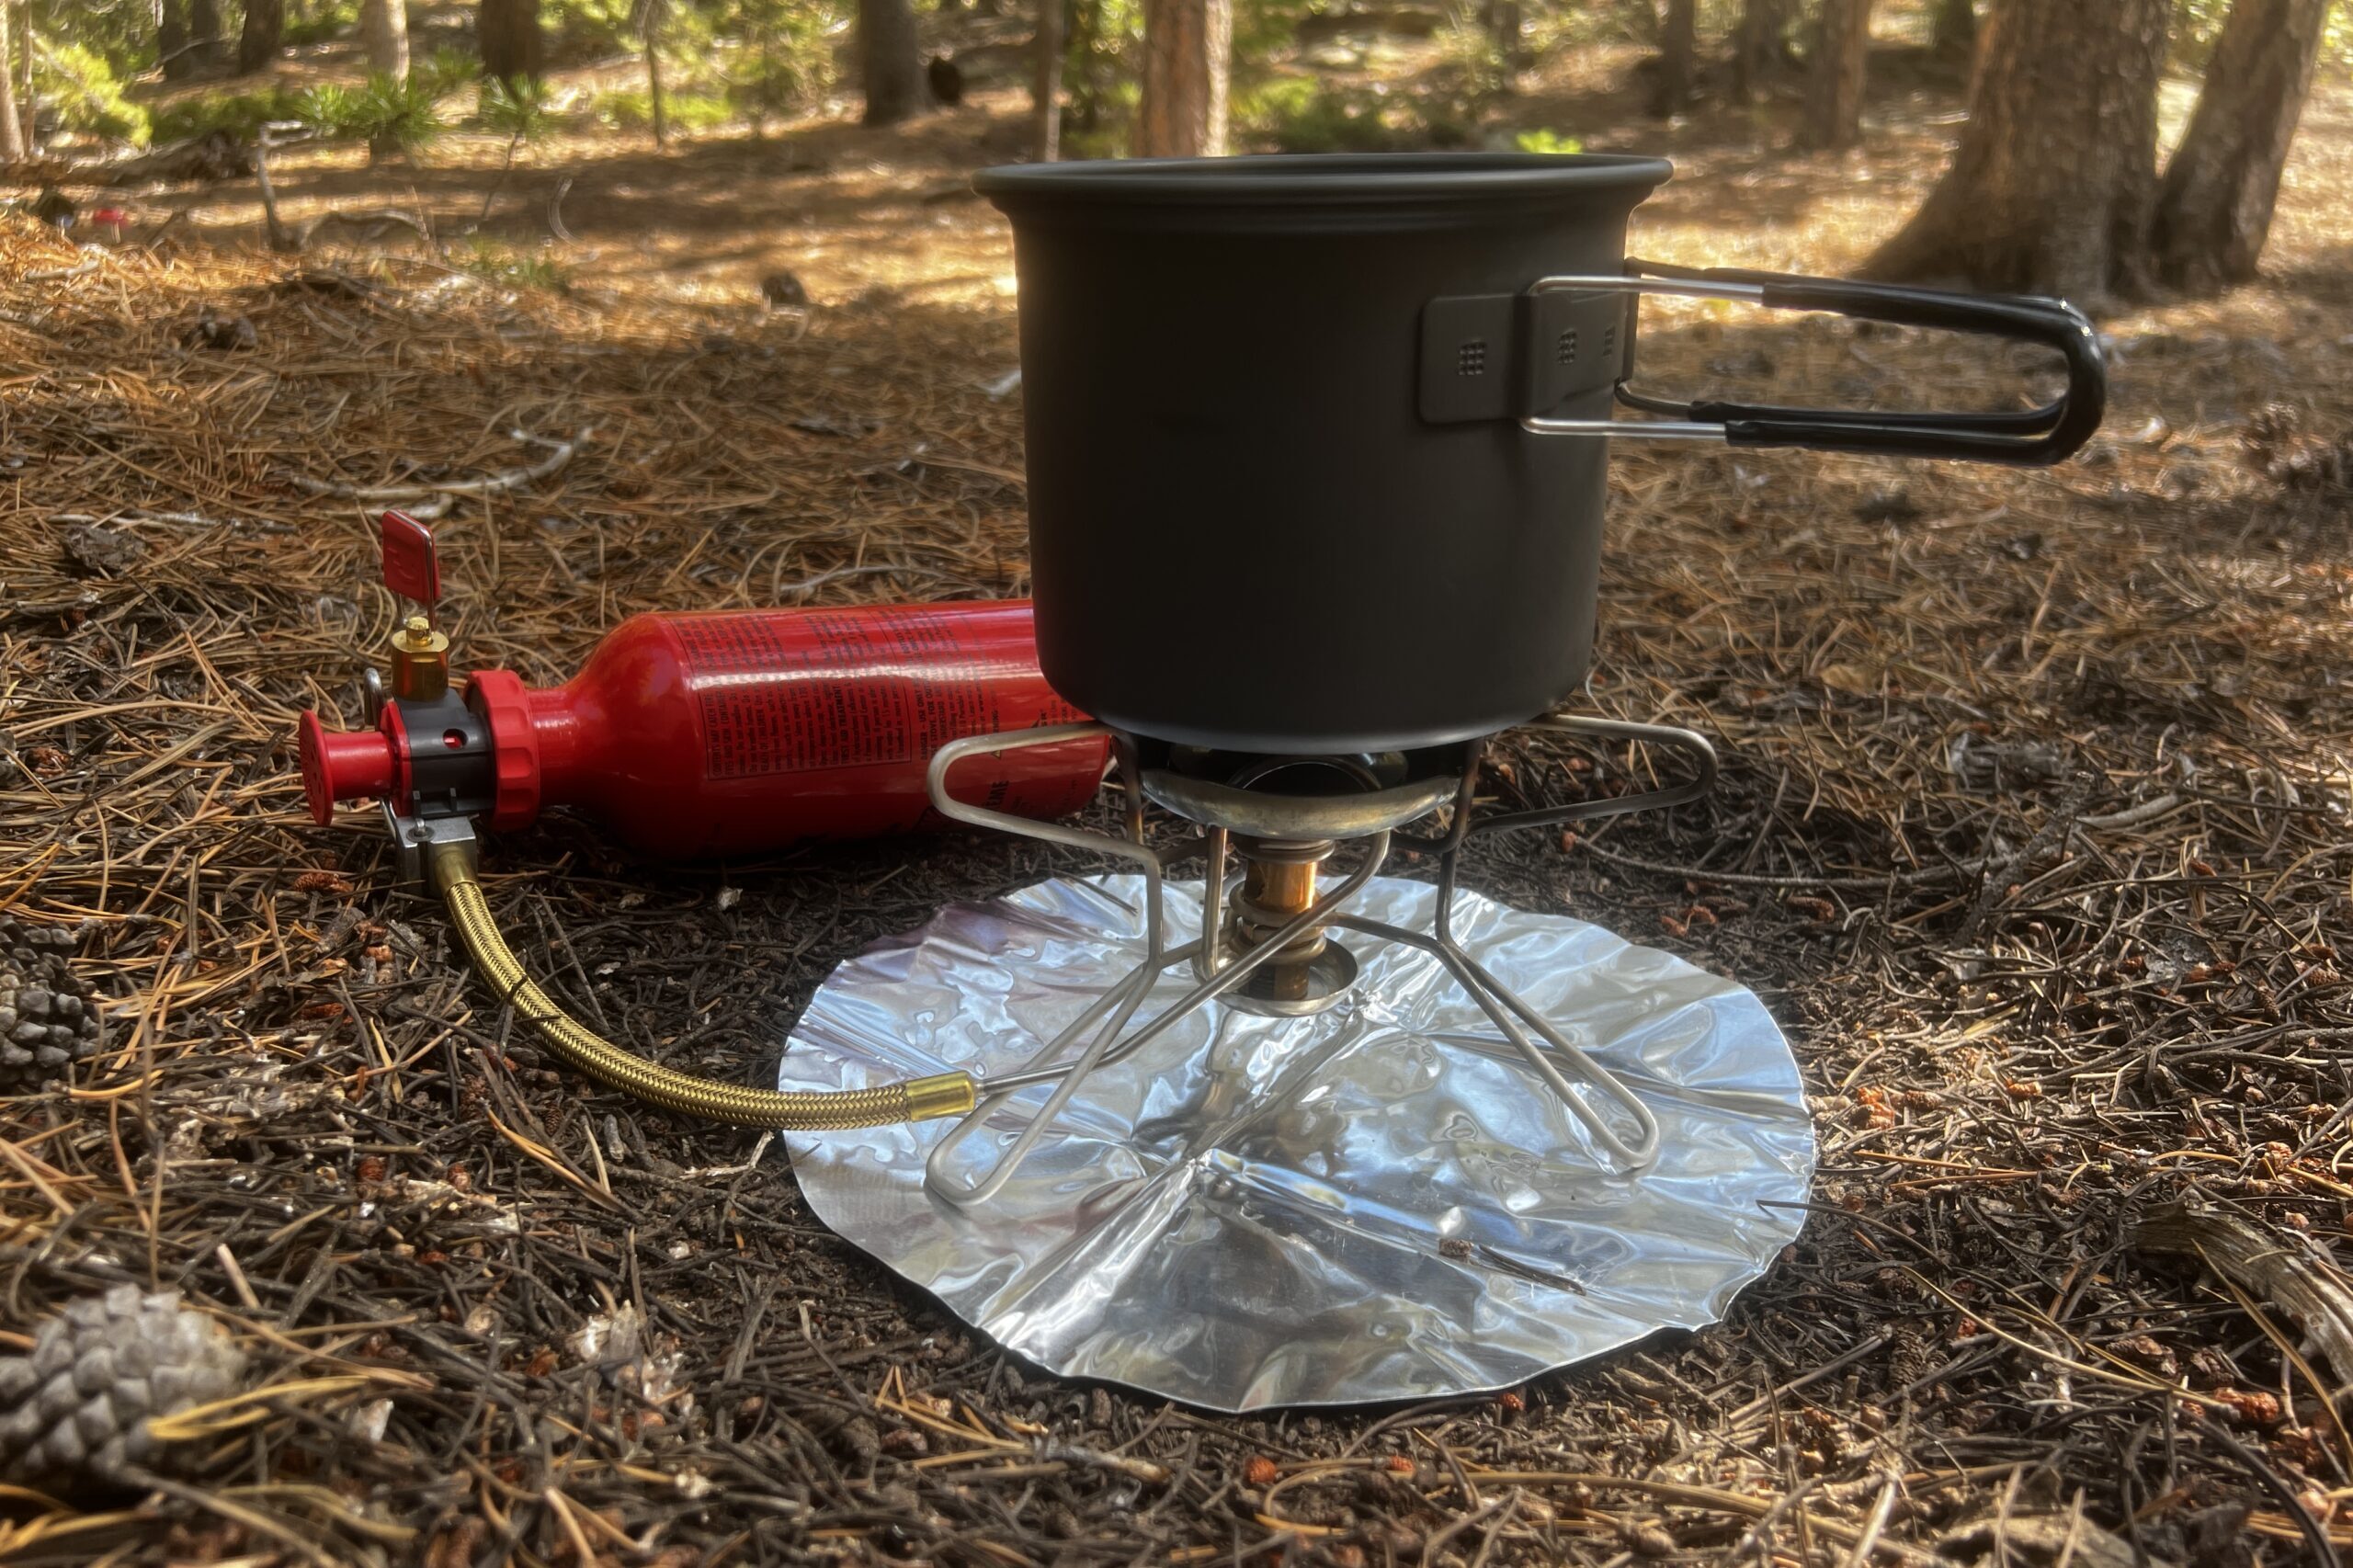
We put several stove types through their paces during testing in 2026, focusing on performance at both 10,000 and 14,000 feet. Our test protocol involved boiling 1 liter of water in a standardized pot with a windscreen, measuring the time from ignition to a rolling boil. The results were fairly predictable, but with some interesting nuances.
Canister stoves (like the MSR PocketRocket 2 and Soto WindMaster) are popular for their simplicity and light weight. However, they consistently showed the greatest performance drop at higher altitudes. At 10,000 feet, the PocketRocket 2 took 4 minutes 30 seconds to boil, while at 14,000 feet, that time jumped to 6 minutes 15 seconds. They also become noticeably less efficient in colder temperatures, exacerbating the problem.
Liquid fuel stoves (we tested the Primus OmniFuel and a Soto OD-1NR) proved the most reliable. The OmniFuel, using white gas, boiled a liter of water in 3 minutes 45 seconds at 10,000 feet and 4 minutes 50 seconds at 14,000 feet. Kerosene performed slightly worse, adding about 30-45 seconds to both boil times. The consistent fuel pressure, unaffected by temperature, is a major advantage.
Alcohol stoves (like the Trangia Spirit Burner) are incredibly simple, but also the slowest. Boil times at 10,000 feet were around 8-10 minutes, and at 14,000 feet, they struggled to achieve a full boil in under 12 minutes. They’re best suited for simmering or very short boil times, not for quickly preparing a meal. Integrated systems (like the Jetboil Flash) showed moderate performance, benefiting from the heat exchanger but still suffering from the reduced heat transfer efficiency at altitude. They boiled water in approximately 4 minutes 15 seconds at 10,000ft and 5 minutes 40 seconds at 14,000ft.
Fixing canister stove issues
Canister stoves struggle because isobutane and propane don't vaporize well when the air is thin and cold. You'll see a weak, sputtering flame and wait twice as long for a boil. I've found a few ways to keep them running when the temperature drops.
I’ve had good results inverting the canister during use. This keeps the liquid fuel at the valve, helping maintain consistent pressure. Pre-warming the canister is also effective – keeping it in your jacket pocket or placing it in a sock can make a surprising difference. A windscreen is essential regardless of altitude, but it’s even more critical with canister stoves, as a breeze can easily extinguish the flame.
Isobutane/propane blends generally perform better than pure propane at altitude. I’ve found that canisters with a higher percentage of isobutane maintain a more consistent output. There are some newer canister designs, like those with pressure regulators, that aim to improve cold-weather performance. While I haven't tested these extensively, initial reports are promising, but they often add weight and cost.
Why liquid fuel is more reliable
Liquid fuel stoves consistently outperform other types at altitude because the fuel pressure is maintained mechanically, not by vaporization. This means you get a consistent flame regardless of temperature or elevation. However, they aren’t without their drawbacks. They’re heavier than canister stoves, require more maintenance, and there’s always the potential for spills during fueling.
White gas is the most common fuel for liquid fuel stoves, and it burns cleanly and efficiently. Kerosene is another option, but it produces more soot and requires more frequent nozzle cleaning. Multi-fuel stoves, like the Primus OmniFuel, offer the flexibility to use various fuels, which can be a lifesaver if you’re traveling in areas where specific fuels are hard to find.
Newer liquid fuel stove models are focusing on improving efficiency and ease of use. Some feature preheating tubes that simplify the priming process, while others incorporate more efficient burners. While they require more initial investment and a bit more know-how, a liquid fuel stove is a solid choice for serious high-altitude backpacking.
Choosing the right cookware
You need to trap every bit of heat you can. Since your water is boiling at a lower temperature, your food has to sit in the pot longer to cook through. I prefer stainless steel for durability, though it doesn't hold heat quite as well as a heavy ceramic-coated pot.
Titanium is lightweight and corrosion-resistant, but it’s also a poor heat conductor. Aluminum heats up quickly and evenly, but it’s less durable and can react with acidic foods. I generally prefer stainless steel for its balance of durability and heat retention, but a dark-colored aluminum pot can also be a good option, as darker colors absorb more radiant heat.
Pot shape and size also matter. A wide, shallow pot will boil water faster than a narrow, deep pot, but it’s less efficient for simmering. Choose a pot size that’s appropriate for the number of people you’re cooking for, and consider a pot with a tight-fitting lid to reduce heat loss.
Cookware Material Comparison: High Altitude Backpacking (2026 Performance)
| Material | Weight | Heat Retention | Durability | Ease of Cleaning |
|---|---|---|---|---|
| Stainless Steel | Moderate | Excellent | Very High | Good (can require more effort) |
| Titanium | Lightest | Good | High | Good (prone to spotting) |
| Aluminum (Anodized) | Light | Good | Moderate | Easy |
| Aluminum (Non-Anodized) | Light | Fair | Low | Easy |
| Stainless Steel (with Aluminum Core) | Moderate to Heavy | Very Good | High | Good (can require more effort) |
| Titanium (with Stainless Steel Base) | Moderate | Very Good | Very High | Good (prone to spotting, base aids cleaning) |
Illustrative comparison based on the article research brief. Verify current pricing, limits, and product details in the official docs before relying on it.
Useful accessories
Beyond the stove and cookware, a few key accessories can significantly improve your high-altitude cooking experience. A windscreen is non-negotiable, even on seemingly calm days. A good pot lid can reduce boil times by trapping heat and preventing evaporation. Heat exchangers, often integrated into systems like Jetboils, increase efficiency by transferring heat from the flame to the pot.
An insulated cozy is a simple but effective way to keep food warm while it finishes cooking or while you’re enjoying the view. And, crucially, bring a reliable thermometer to ensure your food reaches a safe internal temperature. At altitude, it’s even more important to confirm that food is fully cooked.
Don't forget about water purification. At higher elevations, water sources are often more pristine, but you should still treat all water before drinking it. A filter, purifier tablets, or a UV sterilizer are all good options.


No comments yet. Be the first to share your thoughts!