
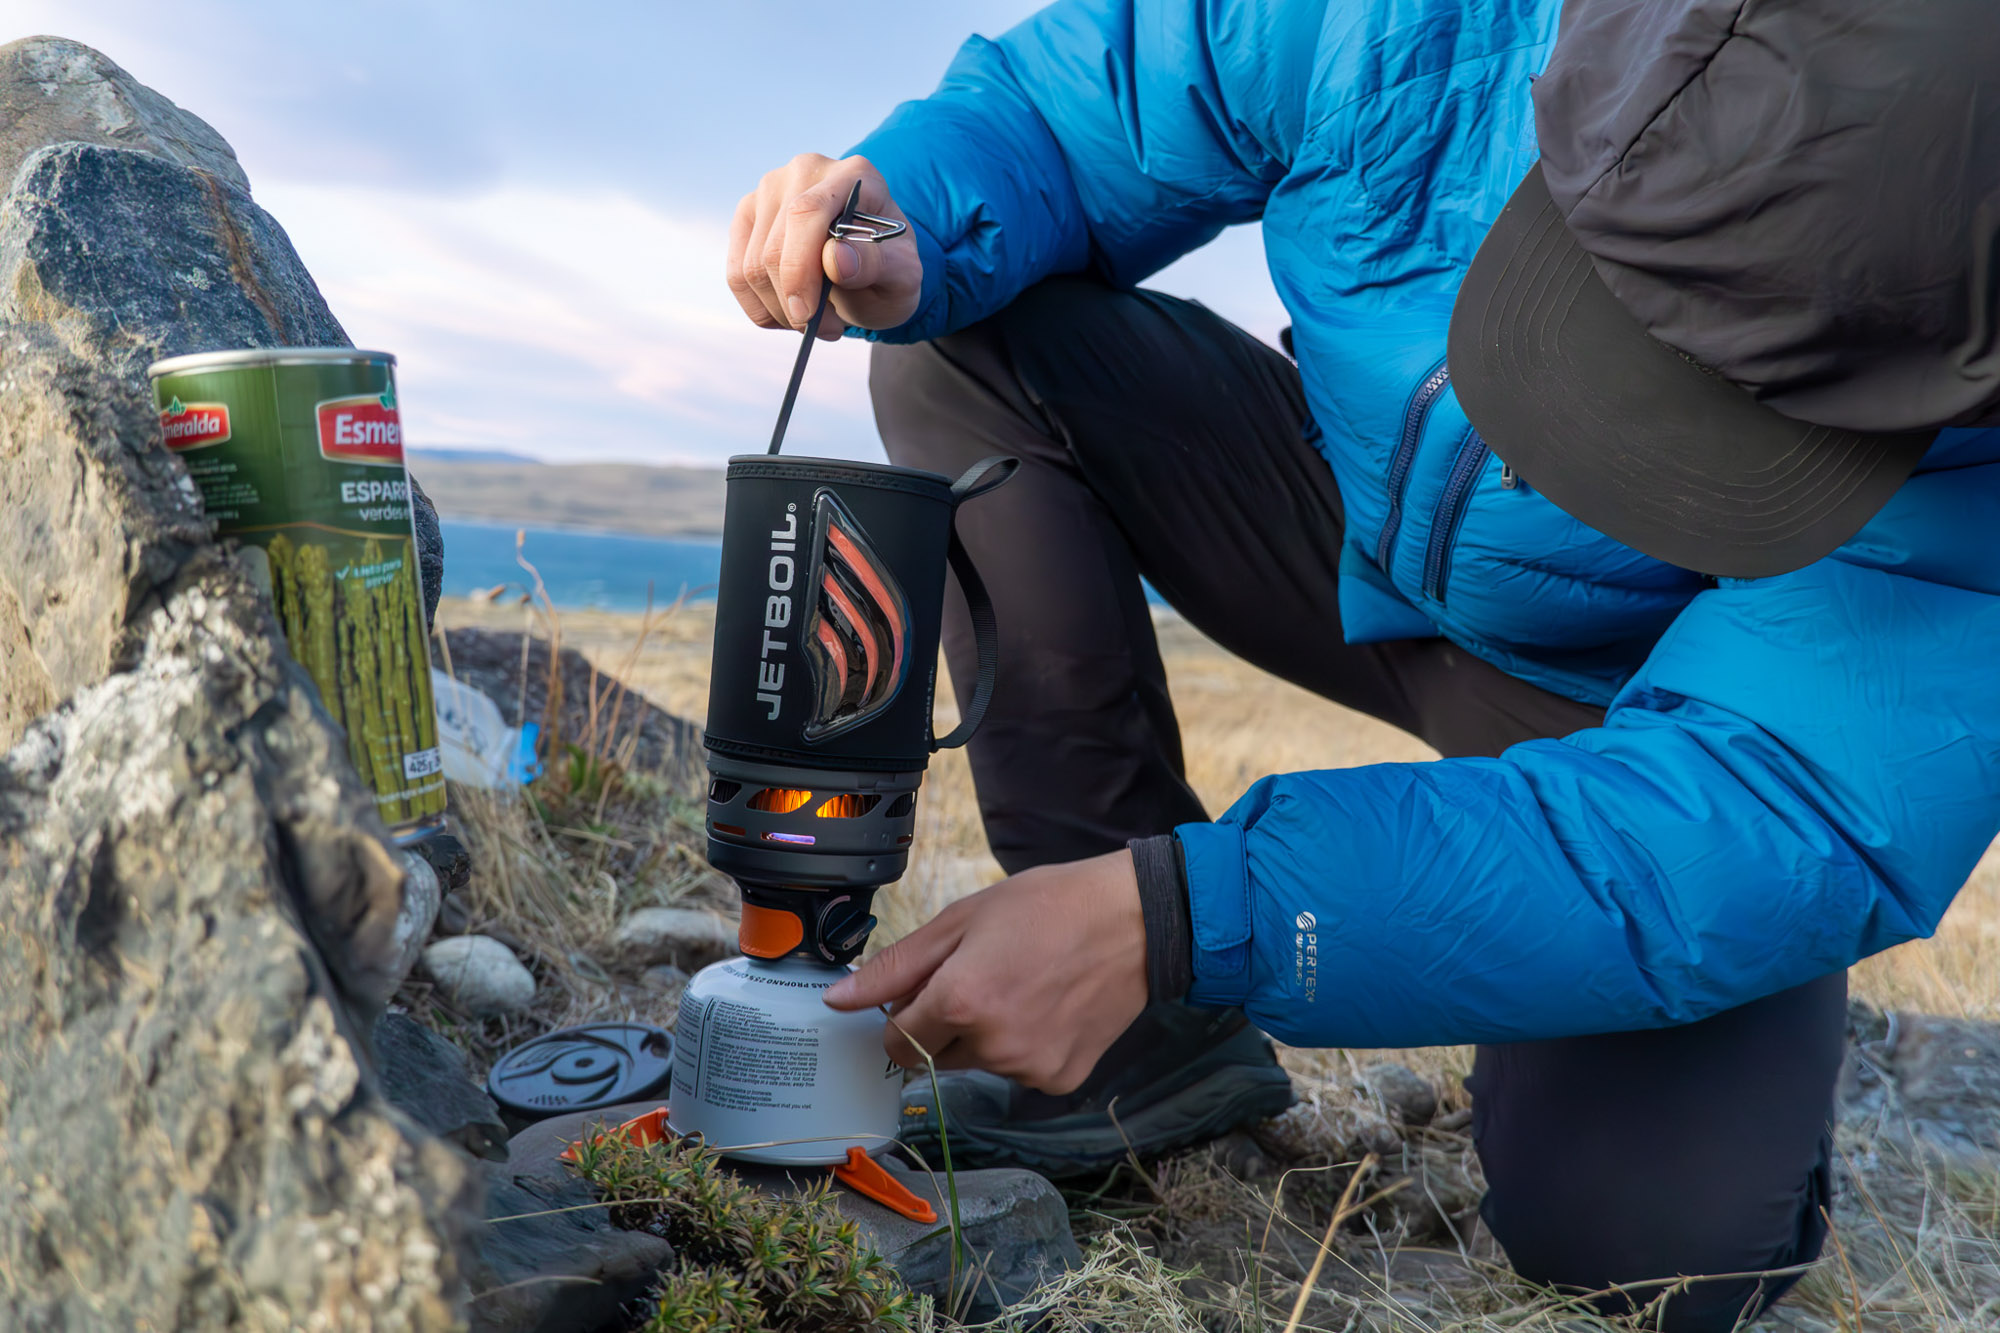
Get backpacking stove fuel cold right
Before you pack your stove, you need to establish a baseline for fuel consumption. Cold weather changes everything. Low temperatures reduce canister pressure, forcing your stove to work harder to maintain a boil. This means your standard summer fuel estimates will leave you short in the backcountry.
Start by identifying your stove’s specific burn rate. Most manufacturers list fuel consumption in grams per minute or ounces per hour. If your data sheet is missing, assume a standard canister stove uses roughly 100–150 grams per liter of water boiled under ideal conditions. In freezing temps, this rate can easily double or triple.
Next, calculate your daily water needs. A practical rule of thumb is to plan for one liter of boiled water per person, per meal. This covers hot drinks, dehydrated meals, and emergency melting if snow is your only water source. Multiply this by the number of meals you plan to cook each day.
Finally, add a safety margin. Cold weather introduces variables like wind, wet wood for pre-heating, and the time it takes for a cold stove to stabilize. Add at least 20% extra fuel to your calculated total. This buffer prevents the anxiety of watching your canister run low when the temperature drops below zero.
Work through the steps
Estimate Backpacking Stove Fuel for Cold Weather Trips works best as a sequence, not a pile of settings. Do the minimum first: confirm compatibility, connect the primary device, update only when needed, and test the result before adding optional features. That order keeps the task understandable and makes failures easier to isolate. After each step, pause long enough for the device or app to finish syncing. Many setup problems are timing problems disguised as configuration problems. If the same step fails twice, record the exact error, restart the smallest affected piece, and retry before moving deeper.

Common mistakes in cold weather fuel estimates
The biggest error is treating cold-weather fuel needs like a summer baseline. Many hikers calculate fuel based on warm-weather boil times, which leads to running out mid-trip. In freezing conditions, your stove works harder, and the fuel consumption rate can double or triple.
Assuming standard boil times apply
A stove that boils one liter of water in three minutes at 70°F (21°C) might take six to eight minutes at 20°F (-6°C). If you plan for three minutes per meal, you will likely burn through your fuel supply in half the time you expected. Always multiply your warm-weather boil time by at least 1.5x, and up to 2x for extreme cold or high wind.
Ignoring wind and snow melt
Wind strips heat away from your pot, forcing the stove to burn more fuel to maintain temperature. Snow melt requires significantly more energy than liquid water. If you are melting snow for water, assume it will take 2-3 times longer than boiling water. Failing to account for this extra energy cost is a common reason for cold-weather fuel shortages.
Overpacking without efficiency checks
While it is better to have extra fuel, carrying too much dead weight slows you down. Instead of guessing, check your stove’s BTU output and fuel consumption rate per minute. Use a windscreen to reduce fuel waste. Calculate your needs based on actual cold-weather performance, not manufacturer specs from a warm lab.
Backpacking stove fuel cold weather: what to check next
Planning a winter trek? The math for estimating backpacking stove fuel changes significantly when temperatures drop below freezing. Cold weather affects canister pressure and burn efficiency, often doubling or tripling fuel consumption compared to summer conditions. Use these answers to adjust your packing list and avoid running out of fuel in the backcountry.
No comments yet. Be the first to share your thoughts!