
Get backpacking stove fuel cold right
Before calculating gram counts, verify that your stove system functions in your target temperatures. Cold weather alters fuel chemistry, and standard canister stoves often fail below freezing. If your gear isn't rated for the cold, extra fuel won't help.
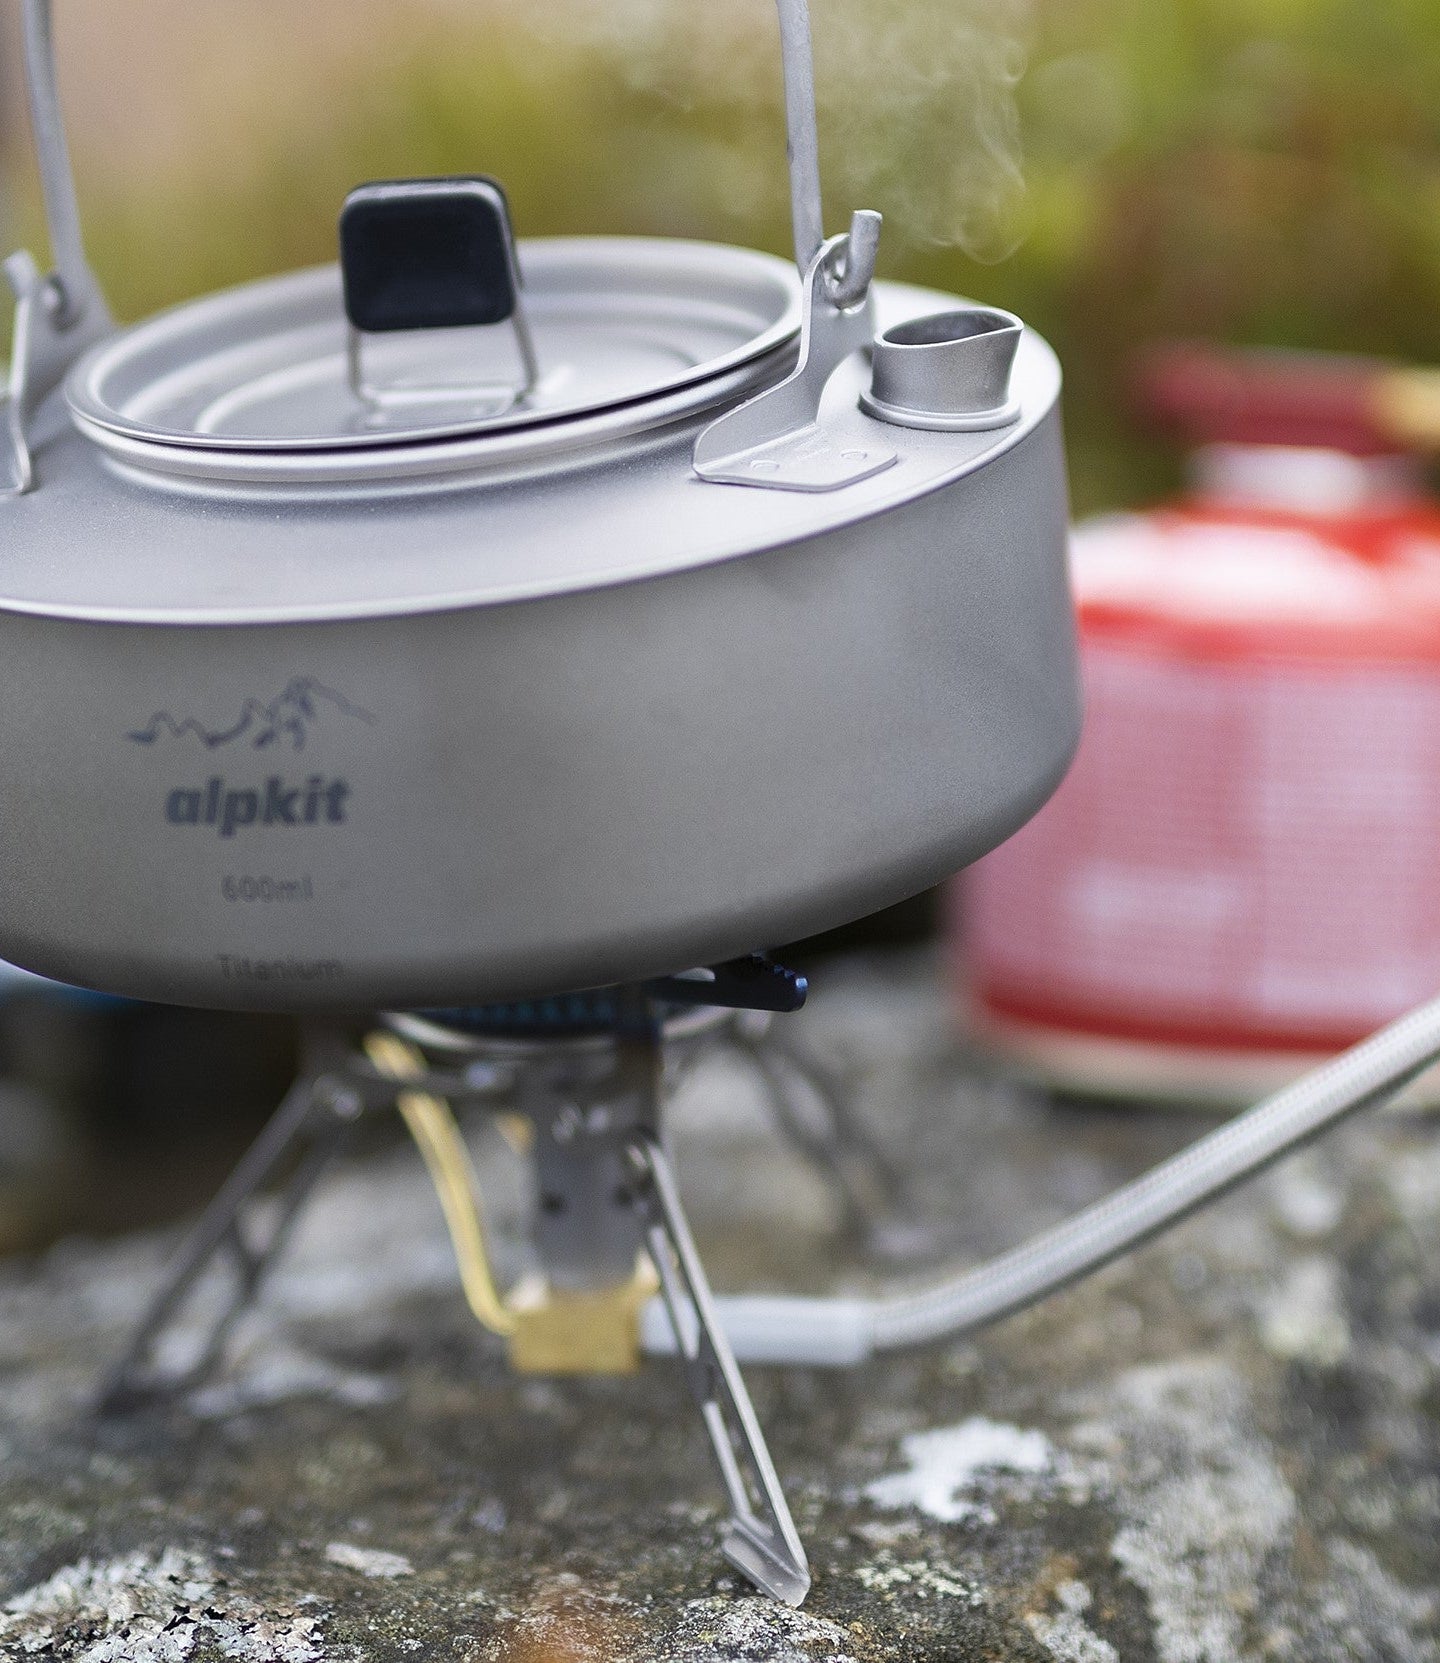
Check your stove's manufacturer specifications for operating ranges. Many standard canister stoves lose efficiency rapidly as temperatures drop. If temperatures dip below 20°F (-6°C), consider switching to a liquid fuel stove or using a canister stove with a heat-insulating base.
Account for the weight penalty of extra fuel. In cold conditions, you may burn two to three times more fuel than in mild weather to achieve the same boil time. Balance the risk of running out against the burden of carrying excess weight.
Test your setup at home. Boil water in your kitchen to establish a baseline boil time for your specific pot and stove combination. This reference point allows you to calculate fuel needs when conditions slow combustion, turning estimates into plans.
Work through the steps
Estimating fuel for cold weather trips requires more than a simple boil-time calculation. Low temperatures increase boil times and force the stove to work harder. Follow this sequence to calculate a safe fuel reserve that accounts for wind, altitude, and the energy needed to keep gear from freezing.
Start with one liter of water per person, per meal. For a two-person trip with breakfast, dinner, and one hot lunch, boil approximately six liters. This baseline assumes moderate temperatures. In cold weather, add 10-20% to this total to account for spillage and extra heating needs to prevent water from freezing in the pot.
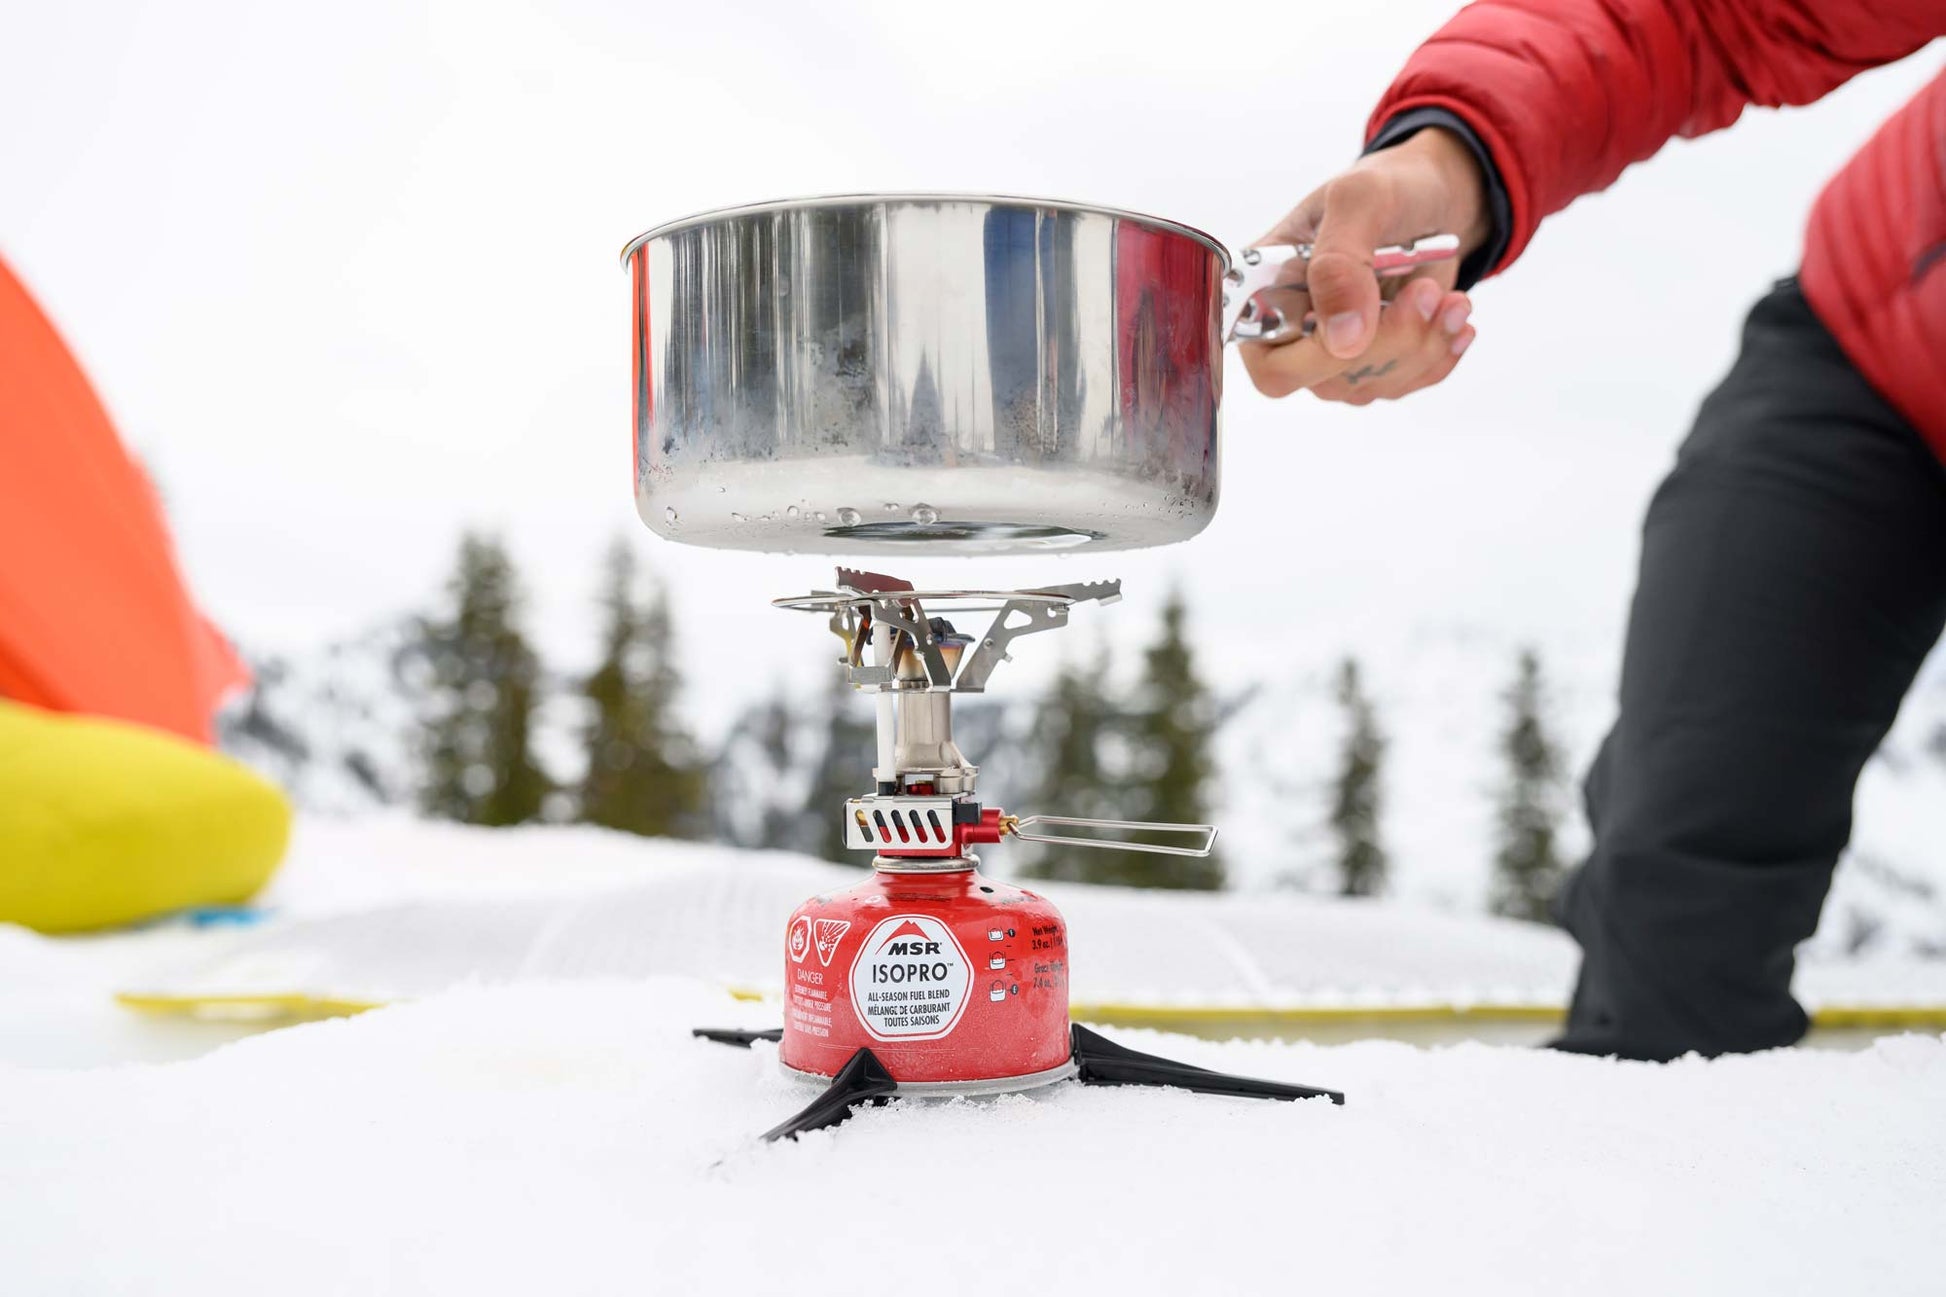
Cold air is denser, changing burn efficiency. In sub-freezing temperatures, expect burn times to increase by 20-30% compared to mild conditions. If your stove boils one liter in three minutes at 50°F (10°C), plan for four to four-and-a-half minutes at 20°F (-6°C). This extra time directly translates to higher fuel consumption. Check your stove manufacturer’s cold-weather performance data, as canister stoves struggle significantly more than liquid fuel systems in extreme cold.
Wind strips heat, forcing the stove to burn fuel just to maintain temperature. In exposed alpine terrain, add another 15-20% to your fuel estimate. Altitude also plays a role; at elevations above 8,000 feet, water boils at a lower temperature, requiring longer boiling times for pasteurization or cooking. Combine wind and altitude adjustments carefully, as they compound each other.
Never pack fuel to the exact theoretical minimum. Cold weather trips often involve delays due to weather or unexpected cold snaps requiring more hot drinks. Add at least one full extra boil capacity (roughly 100-150 grams of canister fuel) as a buffer. If using liquid fuel, carry a small backup canister or extra fuel bottle. This reserve is your insurance policy against running out in freezing conditions.

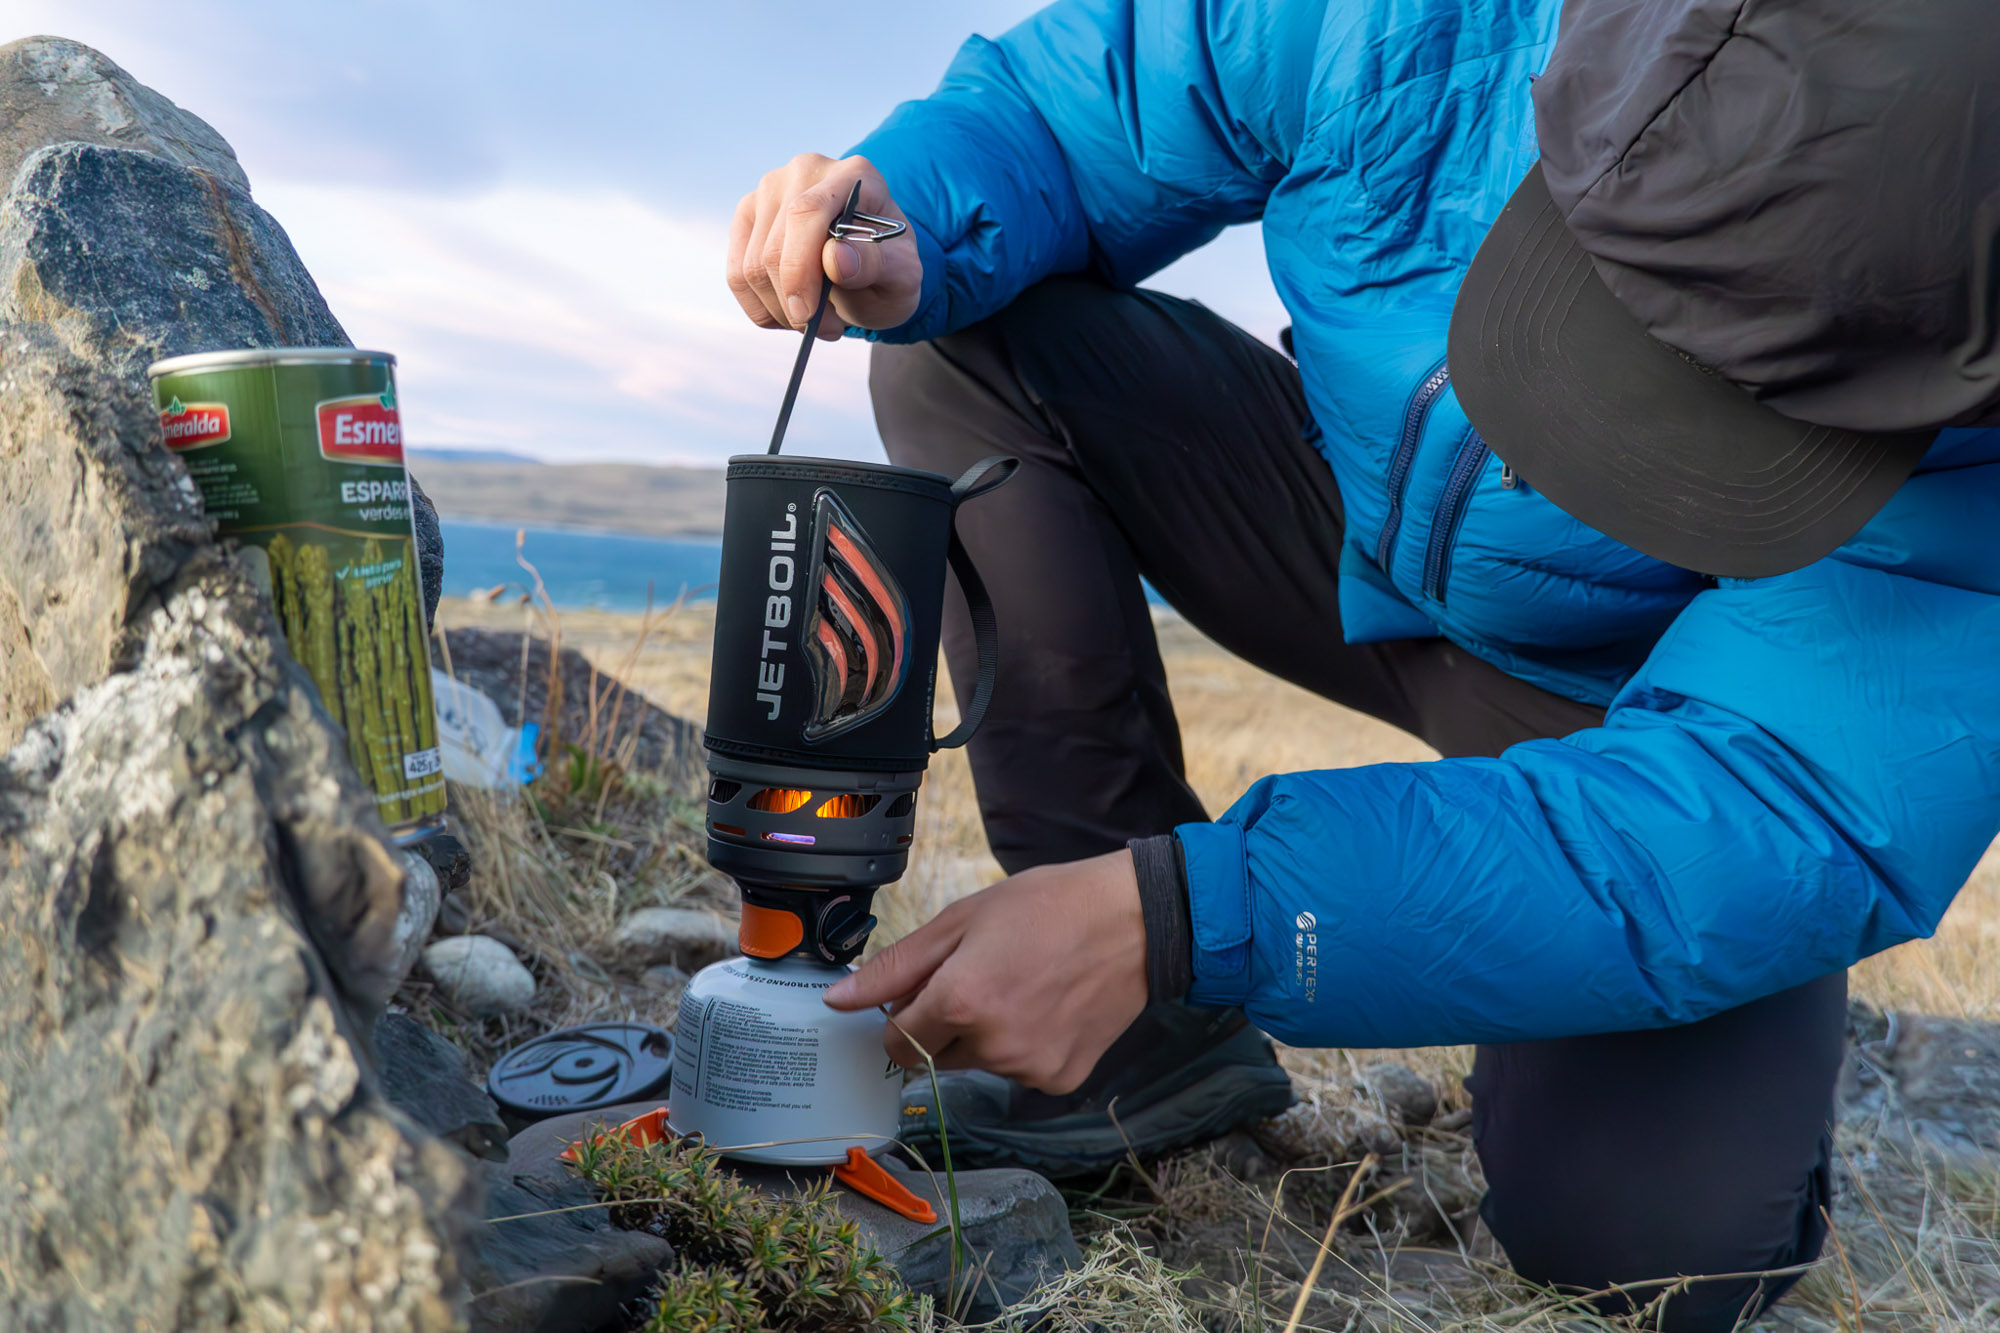
Different stove designs handle cold differently. Jet-fuel-style stoves with pressurization perform better in sub-zero temps than standard canister stoves. If using a standard canister stove, keep the fuel canister warm by sleeping with it or keeping it in an insulated pocket. This pre-warming step improves burn efficiency and reduces total fuel needed. Test your setup at home in cold conditions if possible to gauge real-world performance.


As an Amazon Associate, we may earn from qualifying purchases.
A reliable estimate saves weight and prevents dangerous shortages. By calculating your base volume, adjusting for cold and wind, and adding a safety reserve, you ensure you have enough fuel to stay warm and hydrated.
Common Mistakes When Estimating Cold Weather Stove Fuel
Backpacking in freezing conditions leaves little room for calculation errors. Miscalculations can turn a comfortable trip into a survival situation. Below are the most frequent errors leading to fuel shortages or unnecessary weight.
Ignoring Cold Weather Burn Rates
Stove efficiency drops significantly as temperatures fall. Liquid fuel stoves often handle cold better than canister systems, but both require more fuel to maintain a boil. Many hikers stick to standard boil-time estimates without adjusting for wind, snow melting, or low ambient temperatures. In sub-zero conditions, you may need 20-30% more fuel than your summer calculations suggest. Always factor in a buffer for these environmental stressors.
Miscalculating Water Volume
A common error is underestimating the amount of water needed, including drinking water, cooking water, and melting snow for hygiene. Snow is less dense than liquid water, so melting a cup of snow yields significantly less water than anticipated. Plan for at least one liter of water per person per meal, plus extra for drinking and hygiene. If melting snow, account for the fuel cost, which can be substantial in cold conditions.
Overlooking Stove Maintenance
Fuel estimation often ignores the time and fuel required for stove maintenance. In cold weather, canister pressure drops, leading to inconsistent flames and longer boil times. Cleaning a clogged jet or replacing a worn valve washer can take extra fuel and time. If your stove is not properly maintained, you will burn more fuel to achieve the same result. Regular maintenance checks before and during the trip are essential for accurate fuel planning.
Backpacking stove fuel cold weather: what to check next
Cold weather changes the math. Canister stoves lose pressure as temperatures drop, meaning you burn more fuel to boil the same amount of water. Below are the most common practical concerns hikers face when planning fuel for winter or high-altitude trips.
No comments yet. Be the first to share your thoughts!