
Get backpacking stove fuel cold right
Before you weigh your canisters, you need to lock down the variables that actually drive consumption. Cold weather doesn't just slow down the stove; it changes the chemistry of the fuel and the efficiency of your setup. Skipping this step is the most common reason hikers run out of gas halfway through a trip, leaving them with cold food and a cold tent.
Start by defining your cooking load. You aren't just boiling water for coffee; you are likely melting snow, cooking dehydrated meals, and possibly boiling water for sanitation. Calculate the total number of boils required per day. A standard rule of thumb is one 100g canister for two people cooking three meals a day in mild weather. In sub-freezing conditions, that number often doubles because the stove works harder to maintain a boil and the fuel vaporization drops significantly.
Next, account for altitude and wind. Higher elevations lower the boiling point, which sounds helpful, but the thinner air reduces combustion efficiency. Combined with cold winds, your stove will burn fuel faster to maintain the same heat output. If you are carrying a heavy wind screen, note that it helps, but it also adds weight. The goal is to find the sweet spot where you have enough fuel to handle the worst-case scenario without carrying unnecessary dead weight.
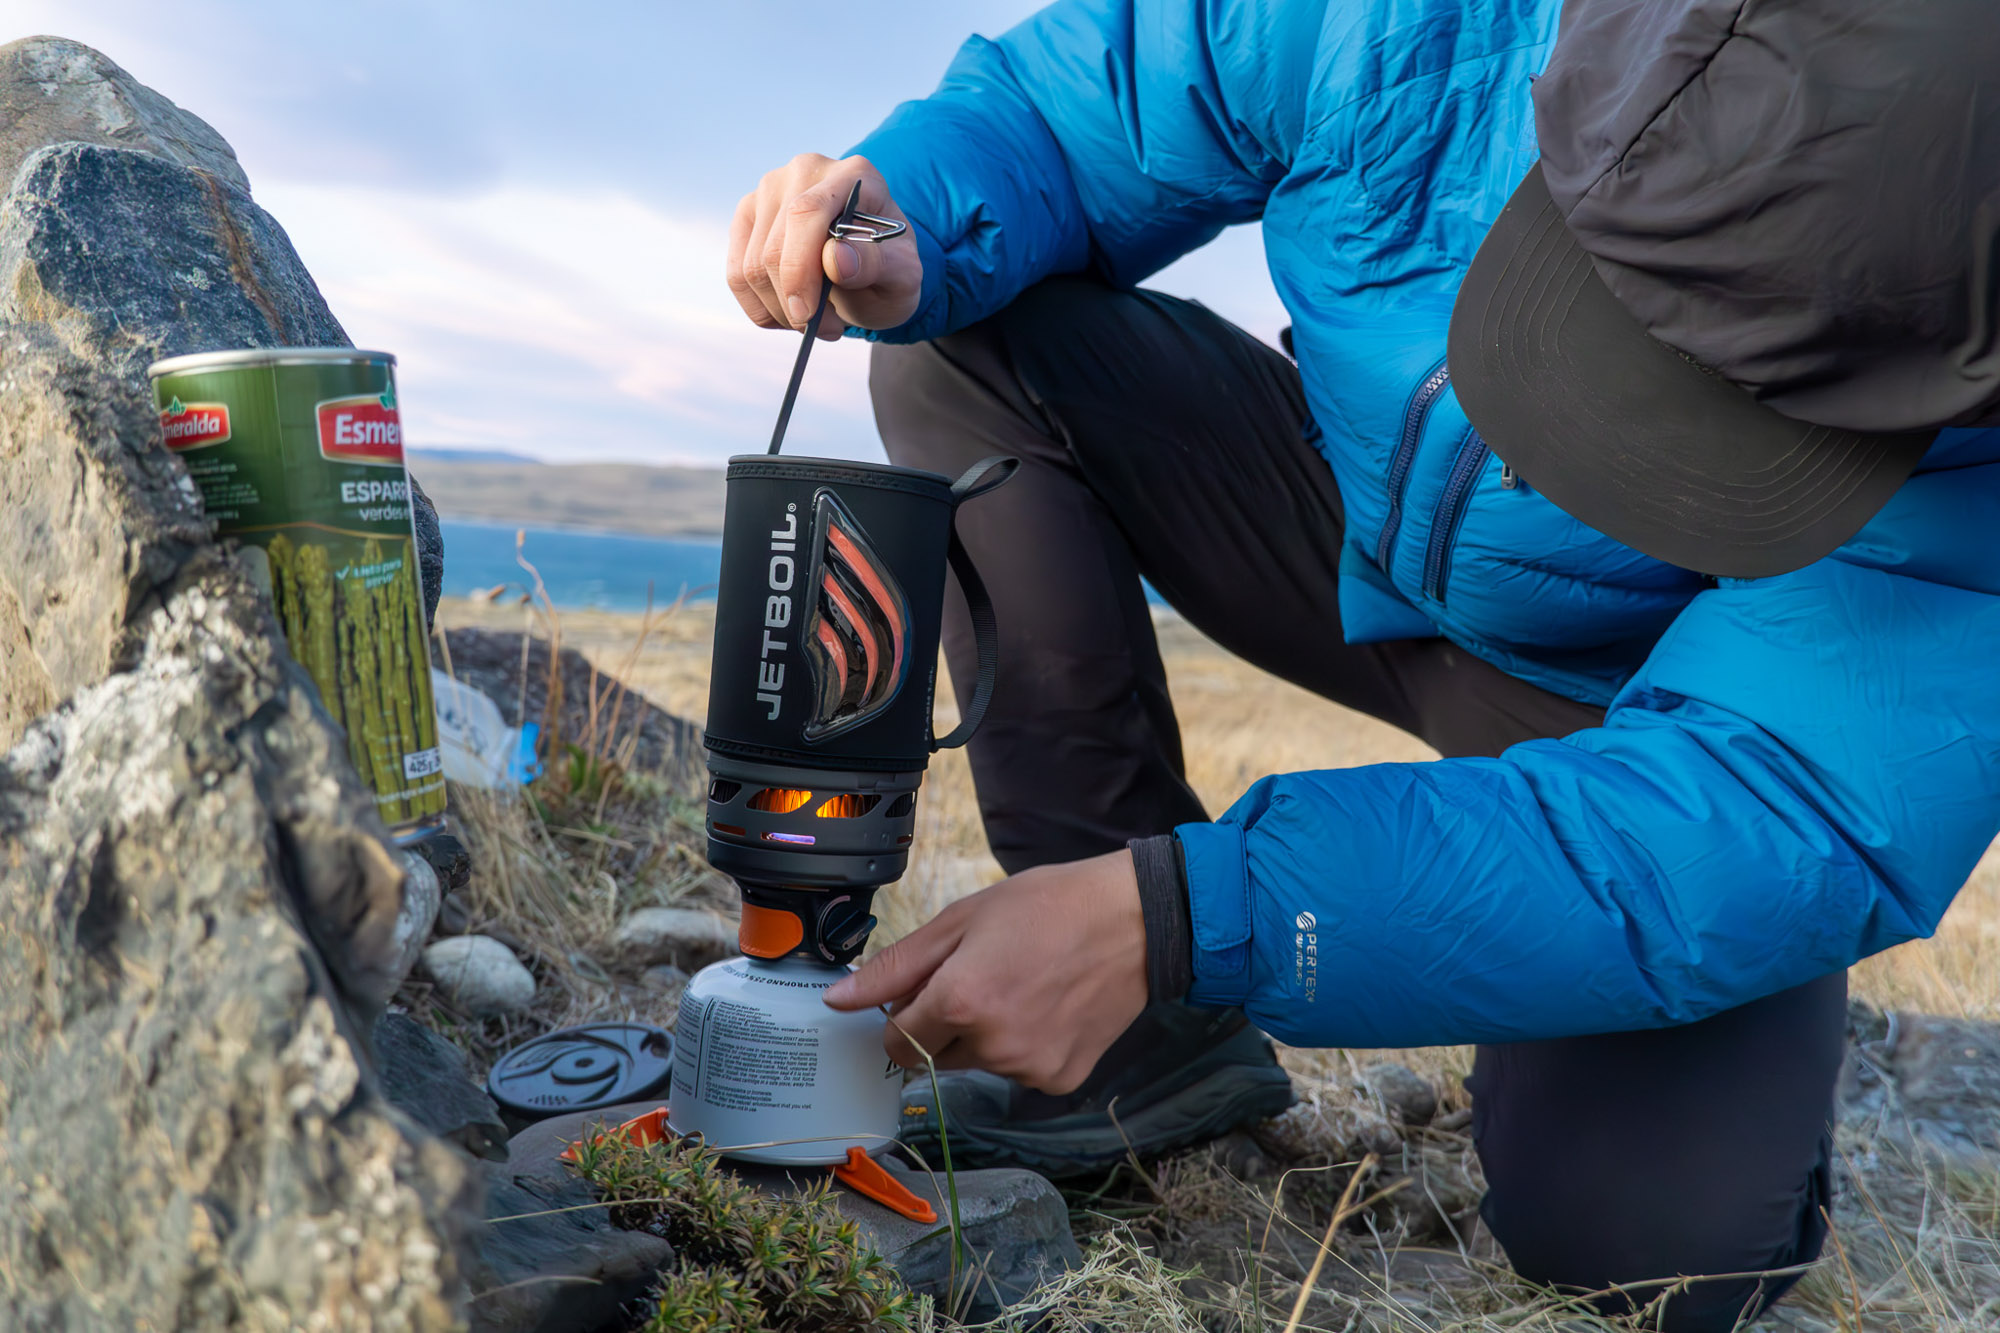
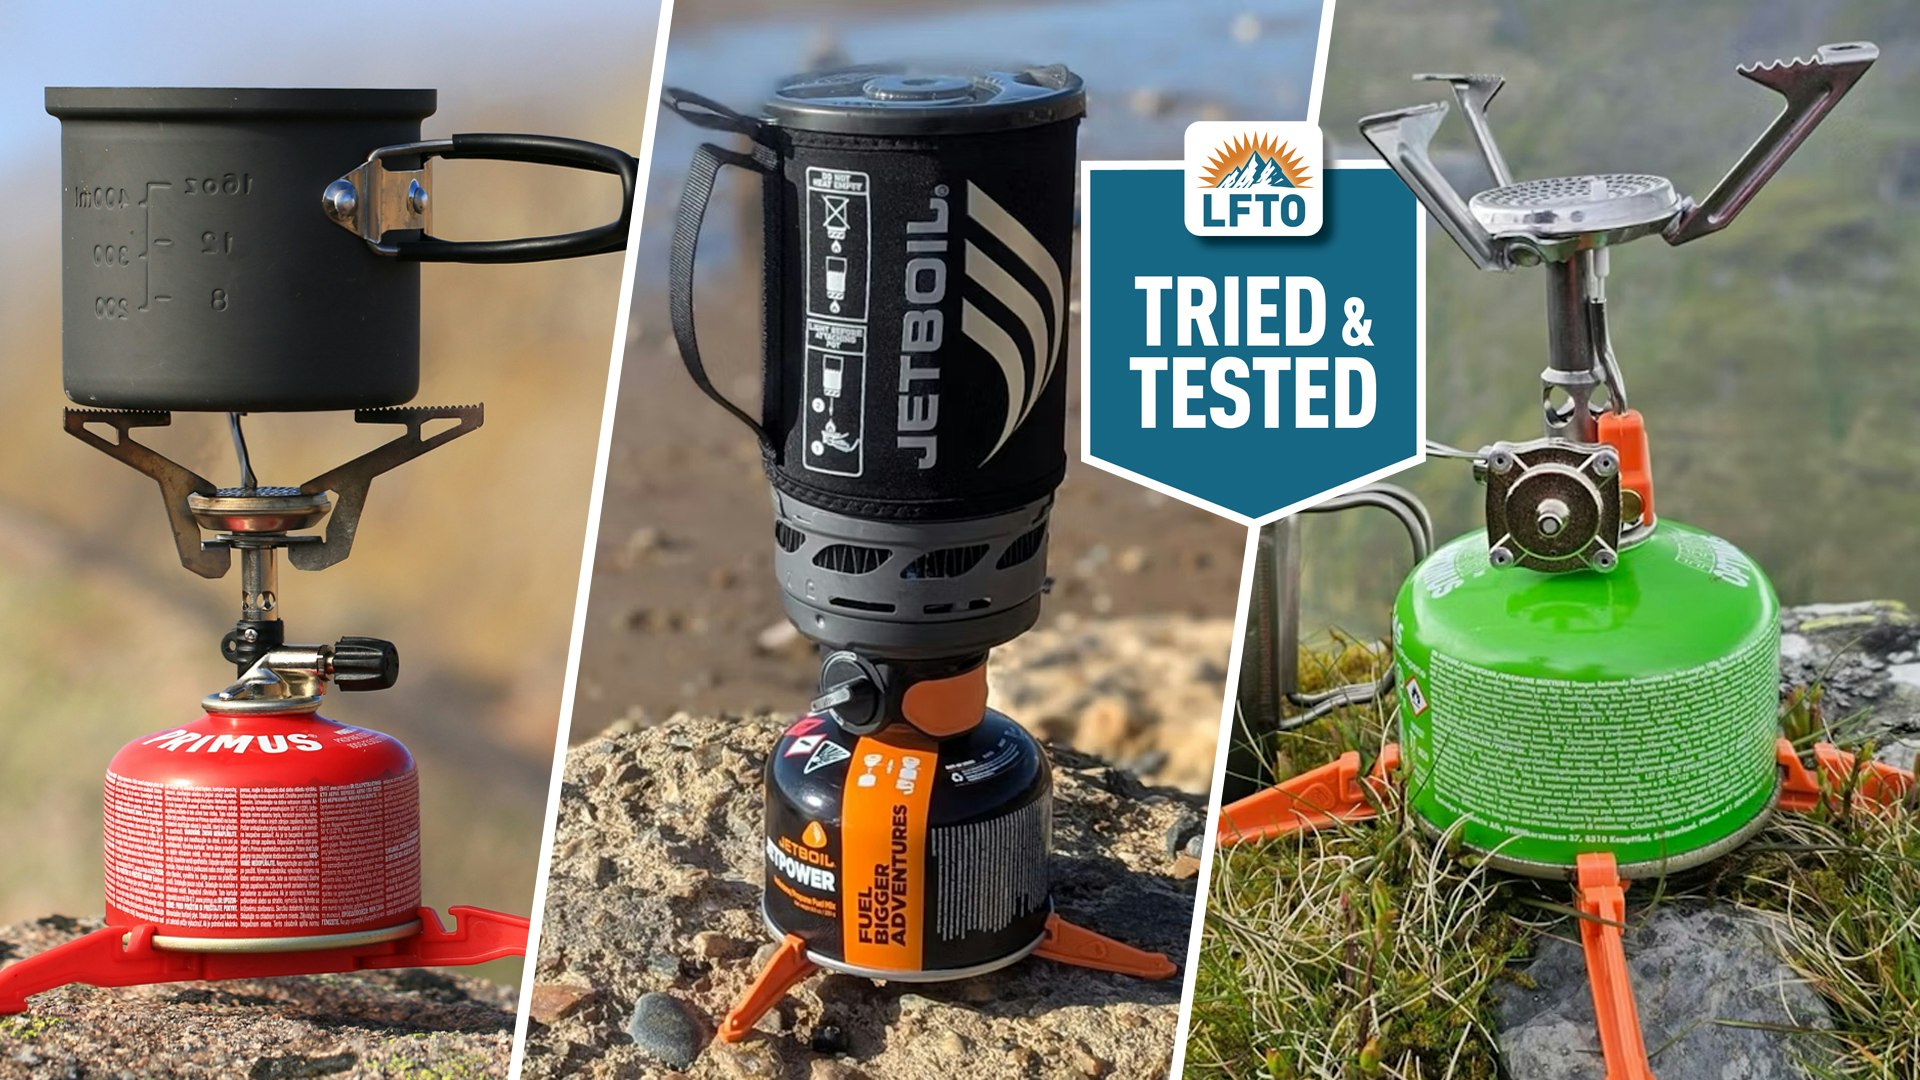
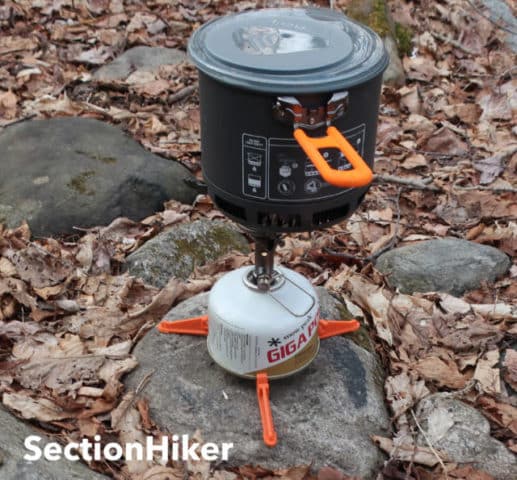
Finally, check your stove type. Jetboil-style integrated systems are more fuel-efficient than traditional canister stoves because they transfer heat directly to the pot. If you are using a standard MSR WhisperLite or similar white-gas stove, the fuel consumption rates are different entirely. Make sure you are using the consumption data specific to your equipment model, not generic averages.
Work through the steps
Estimating fuel for cold weather trips requires more than just counting meals. Cold temperatures, altitude, and wind significantly increase the burn rate of your canister stove. To avoid running out of fuel in the backcountry, follow this sequence to calculate your needs accurately.
Start by listing every time you need to boil water. This includes morning coffee, rehydrating dinner, and any midday hot drinks or snow melting for drinking water. In cold weather, you will likely melt more snow for hydration, so add one extra boil per day to your baseline count. This number is your daily fuel demand before adjustments.
Standard fuel charts assume mild temperatures (around 50°F/10°C). In freezing conditions, fuel efficiency drops by 20–30% because the canister pressure decreases and more energy is lost to the cold air. Multiply your daily boil count by 1.3 to account for this loss. If you are above 8,000 feet or expecting high winds, bump this multiplier to 1.5.
Most canister stoves consume approximately 100–150 grams of fuel per hour of burning. A typical boil takes 4–6 minutes. Calculate your total burn time by multiplying your adjusted daily boil count by the average time per boil. Then, convert that time to fuel weight. For example, 30 minutes of burn time equals roughly 50–75 grams of fuel.
Always carry 20% more fuel than your calculated need. This buffer covers unexpected delays, higher winds, or the need to keep a pot warm for longer periods. In remote areas, a fuel shortage is a serious safety risk. Having extra fuel allows you to stay warm and hydrated even if your schedule changes.
Compare your total fuel need against the capacity of standard 100g, 230g, or 450g canisters. A 100g canister is often insufficient for more than one day in cold weather. For a three-day trip, you might need two 230g canisters or one 450g canister. Ensure your stove is compatible with the canister size you choose, especially if using inverted canister adapters for better cold-weather performance.


As an Amazon Associate, we may earn from qualifying purchases.
Fix common mistakes
Even experienced hikers miscalculate fuel in cold weather. The gap between theory and reality often comes down to ignoring how low temperatures change combustion efficiency. A stove that boils water in ten minutes at room temperature can take twice as long at 20°F (-6°C).
The most frequent error is using summer consumption rates as a baseline. Backpackers often assume one canister lasts for three days of meals. In freezing conditions, that same canister might only last two. This miscalculation leaves you short on fuel when you need it most.
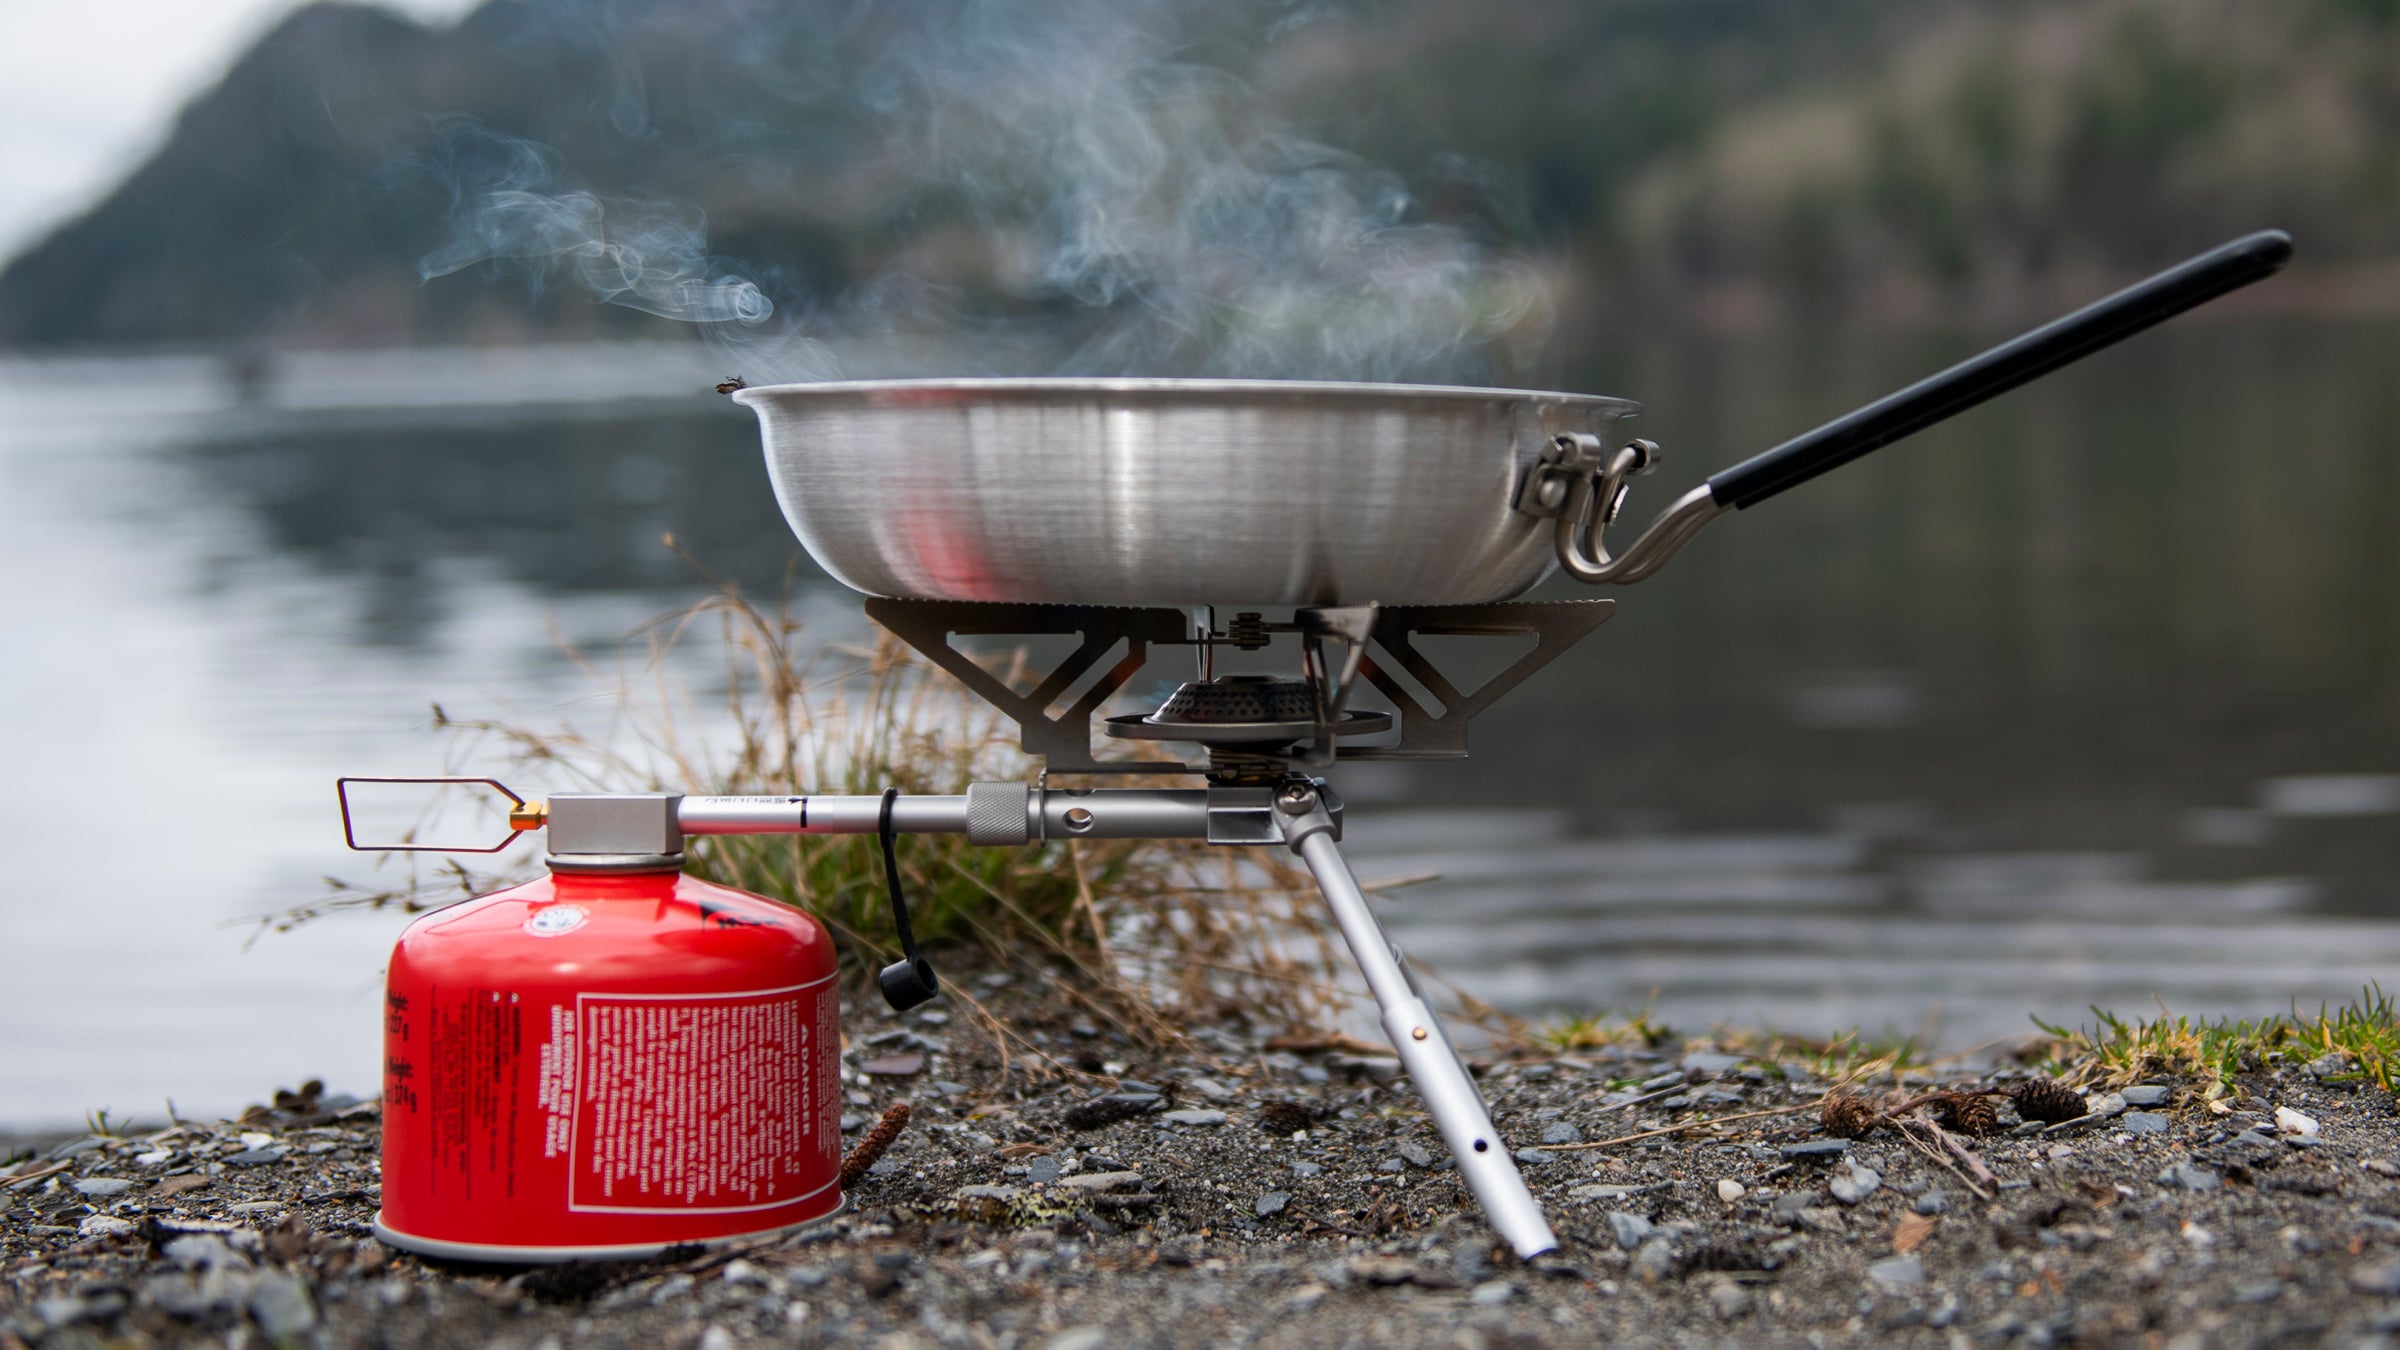
Another common mistake is failing to account for wind. Wind strips heat from the pot and forces the stove to work harder. Without a proper wind screen, you might burn 30% more fuel just to maintain a boil. Always check your wind protection setup before packing.
Finally, don’t forget that fuel pressure drops as the canister empties. In cold weather, this effect is amplified. The last portion of fuel is often the hardest to extract. Plan for a buffer by adding 20% extra fuel to your calculated total. This small addition prevents a cold dinner or the need to boil snow for hours.
No comments yet. Be the first to share your thoughts!