
How altitude affects your stove
Cooking at 10,000 feet is a different game than sea level. Atmospheric pressure drops as you climb, which means water boils at a lower temperature. This changes your cooking times and how your stove behaves. I check the USDA Food Safety and Inspection Service guidelines before long trips to make sure I'm adjusting for these elevation shifts correctly.
Specifically, for every 500 feet above sea level, the boiling point of water drops by roughly one degree Fahrenheit. So, at 10,000 feet, water boils around 194°F instead of 212°F. That might not sound like much, but it significantly slows down cooking processes. Foods that rely on boiling, like pasta or rice, will take considerably longer to become tender. Even simmering sauces or stews will require adjustments.
You'll need more fuel and more patience. Pre-soaking food helps, but you have to be careful with safety since lower boiling temperatures don't kill bacteria as fast. Picking the right stove is the only way to mitigate these physics.

Fuel efficiency at elevation
Different fuel types react differently to the lower air pressure found at higher altitudes. Isobutane, the most common fuel in canister stoves, is particularly susceptible to performance drops. It doesn’t vaporize as efficiently in colder temperatures and lower pressure, meaning you get less heat output. This leads to longer simmer times and overall reduced fuel efficiency.
Propane performs somewhat better than isobutane at altitude, but it still suffers from reduced vaporization. It’s less affected by cold, which can be a bonus if you’re camping in freezing conditions, but the lower pressure still impacts its overall performance. Mixtures of isobutane and propane attempt to balance these issues, but results can vary depending on the blend.
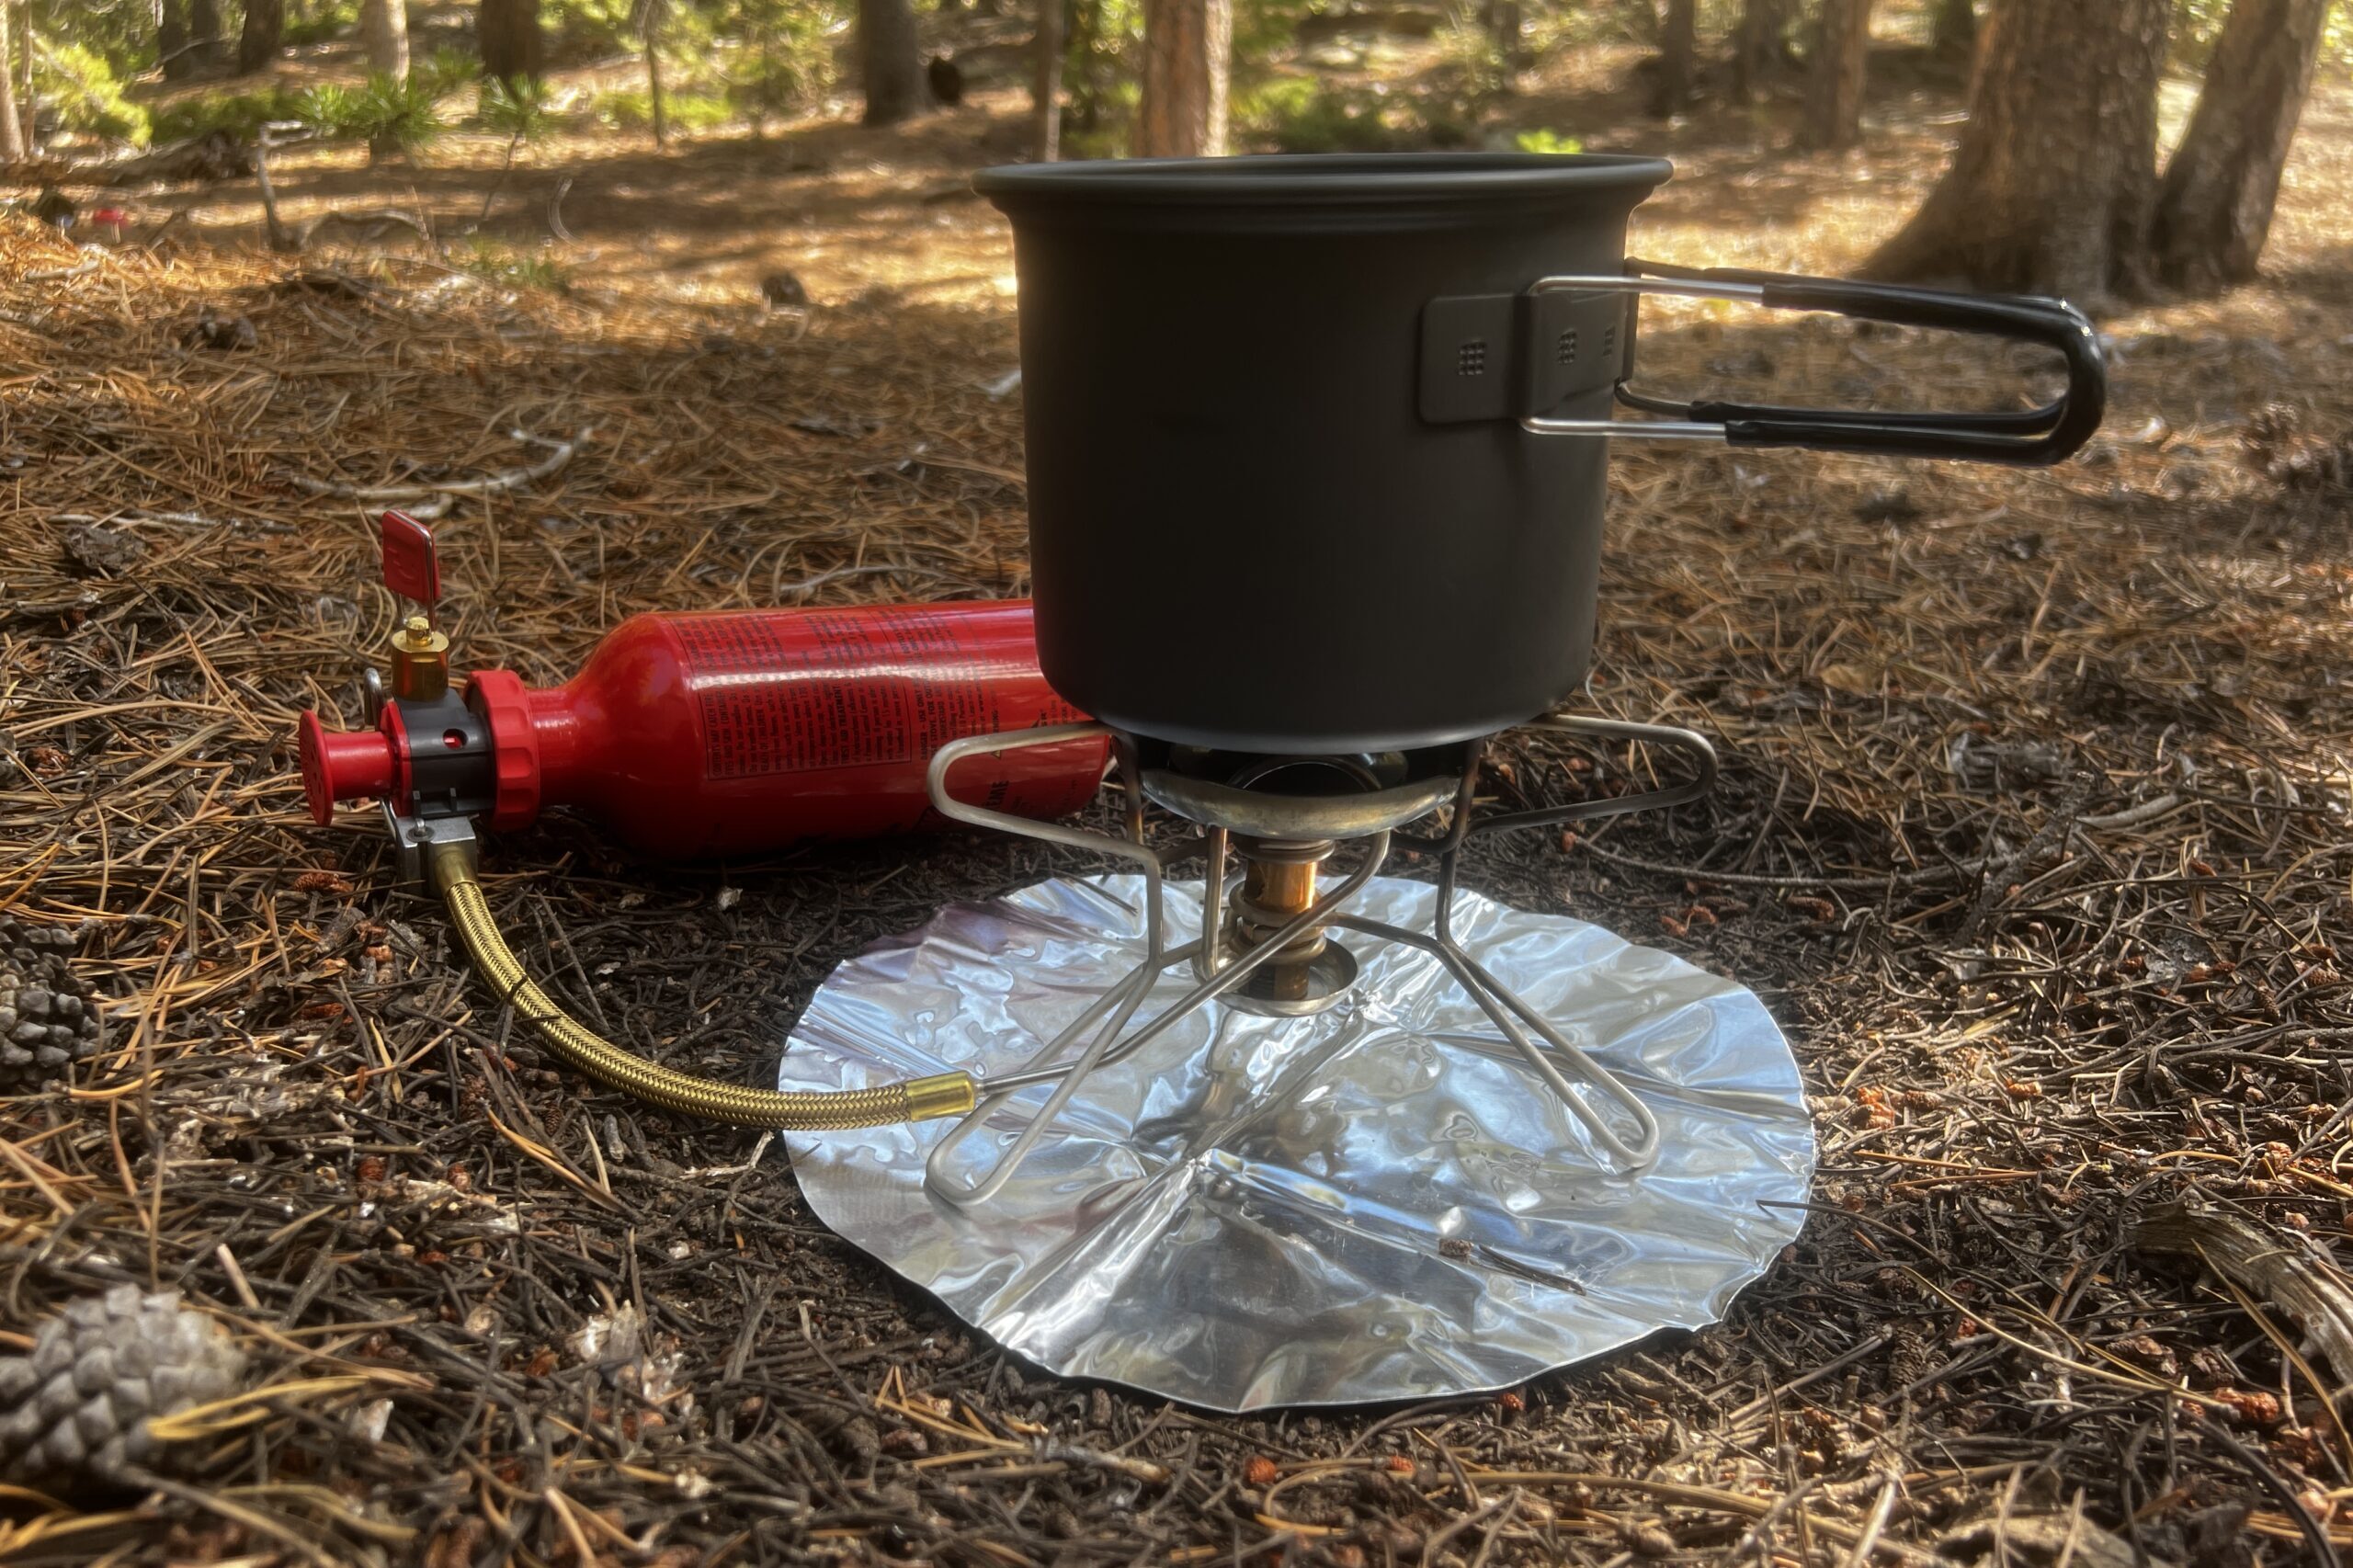
Liquid fuel stoves, using white gas or kerosene, are generally the most reliable at high altitudes. Because they pressurize the fuel tank, they maintain a consistent fuel flow regardless of atmospheric pressure. They’re heavier and require more maintenance than canister stoves, but that reliability is worth it for extended trips above 10,000 feet. I’ve found that a liquid fuel stove is essential for trips lasting more than a week at high elevation – the consistent performance saves both fuel and frustration.
Stove options for 2026
Canister stoves are the lightest, but they struggle when the pressure drops. The MSR PocketRocket 3 is a standard choice because it weighs almost nothing, though you'll burn through fuel faster at 10,000 feet. The Soto Amicus is a better alternative; its recessed burner head handles wind and altitude slightly better than the MSR.
For liquid fuel, the Primus OmniFuel ($180-200) is a workhorse. It’s capable of burning multiple fuel types and is incredibly durable. It’s heavier than canister options, around 11 ounces, but the consistent performance is worth the weight for longer expeditions. The MSR Whisperlite Universal ($150-170) is another solid choice, offering a good balance of weight and performance. Both require regular maintenance, but they’ll reliably boil water even in challenging conditions.
Integrated systems like the Jetboil Flash are fast. The stove attaches to the pot to trap heat, which is helpful in thin air. They aren't very versatile, but they boil water faster than almost anything else. I avoid bringing flat-top grills like those from Camp Chef on these trips—they are too heavy for high-altitude backpacking.
When choosing, consider your trip length and elevation. For a weekend at 8,000 feet, an ultralight canister stove might suffice. But for a week-long trek above 10,000 feet, a liquid fuel stove is a better investment. Don’t forget to factor in the cost of fuel – liquid fuel can sometimes be cheaper in the long run.
Cookware and heat retention
Lower boiling points mean you lose heat faster, so cookware that retains heat well is crucial. Titanium cookware is incredibly lightweight, a huge plus for backpacking, but it’s a poor heat conductor and doesn’t hold heat for very long. It’s best suited for boiling water quickly, but not for simmering or slow cooking.
Aluminum cookware heats up quickly and evenly, but it can develop hot spots and is more prone to scorching. It’s also less durable than other materials. Stainless steel is a more robust option, although heavier. It’s not as efficient at conducting heat as aluminum, but it retains heat much better, making it a good choice for high altitude cooking.
Pot shape and lid design also matter. Wider pots maximize surface area for heat absorption. Lids that fit tightly prevent heat loss and speed up cooking times. Look for pots with dark-colored interiors, as they absorb heat more efficiently. A well-fitting lid is likely one of the simplest and most effective ways to improve your cooking at altitude.
Essential accessories
Don’t underestimate the power of accessories. A wind screen is absolutely essential at altitude. Even a slight breeze can significantly reduce your stove’s efficiency. Many stoves come with a basic wind screen, but upgrading to a more robust model is a worthwhile investment. A pot cozy, essentially an insulated sleeve for your pot, helps retain heat during simmering, reducing fuel consumption.
A lid with a good seal is also important, as mentioned before. It prevents heat loss and keeps food warmer for longer. Lightweight, durable sporks or utensils are a must. Avoid heavy metal utensils that will add unnecessary weight to your pack. Finally, a reliable water filter or purification system is crucial, as altitude can lead to faster dehydration.
I also always carry a small thermometer. It ensures that my food is cooked to a safe internal temperature, especially important when cooking meat at altitude. Here's a quick checklist of essential accessories:
Accessory Checklist: Windscreen Pot Cozy Well-fitting Lid Lightweight Utensils Water Filter/Purifier Thermometer
Troubleshooting on the trail
Cooking at altitude often presents unexpected challenges. One of the most common is food taking forever to cook. The solution is patience and pre-planning. Pre-soaking beans or rice can significantly reduce cooking time. Chopping vegetables into smaller pieces also helps. Another frequent issue is fuel running out quickly. This is especially true with isobutane canisters.
To conserve fuel, use a wind screen, cover your pot with a lid, and avoid unnecessary simmering. If your stove starts sputtering, it could be due to low fuel, a clogged nozzle, or insufficient oxygen. Try shaking the fuel canister or cleaning the nozzle. If you're using a liquid fuel stove, ensure the fuel line isn't kinked.
I once spent an hour trying to cook oatmeal at 12,000 feet, only to realize my canister was nearly empty and the wind was blowing directly into my stove. Lesson learned: always check your fuel levels and find a sheltered cooking spot! A little preparation and troubleshooting knowledge can save you a lot of frustration on the trail.
Food Safety at Altitude: Recommended Cooking Guidelines
| Food Type | Altitude Range (feet) | Recommended Minimum Internal Temperature (°F) | Cooking Time Adjustment |
|---|---|---|---|
| Meat | 8,000-10,000 | 160 | Consider adding 5-10 minutes to typical cooking times. |
| Poultry | 8,000-10,000 | 165 | Consider adding 5-10 minutes to typical cooking times. |
| Vegetables | 8,000-10,000 | N/A | May require slightly longer cooking times for optimal tenderness. |
| Grains | 8,000-10,000 | N/A | Ensure sufficient boiling time, potentially adding a few extra minutes. |
| Meat | 10,000-12,000 | 160 | Increase cooking time by approximately 10-15 minutes. |
| Poultry | 10,000-12,000 | 165 | Increase cooking time by approximately 10-15 minutes. |
| Meat | 12,000+ | 160 | Increase cooking time by at least 15-20 minutes, and verify internal temperature. |
| Poultry | 12,000+ | 165 | Increase cooking time by at least 15-20 minutes, and verify internal temperature. |
Illustrative comparison based on the article research brief. Verify current pricing, limits, and product details in the official docs before relying on it.


No comments yet. Be the first to share your thoughts!