
Backpacking stove fuel calculator constraints
A backpacking stove fuel calculator provides a baseline, but real-world conditions rarely match the spreadsheet. Actual fuel burn depends on wind, cold, and boiling efficiency. Treating the output as a hard limit leaves you carrying dead weight; treating it as a loose estimate risks running out of fuel.
The primary constraint is fuel type. Canister stoves lose efficiency as pressure drops in cold weather or as the canister empties. Liquid fuel burns more consistently in freezing temperatures but requires more maintenance and adds weight. Your calculation must account for these efficiency gaps, not just the raw volume of water boiled.
Cooking style is another hidden variable. Do you boil water for quick rehydration, or simmer soups? Simmering uses significantly more fuel than a rapid boil. If your calculator assumes every meal is a quick boil, you will underestimate needs by 20-30% on longer trips.
Cold weather sharply reduces fuel efficiency. A calculator ignoring ambient temperature gives false confidence. Always add a 20% buffer to your calculated amount to handle unexpected weather or inefficient burning conditions.
Comparing fuel types for weight and performance
Choosing the right fuel for a weekend trip involves balancing weight against performance. A backpacking stove fuel calculator estimates grams needed, but the decision lies in how different fuels perform under specific conditions.
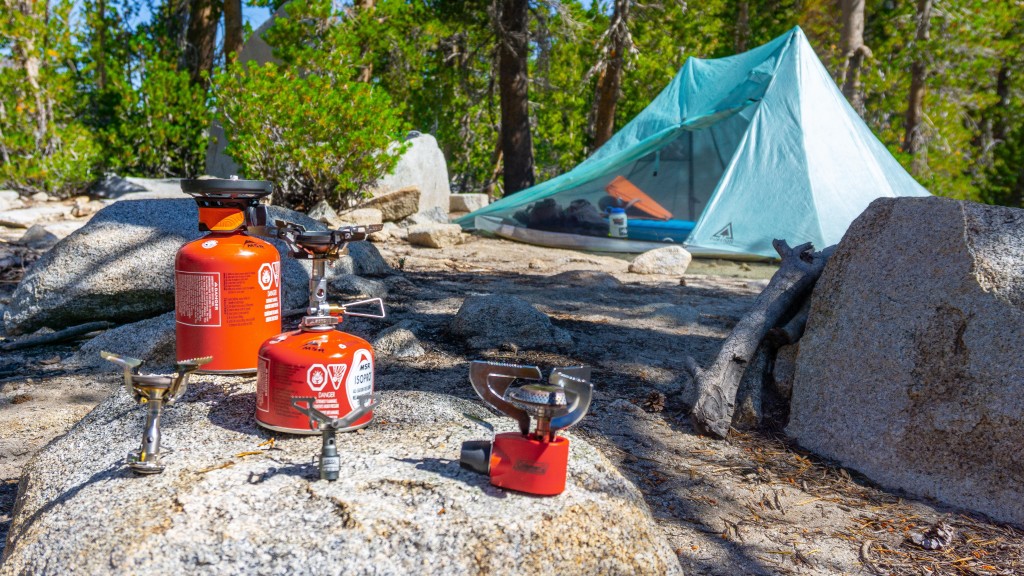
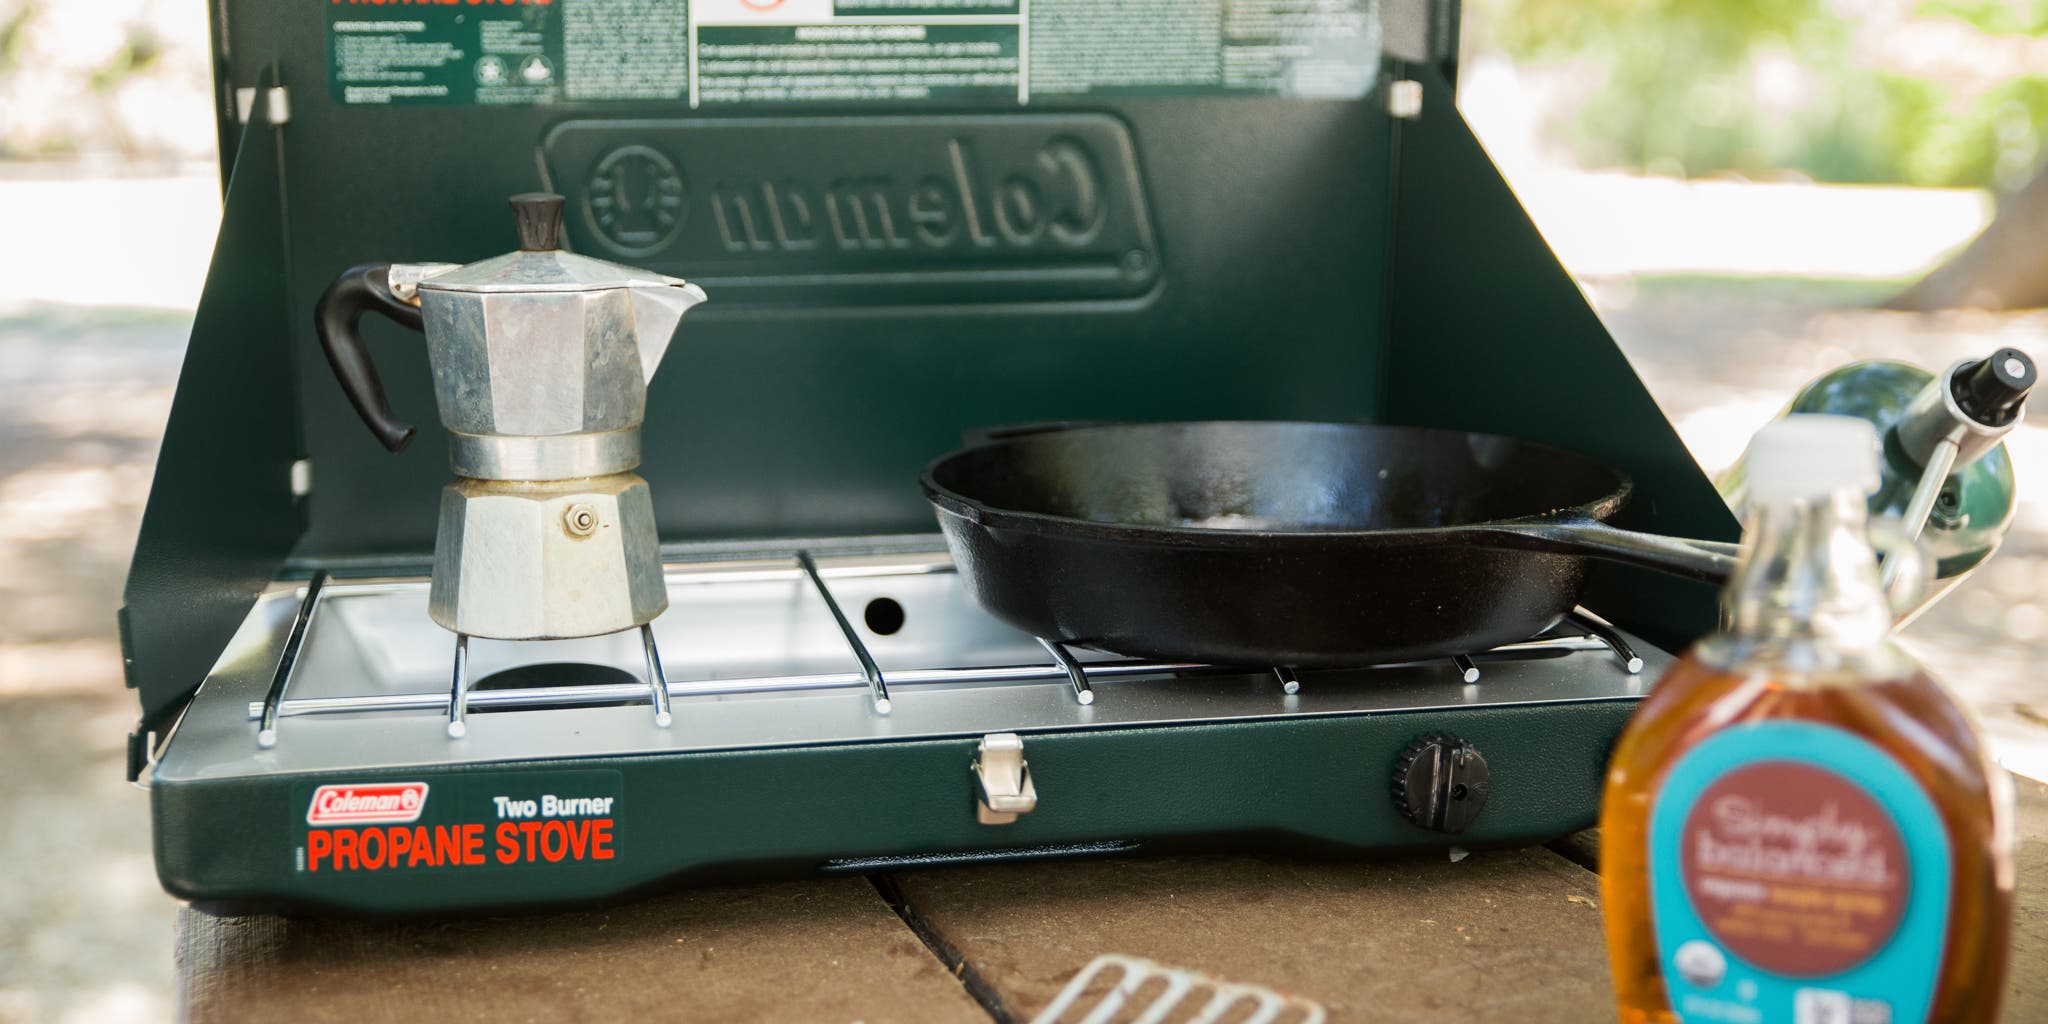
Isobutane-propane mixtures are standard for canister stoves in three-season conditions. They offer convenience and consistent pressure down to about 20°F (-6°C). However, efficiency drops sharply in extreme cold or high winds, often requiring more fuel than predicted. Liquid fuel, such as white gas, remains reliable in freezing temperatures and allows faster boiling, but adds weight and requires pre-heating.
| Fuel Type | Canister Weight | Cold Weather | Cost per Meal |
|---|---|---|---|
| Isobutane-Propane | Light (100g = ~20 mins boil) | Poor below 20°F | $$ |
| White Gas | Heavy (Bottle + Stove) | Excellent | $ |
| Alcohol | Very Light (DIY Stove) | Poor | $ |
| Solid Fuel | Light (Tablets) | Poor | $$$ |
Isobutane is popular for weekend trips because it balances weight and ease of use. A standard 100g canister is often enough for a solo three-day trip boiling water for dehydrated meals. If cooking complex meals or hiking at high altitudes, you may need a larger 230g canister. Liquid fuel systems are heavier upfront but the fuel is cheaper and burns hotter, making them better for longer expeditions or winter camping.
Altitude and wind are silent fuel consumers. Thinner air at higher elevations affects combustion efficiency. Wind forces you to use a windscreen, which traps heat but can cause the stove to run hotter and burn more fuel. Always add a 10-15% buffer to your calculator's output to account for these variables.
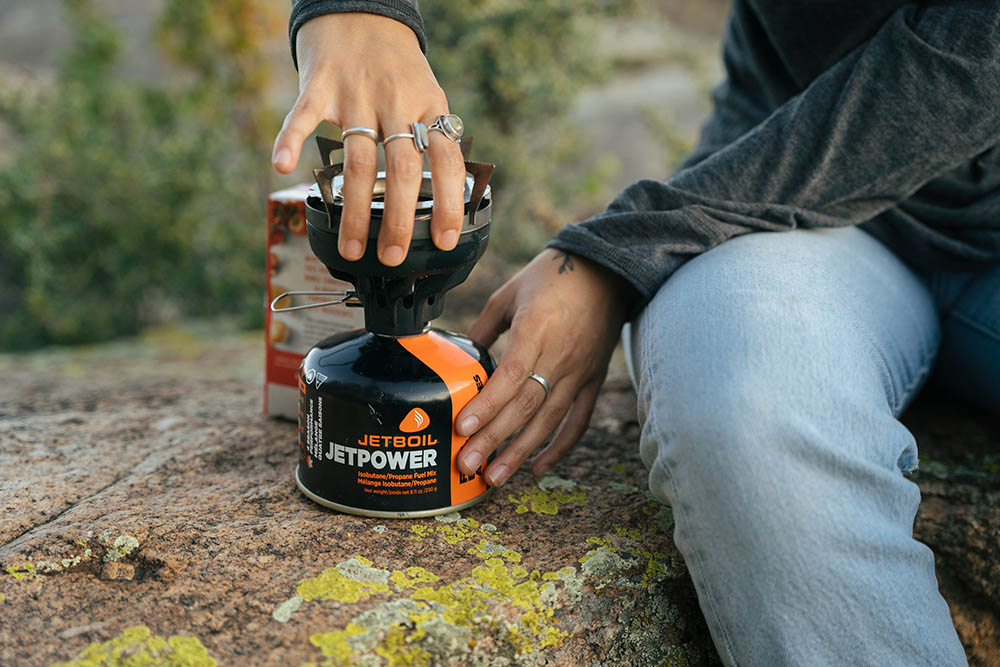
The calculator above uses a baseline of 7 grams per boil for a standard canister stove. Adjust this based on your stove's efficiency. Lightweight alcohol stoves may need 10-12 grams per boil. High-efficiency integrated systems like a Jetboil might only need 4-5 grams. Understanding your specific gear's consumption rate is the most accurate way to plan your fuel load.
How to choose the right fuel amount
Choosing the right fuel amount balances weight against the risk of running out. Most backpackers use a simple baseline: one liter of water per person, per meal. If you plan to boil water for dinner, morning coffee, and a midday snack, you need roughly three liters of boiling capacity.
This baseline works for moderate climates. Cold weather and high altitude change the equation. In freezing temperatures, your stove burns fuel faster to maintain a boil. At higher elevations, water boils at a lower temperature, requiring longer simmering to cook pasta properly. Always add a 20% buffer if you expect sub-freezing nights.
Weighing your options between fuel types is the final step. Canister stoves are convenient but carry more dead weight when empty. Liquid fuel is lighter per boil but requires more maintenance. For a typical two-person, three-day trip in fair weather, a single 230g canister is usually sufficient. If heading into colder conditions, plan for two smaller canisters or one larger 450g can instead of just one small 100g unit.
Count the number of times you will boil water for each person. A standard rule of thumb is one liter per meal. Multiply this by the number of days and people to get your total volume target.
Add 20% more fuel if you expect temperatures below freezing or if you are camping above 8,000 feet. Cold air and thin air both force your stove to work harder and burn longer.
Match your calculated volume to available canister sizes. A 100g canister provides about 30-45 minutes of burn time. For a weekend trip, a 230g or 450g canister is often the sweet spot between weight and capacity.
Common Fuel Calculation Mistakes
Most hikers underestimate fuel needs by assuming a single 100g canister covers a full weekend. While REI notes this might suffice for a solo trip with minimal cooking, it often falls short if you plan to melt snow or cook complex meals. Relying on generic rules like "one liter per person per meal" ignores variables like altitude and wind resistance.
A frequent error is ignoring stove efficiency. Canister stoves lose significant fuel in cold temperatures, and liquid fuel stoves may struggle with pressure regulation. Always add a 20% buffer to your calculated total. This safety margin prevents running out of fuel during unexpected weather delays or if your primary stove fails.
Optimizing fuel calculations for your trip
Packing too much fuel adds unnecessary weight, while bringing too little leaves you without hot meals. This section addresses the practical variables that affect your backpacking stove fuel calculator results, helping you fine-tune your estimate for a weekend trip.
Does cold weather really change fuel consumption?
Yes, significantly. Cold temperatures and wind force your stove to work harder to boil water, increasing burn rates by 20–50%. If your weekend trip involves high elevations or freezing nights, add a 30% buffer to your calculator’s baseline. Using a windscreen and insulating your canister with a cozy can also help maintain efficiency.
How does stove type affect the calculation?
Integrated systems like JetBoil are highly efficient because they heat the pot directly, often using less fuel than traditional canister stoves. However, traditional stoves offer more control for simmering. If you’re using a high-output stove for quick boils, your fuel consumption will be higher. Adjust your calculator inputs based on whether you prioritize speed or weight savings.
Is one 100g canister enough for a solo weekend trip?
For a solo weekend trip (two nights, three hot meals/drinks), a 100g canister is often sufficient in ideal conditions. However, if you plan to cook multiple meals per day or boil large volumes of water for group meals, you may need a 230g canister. Use the calculator to input your specific meal count to avoid running out mid-trip.
How do I account for group size in the estimate?
Fuel consumption scales with the number of people, but not linearly. Boiling water for one liter for two people takes roughly the same time as for one person if you use a larger pot. The calculator should account for total volume of water needed, not just per-person averages. Focus on the total liters to boil, then divide by your stove’s efficiency rate.
No comments yet. Be the first to share your thoughts!