
The reality of cooking at 14,000 feet
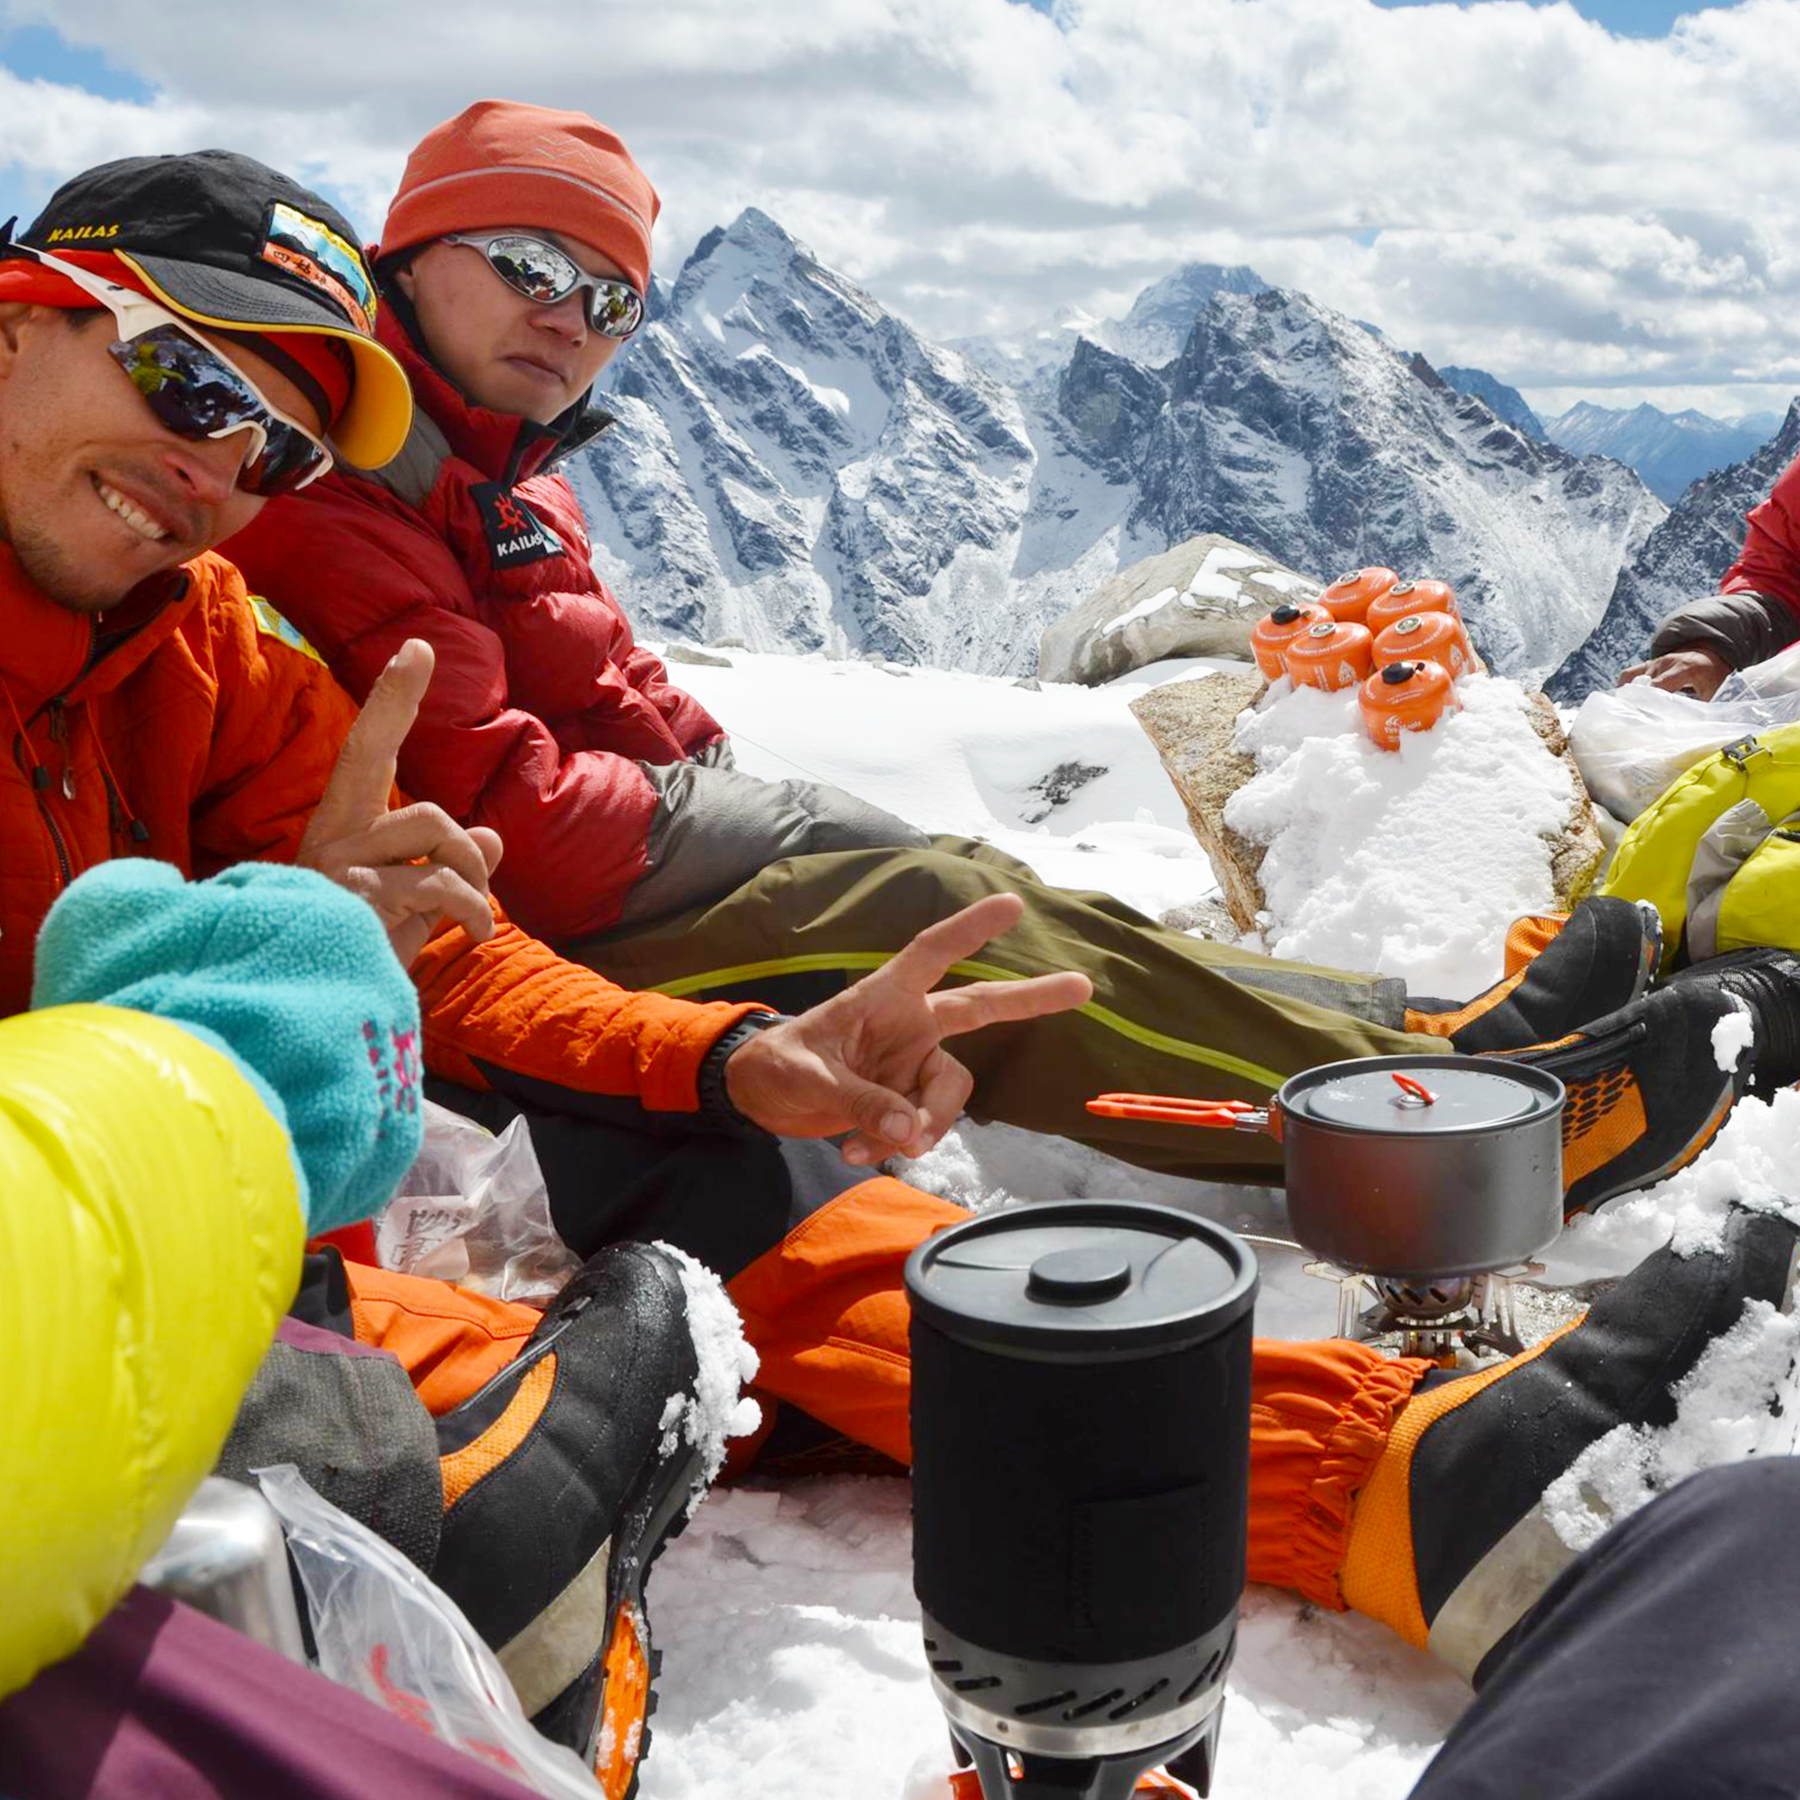
Cooking at 14,000 feet is a fight against physics. Between the low boiling points and the wind, you aren't just making dinner; you're managing fuel efficiency and basic safety while your body is redlining. If you don't get the gear right, you won't get the calories you need to keep moving.
Mountaineering expeditions, scientific research teams, and even ambitious backcountry skiers are increasingly venturing to these extreme elevations, meaning the need for reliable, high-altitude cooking solutions is growing. Forget leisurely camp cooking; this is about efficient fuel use, minimizing weight, and preparing meals quickly in potentially hazardous weather. A failed stove or improperly cooked food can quickly turn a challenging situation into a dangerous one.
The lower air pressure significantly impacts heat transfer and fuel combustion. What works perfectly at sea level can be frustratingly inadequate at 18,000 feet. You’ll need to adjust cooking times, consider different fuel types, and prioritize wind protection. The USDA’s Food Safety and Inspection Service provides valuable guidelines on safe cooking temperatures, even at altitude, and understanding these is paramount. You can find their resources at fsis.usda.gov.
Successfully cooking at high altitude isn't about replicating a kitchen experience. It’s about adapting, prioritizing, and being prepared to overcome unexpected challenges. It’s a skill that separates a well-prepared expedition from one that’s simply struggling to survive.

Why water won't stay hot
The most immediate challenge of high-altitude cooking is the decreasing boiling point of water. At sea level, water boils at 212°F (100°C), but for every 1,000 feet of elevation gain, the boiling point drops by roughly 1°F (0.55°C). This means that at 14,000 feet, water boils around 193°F (89.4°C), and at 18,000 feet, it’s closer to 189°F (87.2°C). This lower temperature impacts cooking times and, crucially, food safety.
The USDA guidelines emphasize that cooking temperatures must be maintained for sufficient periods to kill harmful bacteria. While a rolling boil is generally recommended, a lower boiling point means food will take longer to reach a safe internal temperature. This is particularly important for meats, poultry, and eggs. Relying on visual cues alone – like 'looks cooked' – is insufficient at altitude.
Here's a quick reference for boiling temperatures at different elevations:
A meal that takes 15 minutes at sea level can take twice as long at 14,000 feet. I always carry a thermometer because 'looking cooked' is a dangerous lie when water boils at 193°F. Getting food poisoning in a tent three days from the nearest trailhead is a mistake you only make once.
- 10,000 feet: 203°F (95°C)
- 14,000 feet: 193°F (89.4°C)
- 18,000 feet: 189°F (87.2°C)
Boiling Point of Water at Various Altitudes
| Altitude (ft) | Altitude (m) | Boiling Point (°F) | Boiling Point (°C) |
|---|---|---|---|
| 10,000 | 3048 | 194 | 90 |
| 12,000 | 3658 | 191 | 88.3 |
| 14,000 | 4267 | 188 | 86.7 |
| 16,000 | 4877 | 185 | 85 |
| 18,000 | 5486 | 182 | 83.3 |
Illustrative comparison based on the article research brief. Verify current pricing, limits, and product details in the official docs before relying on it.
Choosing a stove that won't quit
Choosing the right stove is arguably the most important decision when preparing for high-altitude cooking. There are three main types to consider: canister stoves, liquid fuel stoves, and alcohol stoves. Each has its strengths and weaknesses, particularly when operating in low-pressure, cold environments.
Canister stoves, fueled by isobutane/propane mixes, are popular for their convenience and ease of use. However, their performance can drop significantly at altitude and in cold temperatures. Isobutane, the primary fuel in many canisters, struggles to vaporize efficiently when the air pressure is low and the temperature drops below freezing. Propane performs better in the cold, so blends with a higher propane content are preferable for mountain expeditions. Integrated canister stoves, with built-in wind protection, offer improved performance, but they still suffer from fuel vaporization issues.
Liquid fuel stoves, using white gas (naphtha) or kerosene, are generally considered the most reliable option for high-altitude cooking. White gas has a lower boiling point than kerosene, making it easier to vaporize at altitude, but kerosene is more readily available in some parts of the world. Liquid fuel stoves are less susceptible to cold temperatures and maintain consistent pressure, providing a more stable flame. However, they require more maintenance and priming.
Alcohol stoves are the simplest and lightest option, but they are also the least efficient. They struggle to produce enough heat for rapid boiling, especially at altitude, and are highly susceptible to wind. While suitable for melting snow or making a small cup of tea, they are generally not practical for cooking full meals. Solid fuel stoves, like Esbit, are even lighter but offer very limited cooking time and are best reserved for emergency situations.
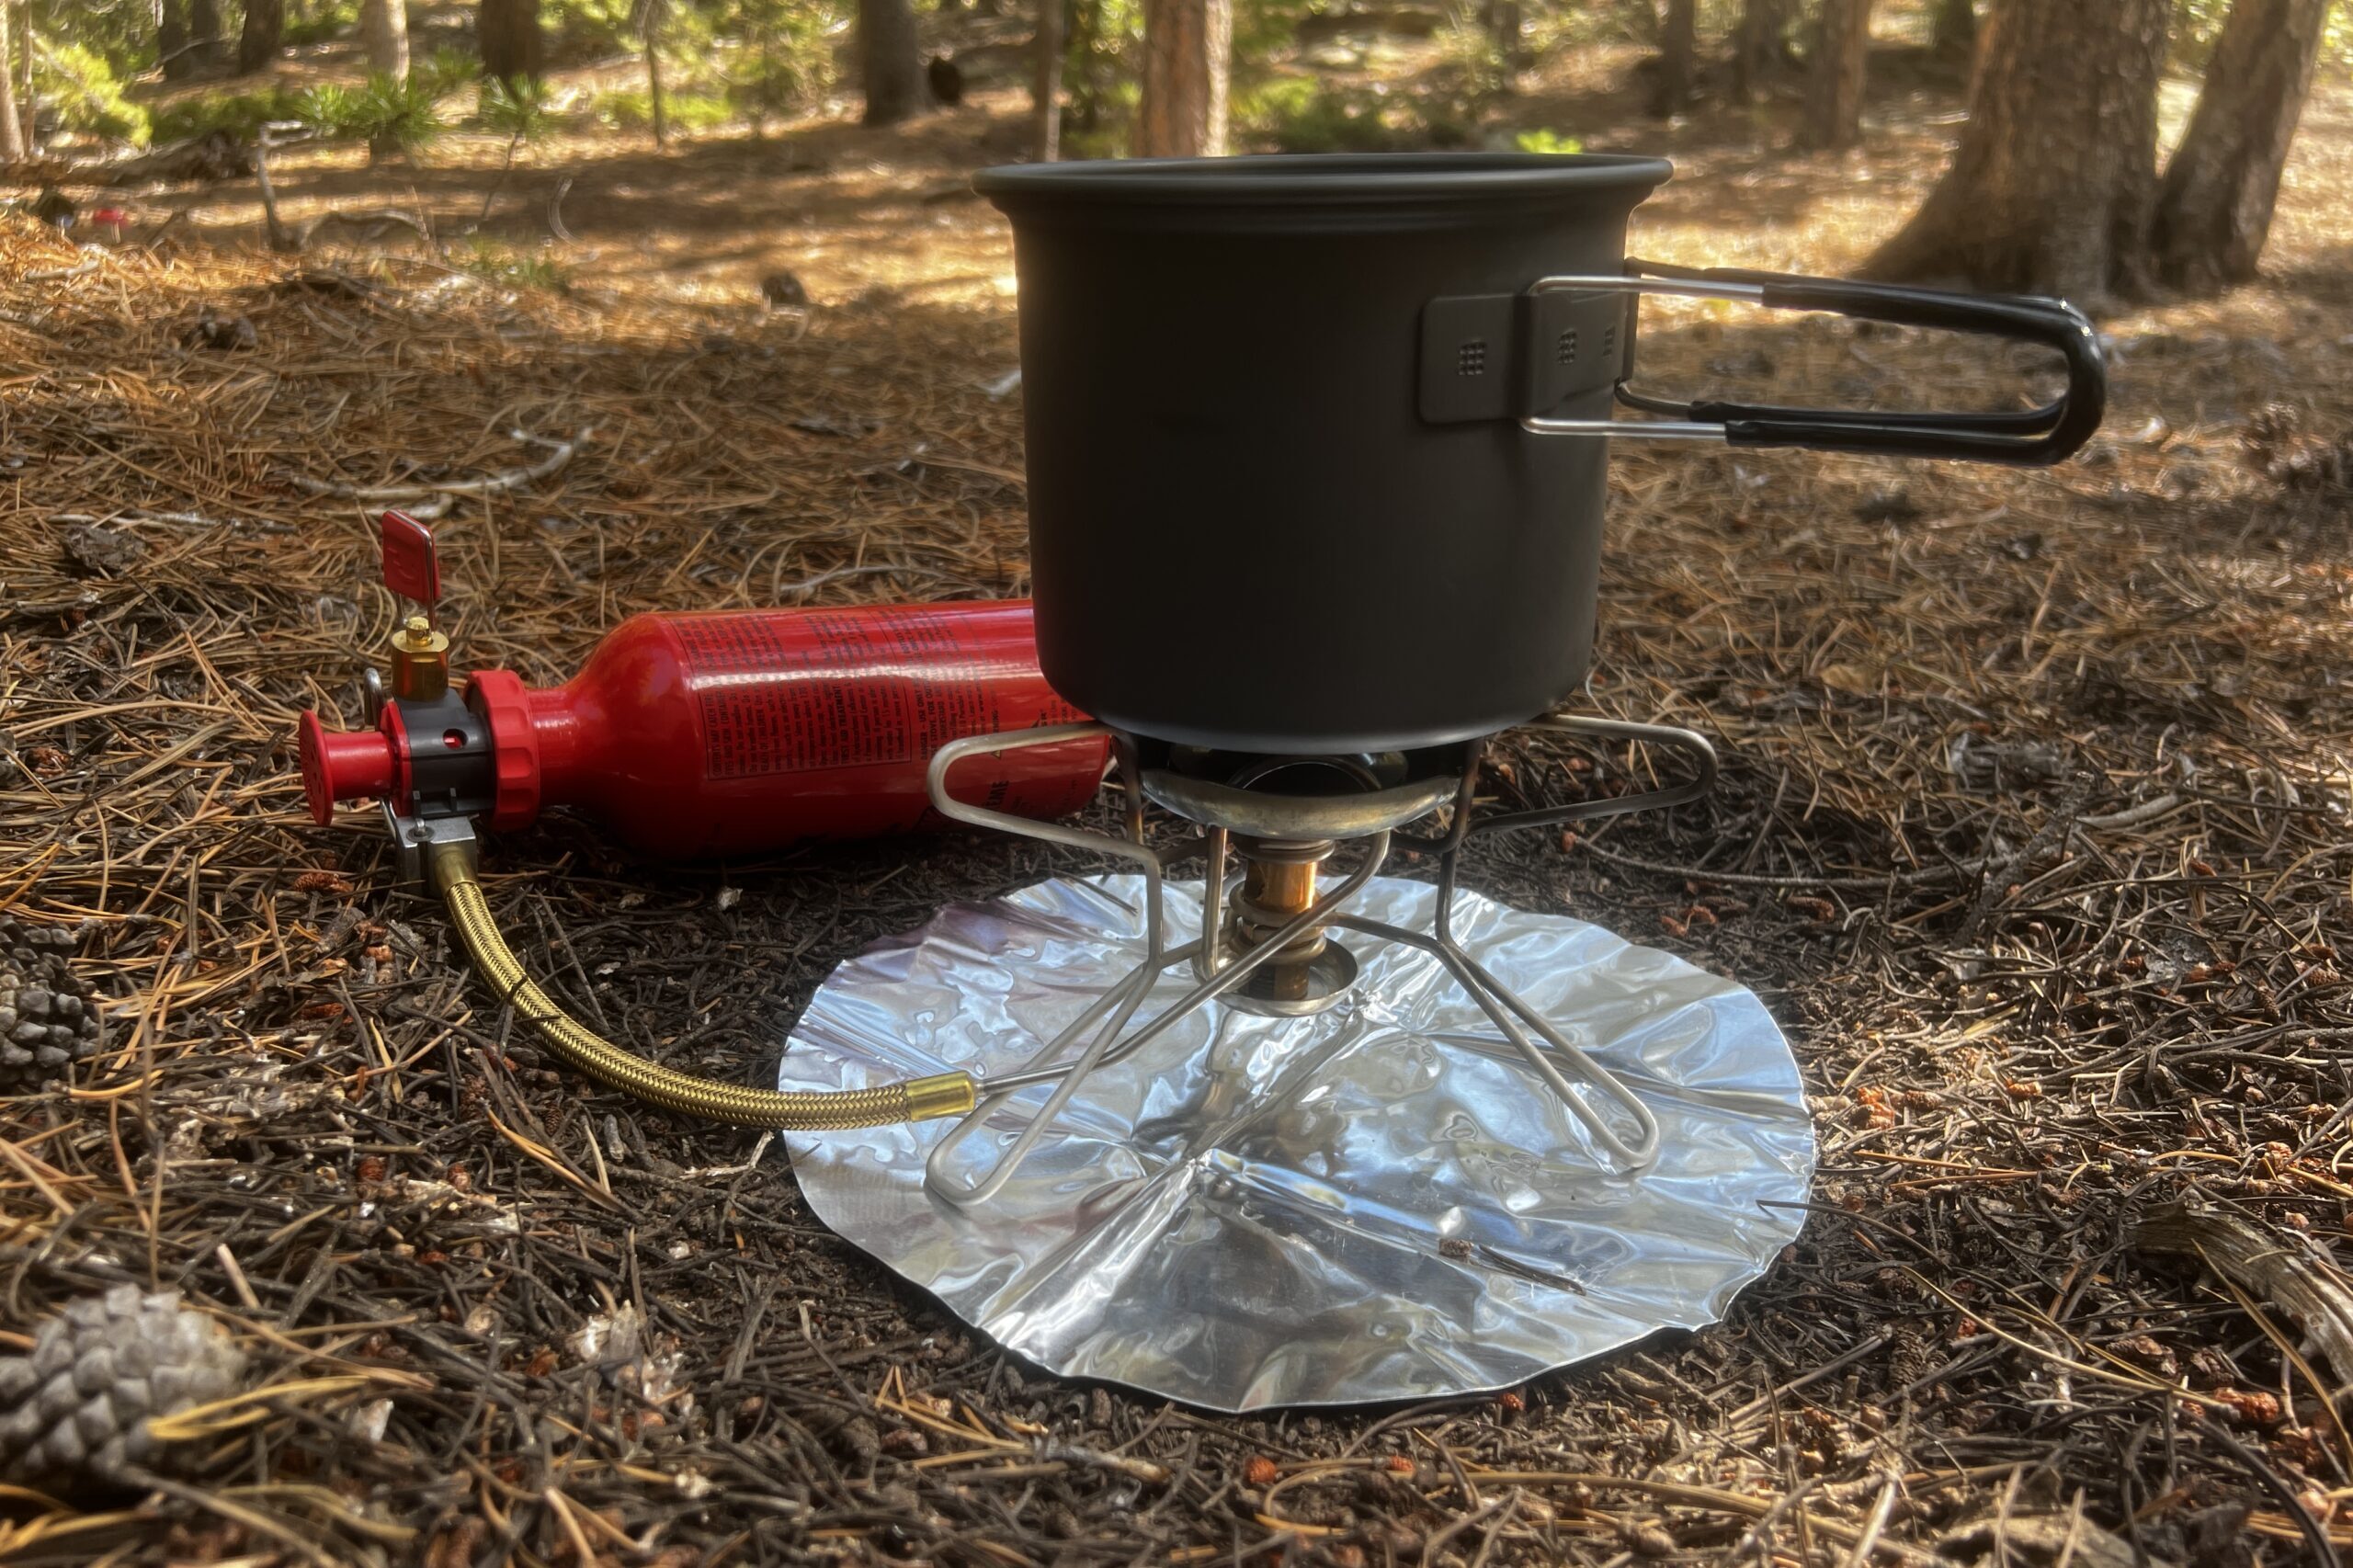
I've personally found that a liquid fuel stove, like the MSR Whisperlite Universal, provides the most consistent performance at high altitude. The ability to use multiple fuel types is a significant advantage, and the stove's robust design can withstand harsh conditions. However, the initial cost is higher than a canister stove.
Cookware: Lightweight & Efficient
Once you've chosen a stove, the next consideration is cookware. Weight is paramount in any backpacking situation, but it becomes even more critical at high altitude where every ounce counts. Titanium is the gold standard for lightweight cookware, offering an excellent strength-to-weight ratio and corrosion resistance. However, it’s also the most expensive material.
Aluminum is a more affordable option, but it’s softer than titanium and can dent more easily. Anodized aluminum offers increased durability and prevents food from reacting with the metal. Stainless steel is the heaviest option but is incredibly durable and easy to clean. A good compromise is a combination of titanium and stainless steel – a titanium pot with a stainless steel base for even heat distribution.
Pot shape and size are also important. A wide, short pot maximizes heat transfer, while a taller, narrower pot is more efficient for boiling water. A well-fitting lid is essential for retaining heat and reducing cooking times. A clear lid can be helpful for monitoring food without losing heat.
Non-stick coatings can be convenient, but their durability is questionable, especially in harsh conditions. They can scratch easily and may not withstand repeated use at high altitude. I prefer to use cookware without non-stick coatings, relying instead on proper cooking techniques and a bit of extra cleaning effort. The trade-off between weight, durability and cooking performance is a constant consideration.
- Titanium or anodized aluminum pots
- Lid: Essential for heat retention
- Spork/Utensil: Lightweight and multi-functional
Wind Protection: A Critical Factor
Wind is a major enemy of high-altitude cooking. Even a moderate breeze can significantly reduce stove efficiency, increasing fuel consumption and cooking times. It can also extinguish a flame altogether. Effective wind protection is therefore absolutely critical.
Several options are available, ranging from integrated windscreens built into some canister stoves to standalone windscreens made of aluminum or stainless steel. Standalone windscreens are more versatile and can be used with any stove, but they add extra weight and bulk. Building a snow wall is an effective option if you’re camping on snow, but it requires time and effort.
Utilizing natural features like rocks or depressions in the terrain can also provide some wind protection. I’ve experimented with different windscreen materials, and I’ve found that heavier-gauge aluminum provides the best combination of durability and wind resistance. Lighter materials can bend or collapse in strong winds.
I'm not sure what the perfect material is for a 50mph gust—maybe a custom titanium alloy—but for now, I stick to heavy-gauge aluminum. It doesn't fold like the cheap foil screens when the weather actually hits.
Meal Planning & Food Choices
At high altitude, your body requires more calories to maintain energy levels. The increased metabolic rate, combined with the physical demands of the expedition, means you need to prioritize calorie-dense foods. Lightweight, non-perishable options are essential.
Dehydrated meals are a popular choice, offering a good balance of nutrition and convenience. Instant noodles, oatmeal, and other quick-cooking grains are also good options. Consider adding protein powder or nuts to increase the calorie content. Avoid foods that require a lot of water to prepare, as water can be scarce at altitude.
Cooking rice and pasta at high altitude can be challenging due to the lower boiling point. You may need to increase cooking times and add extra water. Pre-cooking rice or pasta before your trip can save time and fuel. Electrolytes are also crucial for maintaining hydration and preventing altitude sickness.
A sample meal plan might include: breakfast – oatmeal with nuts and protein powder; lunch – dehydrated meal; dinner – instant noodles with added vegetables and protein. Snacking on energy bars, trail mix, and dried fruit throughout the day is also important. I always carry a small amount of hot chocolate powder for a morale boost.
Accessories: Small Items, Big Impact
Don’t underestimate the importance of accessories. Small items can make a big difference in your comfort and safety at high altitude. A pot gripper is essential for handling hot cookware. A spork is a lightweight and versatile utensil. A waterproof lighter or matches are crucial for starting your stove.
Fuel stabilizers can prevent fuel from degrading over time, especially important for liquid fuel stoves. Cleaning supplies, such as biodegradable soap and a small sponge, are necessary for maintaining hygiene. Trash bags are essential for practicing Leave No Trace principles.
My personal kit always includes a backup lighter, a small repair kit for my stove, and a multi-tool. Redundancy is key – if something breaks, you need a backup plan. I also carry a small first-aid kit with blister treatment and pain relievers.
Remember to pack out everything you pack in. Leave No Trace principles are especially important in fragile alpine environments. Minimize your impact and respect the wilderness.


No comments yet. Be the first to share your thoughts!