
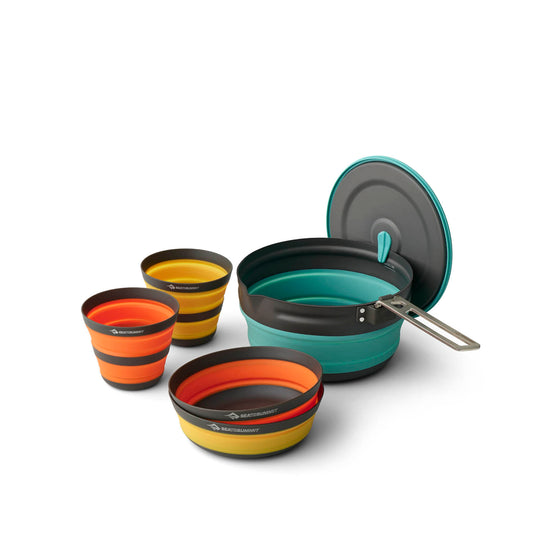
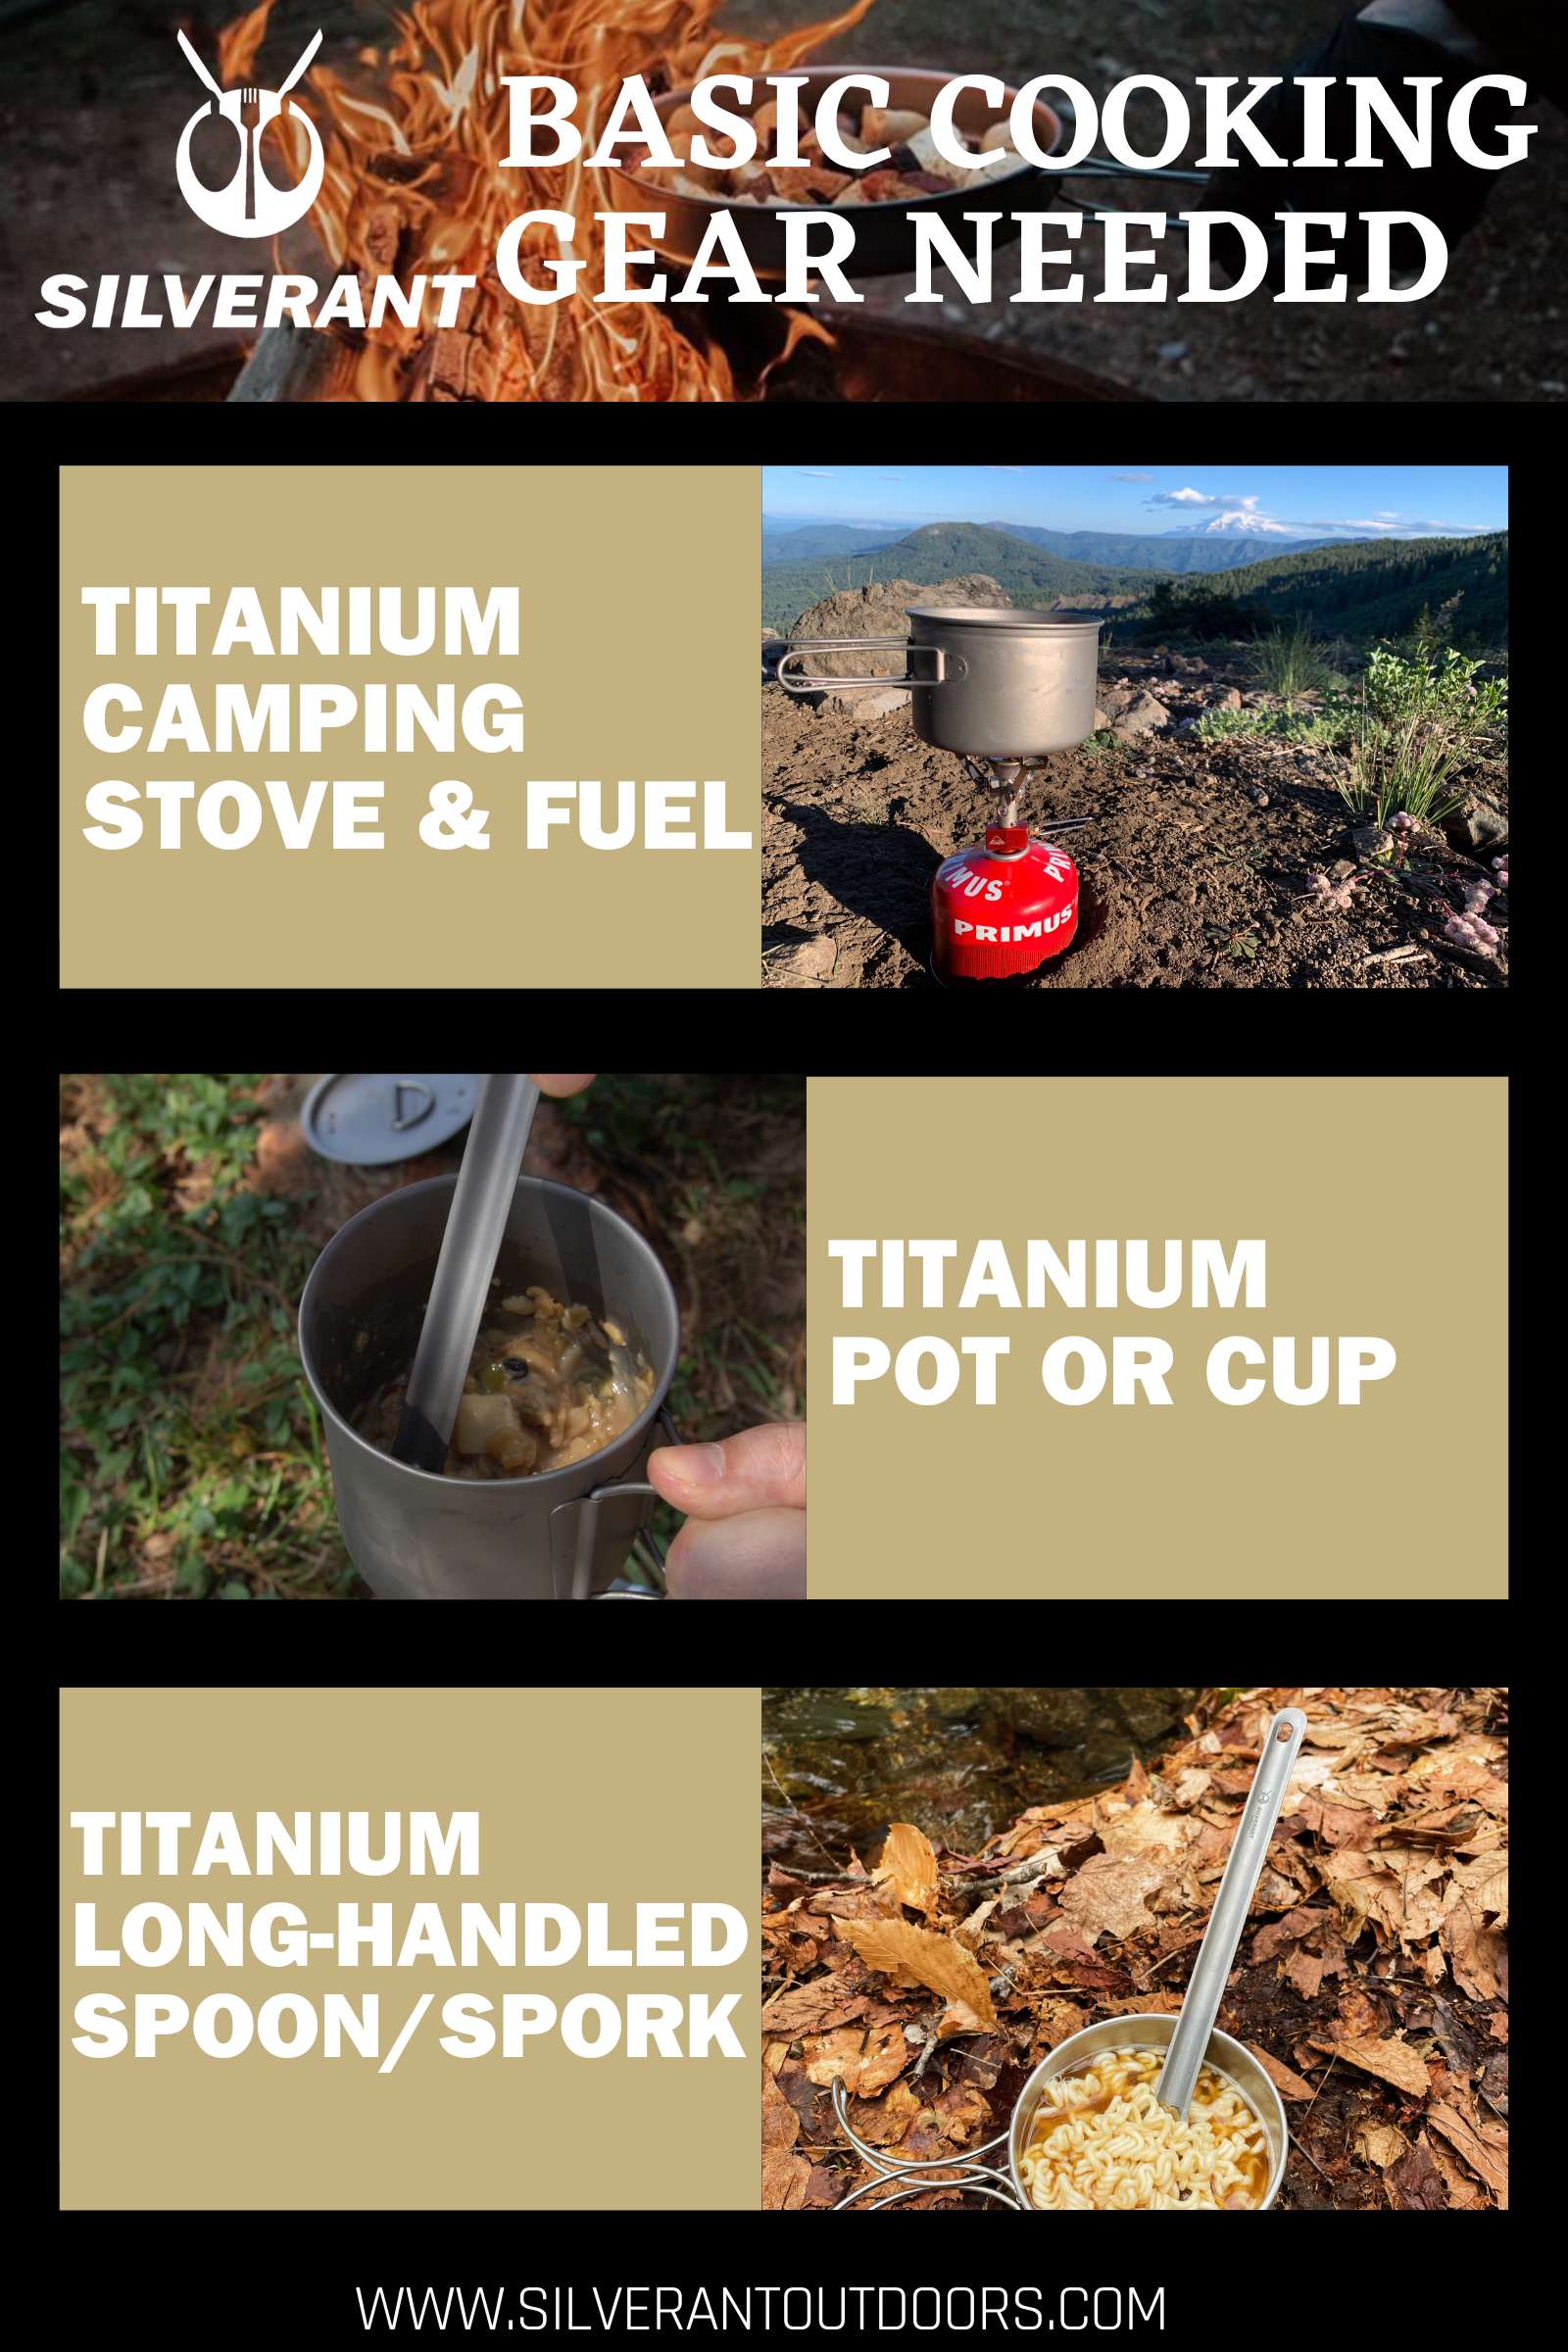
Pick the right pot size
Your ultralight backpacking cookware needs to match your group size and cooking style, not just the weight of the pot itself. A single solo hiker needs a 0.8-liter pot for boiling water and simple meals, while a couple should look for a 1.5-liter pot that can handle pasta or a full meal for two. Choosing the wrong volume leads to overpacking or undercooked dinners.
The shape of the pot matters as much as the volume. Wide, shallow pots are better for sautéing vegetables or frying eggs because they spread heat evenly. Tall, narrow pots are better for boiling water quickly and nesting efficiently with other gear. If you plan to make soups or stews, a deeper pot with a wider rim is easier to stir and eat from directly.
For most solo ultralight backpackers, a 0.8-liter titanium pot is the sweet spot. It boils water fast, weighs under 150 grams, and fits into most stoves. If you are cooking for two, a 1.5-liter pot like the Evernew Pasta Pot 1L or the GSI Halulite Dualist HS offers enough space for shared meals without adding excessive bulk to your pack.
Titanium versus aluminum choices that change the plan
Choosing between titanium and hard-anodized aluminum for your ultralight backpacking cookware comes down to a simple equation: weight, wallet, and heat. These two materials behave differently on the trail, and picking the wrong one can mean carrying extra grams or waiting longer for water to boil.
Titanium is the gold standard for weight weenies. It is significantly lighter than aluminum and nearly indestructible. However, titanium is a poor conductor of heat. This means you need a smaller flame to avoid scorching food, but it also takes longer to bring a full pot of water to a boil. The trade-off is that you save weight on your back, but you might spend a few extra minutes at the campsite waiting for that morning coffee.
Hard-anodized aluminum, used by brands like MSR in their Trail Lite series, conducts heat much faster. You boil water quicker and cook meals more evenly. The downside is weight. Aluminum is denser, so you will carry more grams. It is also softer than titanium, meaning you need to be more careful not to dent the pot or scratch the non-stick surface. For most backpackers, the speed of aluminum is worth the small weight penalty.
To see how these choices stack up, here is a direct comparison of a typical titanium pot versus a popular aluminum model.
| Material | Weight (approx.) | Heat Conduction | Price Range |
|---|---|---|---|
| Titanium | 100-150g | Slow | High ($40-$80) |
| Hard-Anodized Aluminum | 200-300g | Fast | Low-Medium ($15-$35) |
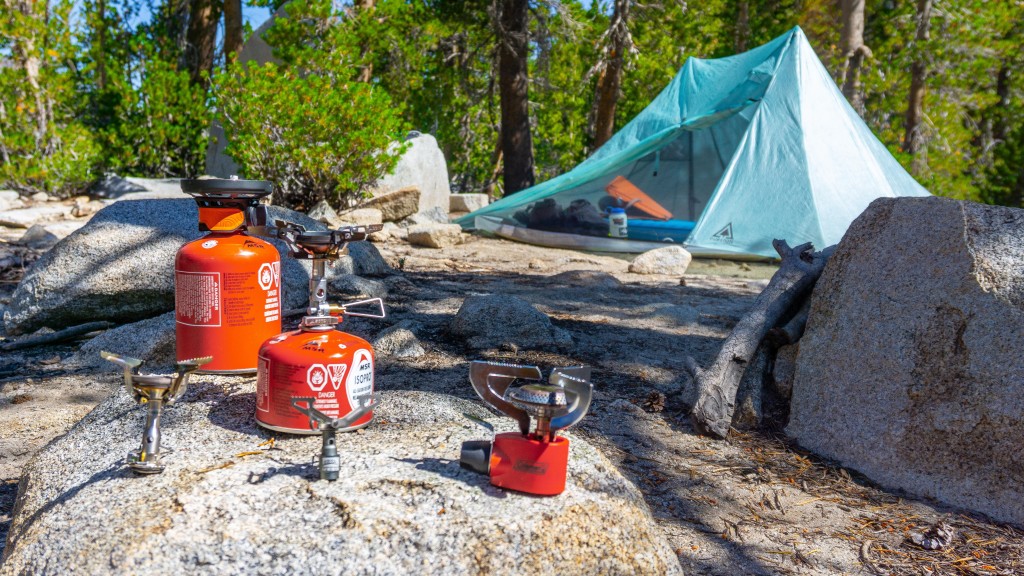
Choose a stove that matches your ultralight backpacking cookware
Your cookware set is only as capable as the heat source driving it. Pairing your chosen pots with a stove that handles wind and altitude ensures your meals actually cook rather than just simmering into a cold mess. The goal is to find a system where the stove’s weight is negligible compared to the fuel efficiency it provides in harsh conditions.
For most summer alpine trips, a canister stove remains the best balance of simplicity and power. Look for models with a wide base to stabilize thin titanium pots, which tip easily on uneven ground. Brands like Jetboil and MSR have refined this category, offering integrated heat exchangers that boil water in under two minutes. These systems are heavy for their size, but the time saved on cold mornings often justifies the extra ounces in your pack.
If you are venturing above the treeline or into high winds, a dedicated windscreen is non-negotiable. Even the best ultralight backpacking cookware loses heat rapidly when the wind strips energy from the pot walls. A simple aluminum or mesh screen can cut fuel consumption by half, making a small 100g fuel canister last for three days instead of one.
Cooking dehydrated meals on trail
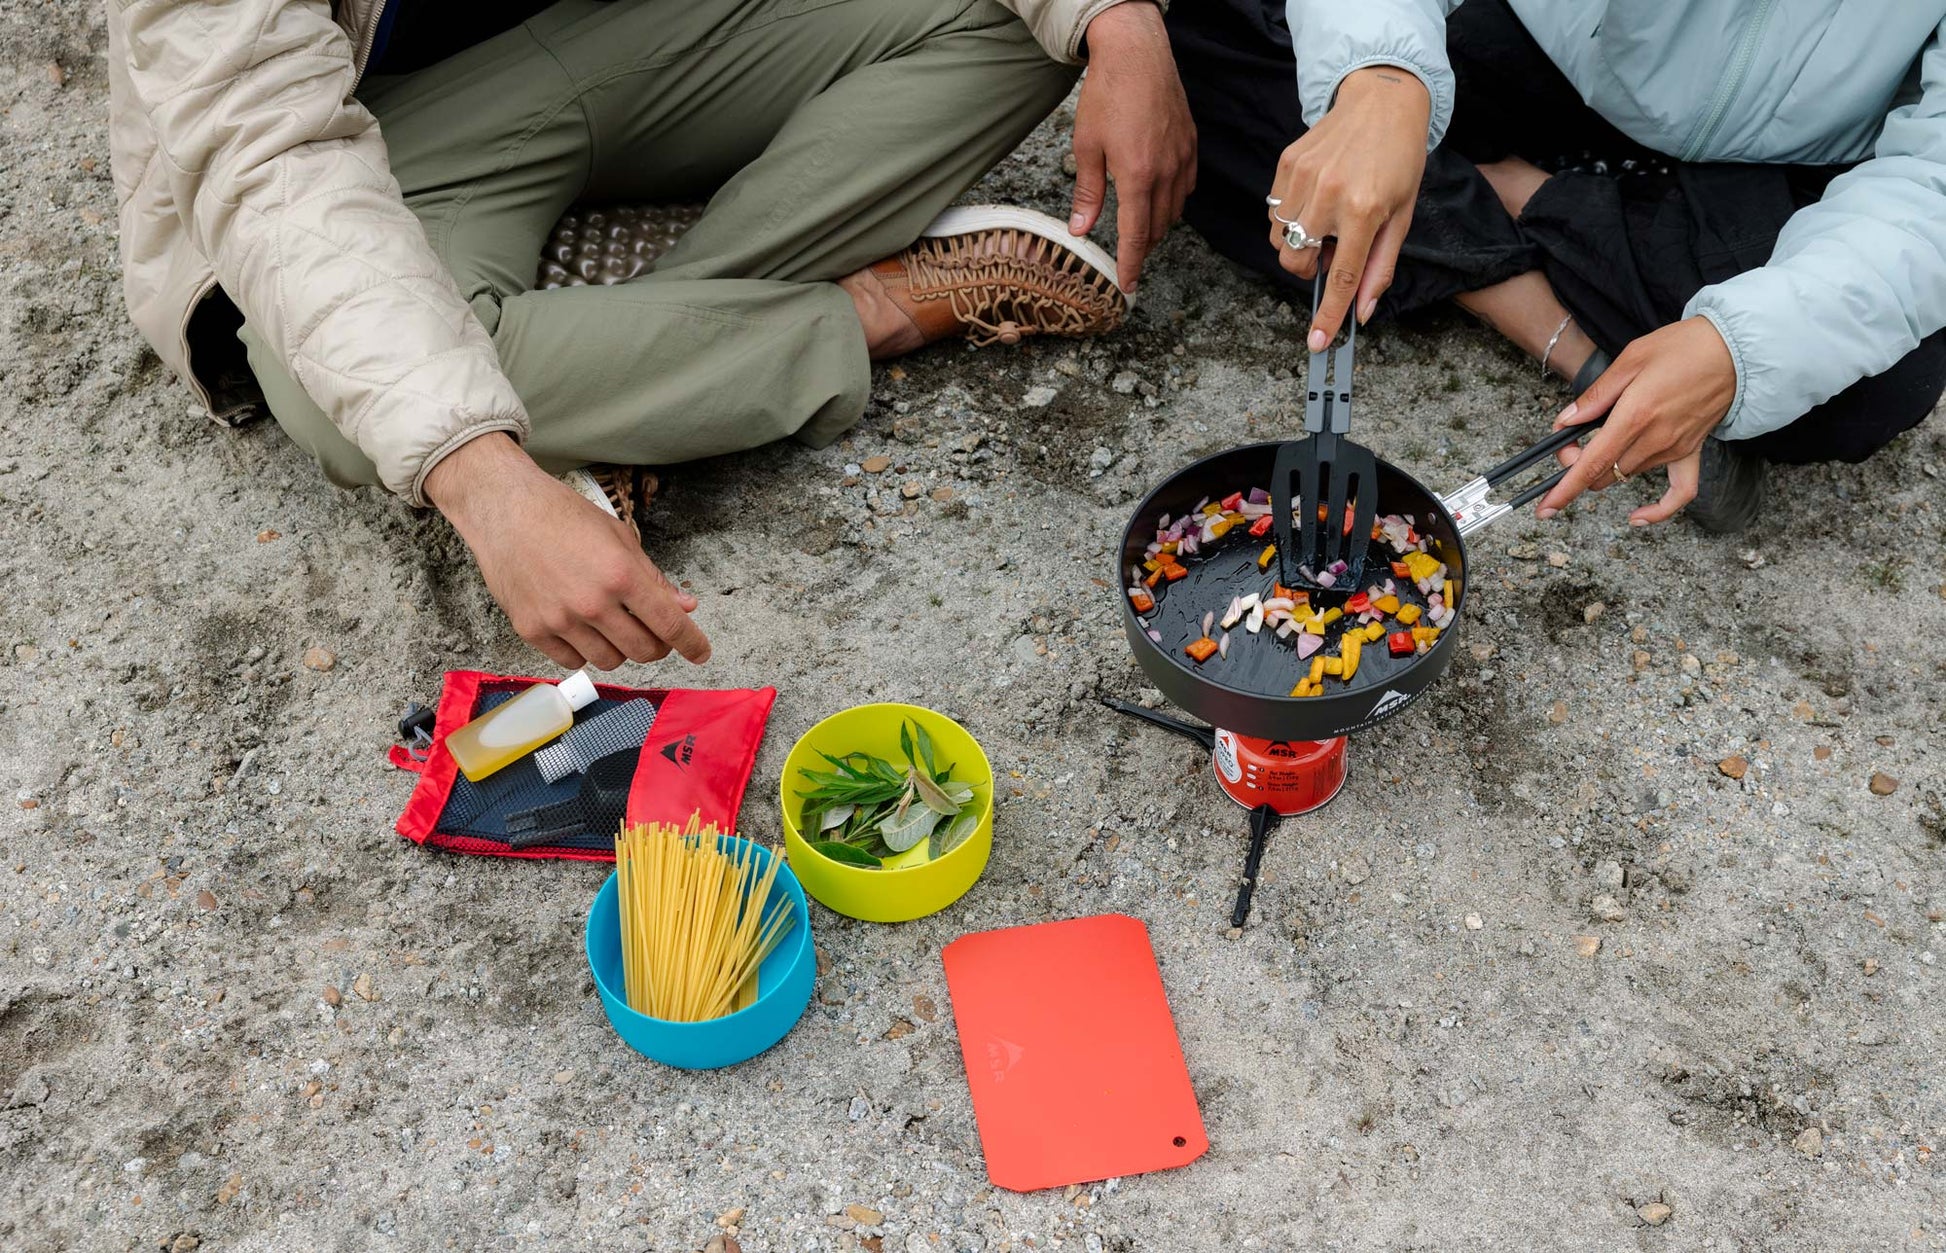
Dehydrated meals are the backbone of ultralight backpacking cookware systems. They require minimal fuel, produce little waste, and offer high calorie density for long days on the trail. The goal is to rehydrate food efficiently while keeping your pack weight down to the absolute minimum.
We will walk through a simple, reliable workflow for preparing a 15-minute pasta dish. This example uses hard-anodized aluminum for its balance of durability and light weight, a standard choice for serious thru-hikers.
Place your pot on the stove and cover it with a lid to speed up boiling. Use just enough water to meet the package instructions—extra water means longer boil times and heavier fuel canisters. Bring the water to a rolling boil before adding anything else.
Add your dehydrated pasta and spices directly to the boiling water. Stir gently to prevent clumping. For this specific meal, we add dried tomato bits and parmesan cheese now to help them rehydrate alongside the pasta. Cover the pot again to maintain temperature.
Reduce heat to low and let the pasta simmer for the time listed on the package, usually about 8-10 minutes. If the water absorbs too quickly, add a splash more. Once done, remove from heat and let it sit covered for two minutes to finish the rehydration process evenly.
Eat directly from the pot to save weight on extra plates. Rinse with a small amount of water and drink it or scatter it away from camp to minimize waste. Your hard-anodized aluminum pot is now ready for the next meal or for packing away.
This method keeps your cooking time tight and your gear usage minimal. By mastering this workflow, you ensure that your ultralight backpacking cookware serves its purpose: getting you fed and back on the trail with minimal fuss.
Watch your weight and space
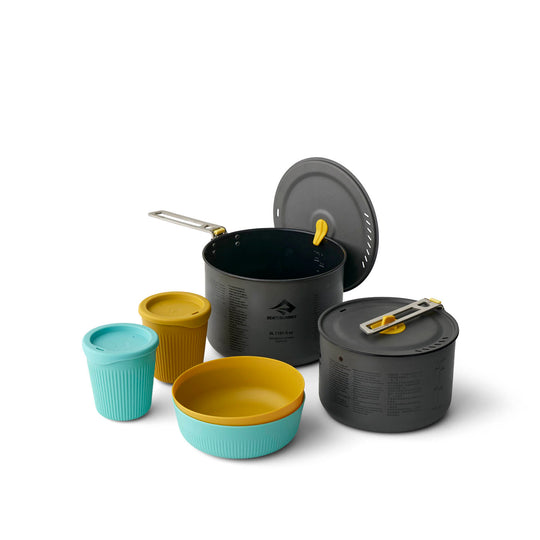
Ultralight backpacking cookware systems thrive on efficiency. Every gram and cubic inch counts when you are miles from the trailhead. The goal is a kitchen that fits inside itself, leaving your pack light and organized.
Nesting is the primary strategy for reducing bulk. Most modern titanium pots are designed to nest stoves, fuel canisters, and utensils inside the main vessel. This keeps your load compact and prevents rattling. You should also remove all packaging and labels before heading out. A stripped-down set takes up less space than a boxed one.
Avoid the temptation to pack extra items "just in case." Extra bowls, backup lids, and redundant tools add significant weight without adding value. Stick to a minimalist kit: a pot, a stove, a lighter, and a spork. If you need more, you likely chose the wrong gear for the trip.
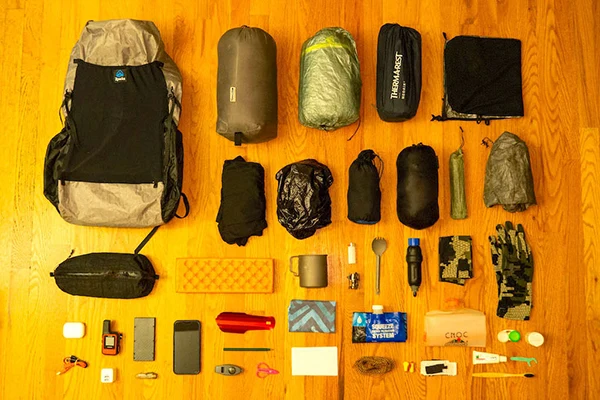
Check your kit before you zip your bag. Use this list to verify you have everything and nothing extra.
What material works best for pots?
The choice between ultralight backpacking cookware materials usually comes down to a trade-off between weight, durability, and price. Hard-anodized aluminum is the most common choice for many backpackers because it delivers an excellent balance of durability and lighter weight at an affordable price. Brands like MSR often use hard-anodized aluminum in their Trail Lite™ Pots to keep costs down while maintaining reasonable performance.
Titanium offers a significant weight advantage and is nearly indestructible, but it comes at a steep premium. It is also a poor heat conductor, meaning you may experience more hot spots when boiling water unless your pot has an aluminum base. For strict weight weeners, titanium is the gold standard. For budget-conscious hikers who don't mind carrying an extra ounce or two, aluminum remains the practical workhorse.
No comments yet. Be the first to share your thoughts!