
Why altitude changes your gear needs
Cooking at high altitude is a lesson in physics, not just patience. As elevation climbs, atmospheric pressure drops, causing water to boil at lower temperatures. At 10,000 feet, water boils at roughly 194°F (90°C) instead of the 212°F (100°C) seen at sea level. This 18-degree gap might seem minor, but it fundamentally alters how heat transfers into your food.
The result is that your pasta, rice, and dehydrated meals take significantly longer to cook. Because the water is boiling at a lower temperature, it has less thermal energy to penetrate the food. You will notice this immediately if you are used to standard packable pots; they often lack the mass to retain heat effectively once the wind picks up or the flame is adjusted. Standard thin-walled titanium pots, while incredibly light, can struggle to maintain a rolling boil in these conditions, leading to uneven cooking and fuel waste.
This is why ultralight backpacking cookware must be chosen with altitude in mind. A setup that works perfectly in a lowland forest may fail to soften lentils or fully hydrate grains on a high ridge. You need gear that minimizes heat loss through conduction and convection. This often means selecting a pot with a slightly thicker base or using a windscreen more aggressively than you would at lower elevations. Understanding these thermal dynamics helps you avoid the common pitfall of assuming "lighter is always better" when the air is thin.
Choosing the right ultralight backpacking cookware
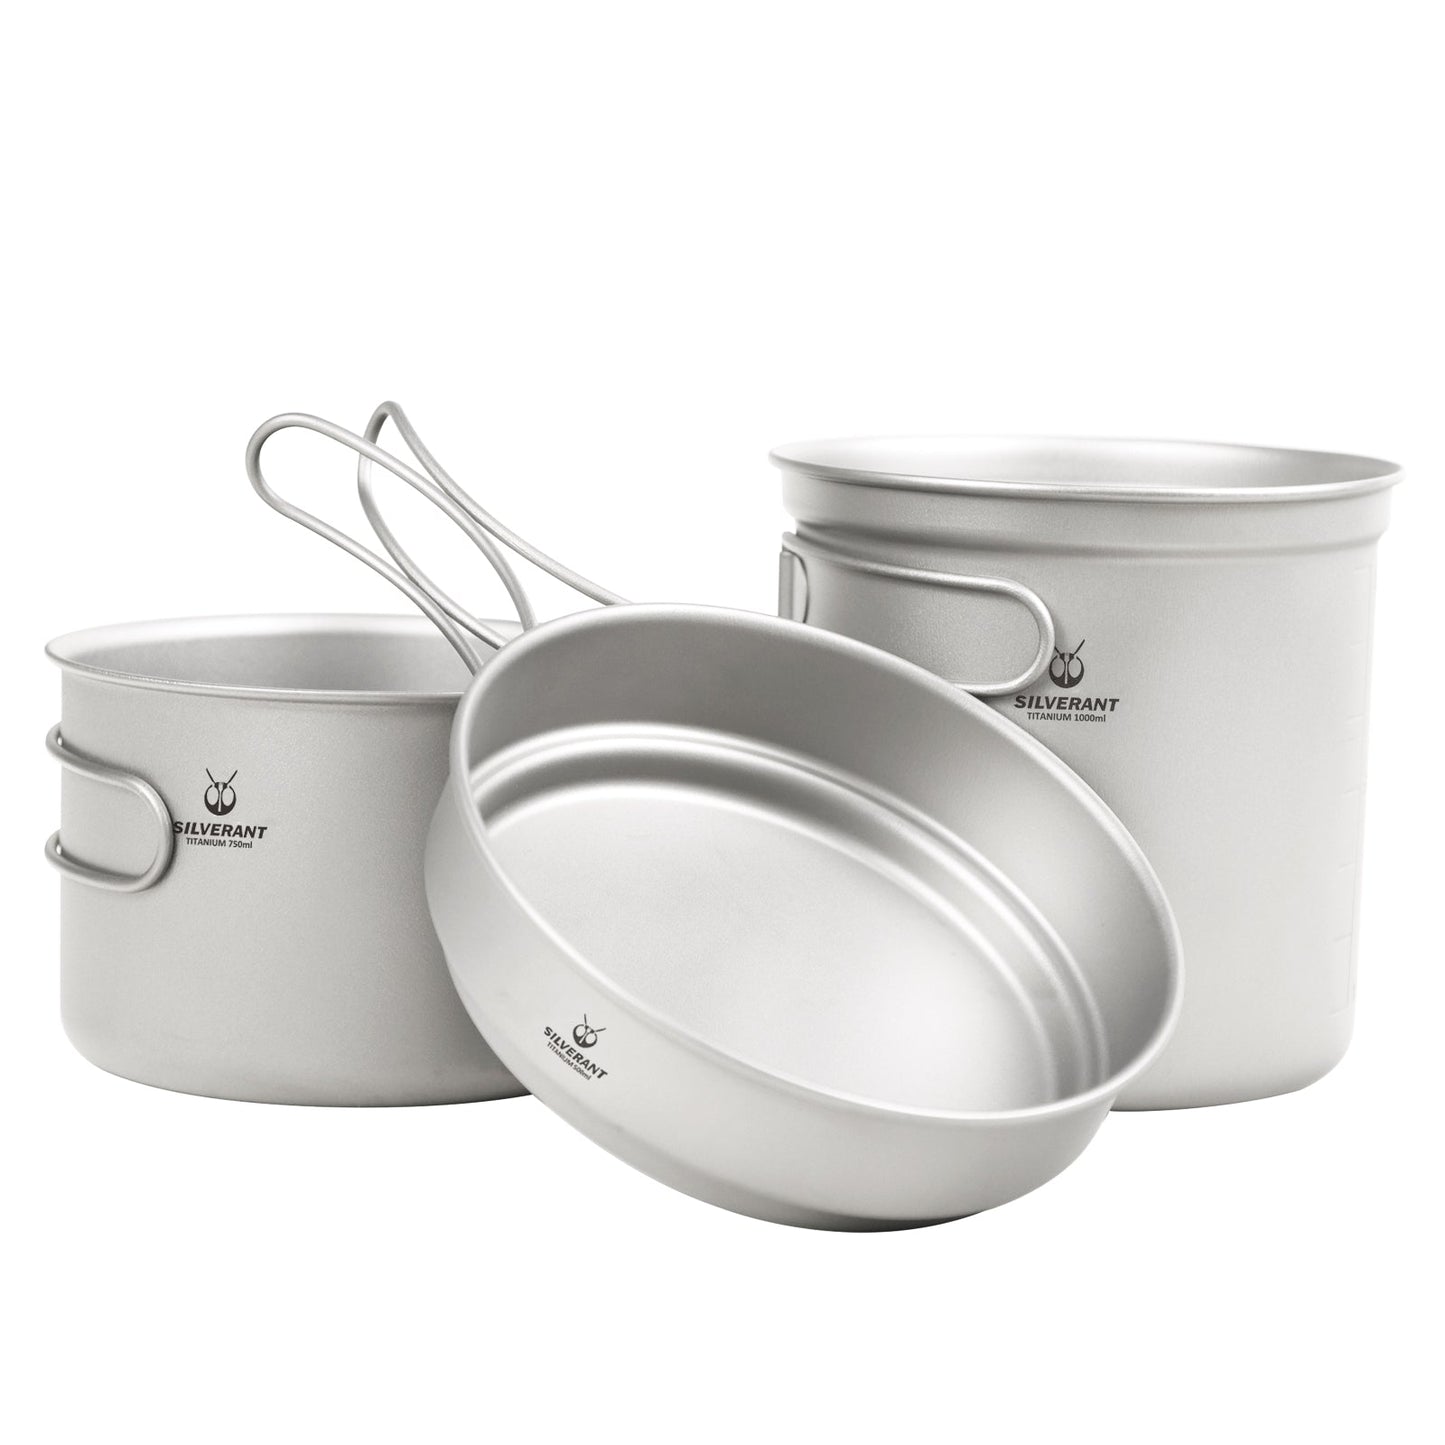
Selecting cookware for high-altitude environments requires prioritizing heat transfer efficiency over raw weight savings. At elevation, water boils at lower temperatures, and wind strips heat rapidly from your pot. Standard thin-walled aluminum pots often struggle to maintain a rolling boil in these conditions, leading to longer cook times and higher fuel consumption. Titanium offers superior durability and heat retention but conducts heat poorly, requiring a steady flame and a windscreen to perform well.
The design of the pot matters just as much as the material. Nesting pots are versatile, allowing you to use a pot as a bowl or mug, but their thin walls can lead to hot spots and slower boiling. Heat exchanger pots, featuring internal fins or external ridges, maximize surface area contact with the flame. This design drastically improves fuel efficiency and boil speed, making them a preferred choice for cold, windy alpine conditions where conserving fuel is critical.
The table below compares the performance characteristics of common ultralight options.
| Type | Weight (g) | Boil Speed | Durability | Wind Performance |
|---|---|---|---|---|
| Titanium Nesting | 120 | Slow | High | Poor |
| Aluminum Heat Exchanger | 180 | Fast | Low | Excellent |
| Anodized Aluminum | 140 | Moderate | Moderate | Fair |
When choosing between these options, consider your typical group size and weather patterns. For solo trips in mild conditions, a lightweight titanium pot is sufficient. For alpine expeditions with frequent wind and cold, the fuel savings of a heat exchanger pot often justify the slight weight penalty. Always pair your cookware with a reliable windscreen to maximize efficiency in exposed environments.
Essential stove and fuel setup
The interface between your stove and pot determines whether you boil water efficiently or waste precious fuel fighting the elements. At high altitudes, air pressure drops, requiring more energy to reach a boil. A poorly configured system amplifies this challenge, turning a simple meal into a frustrating ordeal. Prioritizing stability and wind protection is the most effective way to maintain heat output when conditions turn harsh.
Wind is the primary enemy of ultralight cookware. Even a light breeze can scatter heat and double your boil time. Use a dedicated windscreen or position your stove inside a reflective panel. If you are using a pot stand, ensure it sits on flat, stable ground. A stable base prevents tipping and ensures the flame directs heat upward into the pot bottom, not into the air.
Canister pressure drops significantly as temperatures fall below freezing. In cold weather, the fuel vaporizes poorly, leading to weak flames or sputtering. To counter this, keep your fuel canister close to your body inside your sleeping bag or jacket until ready to use. The warmth from your body maintains internal pressure, ensuring a consistent flow of fuel to the burner.

For temperatures well below freezing, standard canister stoves often fail completely. An inverted canister adapter flips the canister upside down, allowing liquid fuel to feed the burner instead of vapor. Liquid fuel vaporizes more efficiently in cold, low-pressure environments. This setup is essential for high-altitude winter camping where standard setups cannot maintain sufficient heat output.
The gap between your stove burner and the pot bottom affects efficiency. A tight fit directs heat directly into the cookware. If your stove has adjustable legs, set them to minimize this gap without touching the flame to the pot. Avoid using large pots on small burners; the mismatch creates turbulence and wastes fuel. Match your pot diameter to your stove’s burner size for the best thermal transfer.
A reliable stove setup is not just about having gear; it is about configuring that gear for the specific conditions you face. By securing your base, managing fuel temperature, and optimizing the fit, you ensure that your ultralight backpacking cookware performs reliably, even at altitude.
Recipe: High-Altitude Dehydrated Chili
Cooking at altitude changes the physics of boiling water. At 10,000 feet, water boils at roughly 194°F (90°C) instead of 212°F (100°C). This lower temperature means dehydrated meals rehydrate more slowly, and starches like beans and rice may remain undercooked if you rely on standard sea-level timing. To fix this, you need a lid to trap heat and a slightly longer soak time. This recipe is designed for a 1L titanium pot with a tight-fitting lid, which is standard for ultralight setups.
The chili uses a pre-mixed dehydrated base that rehydrates quickly in boiling water. The key is the "boil-and-soak" method: bring the water to a rolling boil, add the food, remove the heat, and let it sit covered. This conserves fuel while ensuring the beans soften properly in thin air.
This method works because the lid creates a mini-pressure environment, raising the internal temperature slightly and speeding up rehydration. It’s a small tweak that makes a big difference when you’re miles from the trailhead and need a hot, hearty meal without wasting precious fuel.
Pre-trip gear checklist
Before heading to high altitude, verify that your ultralight backpacking cookware setup is complete and functional. Missing a single component like a lighter or fuel can turn a simple meal into an uncooked emergency. This checklist covers the essential items needed to boil water and eat efficiently in the backcountry.
The Core Kit
Your primary cooking system should be compact and durable. A titanium pot is the standard for ultralight setups due to its low weight and high heat conductivity. Pair it with a matching lid that can double as a plate to save space. Ensure the pot handle is stable and folds securely to prevent damage during transport.
-
Titanium pot (500-750ml)
-
Pot lid or folding spork
-
Lightweight stove (canister or alcohol)
-
Fuel canister (check valve for altitude)
-
Windscreen
Ignition and Cleanup
Reliability matters more than weight when it comes to starting a fire. Carry a dedicated lighter or ferro rod as a backup to your stove. A small bottle of biodegradable soap and a scrubby are essential for hygiene. Pack these items in a single small bag to keep your pack organized and prevent loss.
-
Lighter (e.g., BIC) and ferro rod
-
Small soap bottle and scrubby
-
Stuff sack for wet gear
-
Titanium pot (500-750ml)
-
Pot lid or folding spork
-
Lightweight stove (canister or alcohol)
-
Fuel canister (check valve for altitude)
-
Windscreen
-
Lighter (e.g., BIC) and ferro rod
-
Small soap bottle and scrubby
-
Stuff sack for wet gear
Common Cooking Mistakes at Elevation
Cooking at altitude introduces physics that make simple tasks like boiling water significantly harder. The air pressure drops, lowering the boiling point of water. At 10,000 feet, water boils at roughly 194°F (90°C) instead of 212°F (100°C). This lower temperature means chemical reactions in food—like starch gelatinization and protein denaturation—happen slower. If you treat high-altitude cooking the same way you do at sea level, you will likely end up with undercooked meals and wasted fuel.
Under-Boiling and Burnt Fuel
The most frequent error is assuming a rolling boil is enough. At elevation, water boils vigorously at a lower temperature, which can trick you into thinking it is hot enough. For dehydrated meals, this often results in mushy exteriors and hard, crunchy centers. To fix this, extend your simmer time by 25–50% and ensure the water is truly rolling before adding your food. Stirring occasionally helps distribute the heat evenly. Watch your fuel canister closely; if it gets cold to the touch, it is losing efficiency, and you may need to insulate it or switch to a canister warmer to maintain pressure.
Improper Lid Usage
Leaving your pot uncovered is a major waste of energy. The lid traps steam and heat, raising the internal temperature and reducing boil time by up to 30%. This is especially critical in windy conditions, where heat loss accelerates rapidly. Always keep the lid on while waiting for water to boil. Once you add food, you can remove it to stir, but replace it immediately to retain heat. This simple habit conserves fuel and ensures your meal cooks through evenly.
Ignoring Wind and Stability
Setting up your stove on uneven ground or in direct wind exposes your flame to rapid heat dissipation. A small windscreen is essential, but it must be used carefully to avoid overheating the fuel canister or creating a dangerous draft. Always place your stove on a flat, stable surface. If you are cooking on a rocky ledge, use a flat rock or a dedicated stove platform to prevent tipping. Stability prevents accidents and ensures the flame stays focused on the pot base.
No comments yet. Be the first to share your thoughts!