
Why altitude changes your cooking
Water boils at 202°F (94°C) at 10,000 ft, requiring 25% more fuel to cook.
At high altitudes, atmospheric pressure drops, which lowers the temperature at which water boils. While sea-level water boils at 212°F (100°C), that temperature decreases by roughly 1°F for every 500-foot gain in elevation. This might seem like a minor adjustment, but it fundamentally alters how heat transfers into your food. You are no longer boiling food; you are simmering it in water that is significantly cooler than what you are used to.
This drop in boiling temperature means chemical reactions in your food—like starch gelatinization and protein denaturation—proceed much slower. Pasta that cooks in eight minutes at sea level may take fifteen or twenty minutes at altitude, and rice can become mushy before it is fully tender if you do not adjust your timing. Standard ultralight backpacking cookware often relies on thin aluminum walls to minimize weight, which heats up quickly but also loses heat rapidly. In cold, windy mountain conditions, this thermal inefficiency becomes a liability, extending boil times and draining your fuel canisters faster than anticipated.
To compensate, you need gear that retains heat rather than just heating up fast. A heat exchanger pot, which features fins on the outside to increase surface area for heat transfer, can significantly reduce fuel consumption by capturing more of the flame's energy. These specialized pots are designed to handle the extended cook times required at altitude without adding substantial weight to your pack. Understanding this physics is the first step in selecting the right ultralight backpacking cookware for your next high-elevation trek.
Choosing the right pot system
Selecting the right ultralight backpacking cookware comes down to balancing weight against thermal efficiency. At high altitudes, where water boils at lower temperatures, heat transfer speed becomes just as important as the pot's total mass. A system that loses heat quickly to the air will burn significantly more fuel than a denser, better-designed alternative.
Most ultralight backpackers choose between three distinct categories: standard titanium, lightweight aluminum, and heat exchanger pots. Each material handles the physics of high-altitude boiling differently. Titanium is durable and corrosion-resistant but a poor conductor of heat. Aluminum conducts heat well but is softer and prone to warping. Heat exchanger pots use a copper or aluminum sleeve to spread flame contact, drastically reducing boil times despite adding a small amount of weight.
The following comparison breaks down the trade-offs between these three main ultralight pot types. Use this data to decide which system best fits your specific high-altitude needs.
| Pot Type | Weight (1L) | Boil Time (Sea Level) | Fuel Efficiency |
|---|---|---|---|
| Titanium | ~140g | 4-5 mins | Low |
| Aluminum | ~80g | 3-4 mins | Medium |
| Heat Exchanger | ~170g | 2-3 mins | High |
For high-altitude trips, the heat exchanger pot often offers the best overall efficiency. While it weighs slightly more than a bare titanium pot, the reduction in fuel consumption can be substantial. Carrying less fuel is often the ultimate weight saver on long, cold treks. If you prioritize absolute minimum weight and don't mind a longer boil time, a simple titanium pot remains a reliable, durable choice.
Dehydrated chili recipe for thin air
Cooking at altitude changes the physics of your ultralight backpacking cookware. Water boils at lower temperatures above 5,000 feet, which means it takes longer to break down dried proteins and starches. A standard trail recipe that works at sea level will often leave you with hard beans and a thin broth if you don’t adjust for the thinner air.
This recipe is designed for efficiency. It uses pre-cooked, dehydrated ingredients to minimize fuel consumption while maximizing caloric density. The goal is a thick, hearty chili that rehydrates fully with minimal simmer time, preserving your fuel canister for the next day’s hike.
The key to success lies in the rehydration phase. Because water boils at a lower temperature, it doesn’t penetrate dried ingredients as aggressively. Allowing the mix to sit before heating ensures the beans soften without requiring excessive fuel. If you’re cooking above 8,000 feet, extend the simmer time by an additional 5-10 minutes and check for bean tenderness before serving.
Use a lid whenever possible. Trapping steam raises the internal temperature slightly and speeds up the rehydration process. This simple step can save you 20% of your fuel, a critical margin when you’re carrying a small canister on a multi-day trek.
Ensure your pot is clean and dry. If using a titanium pot, note that it heats up quickly but can scorch food if left unattended. Have your water pre-boiled to save fuel time.
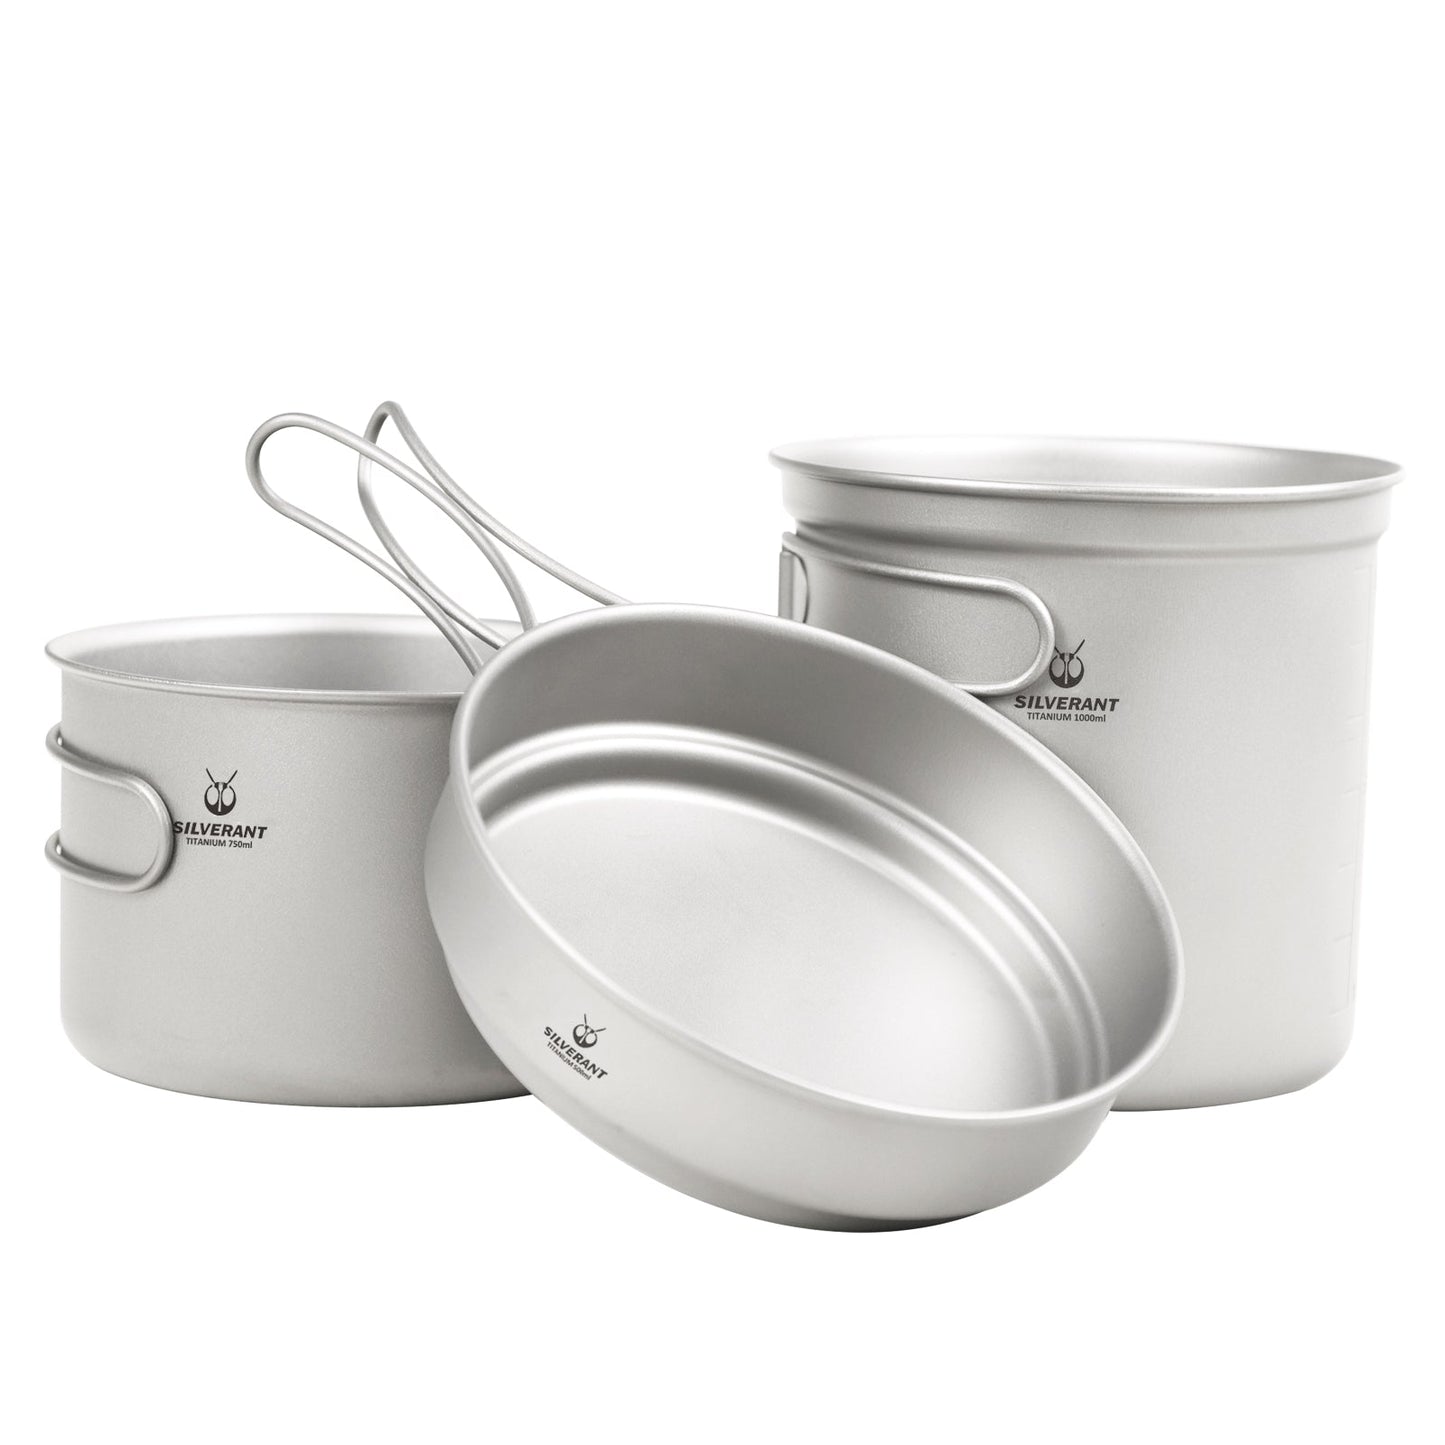
Dump all dehydrated components into the pot. Mix the spices thoroughly with the dry goods before adding water to ensure even flavor distribution.
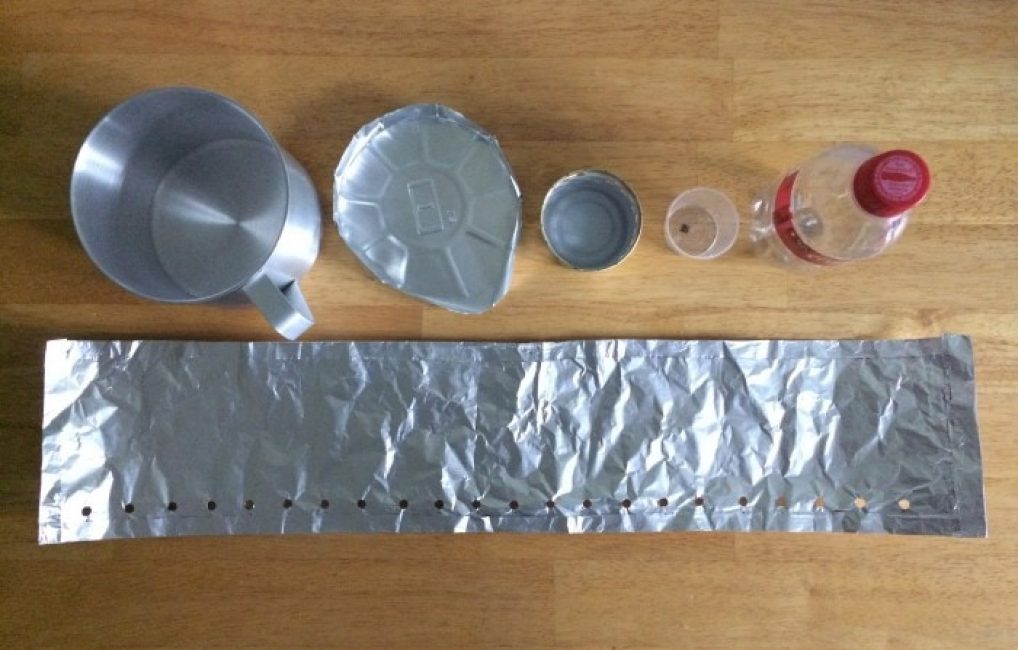
Add the boiling water, cover, and wait. Then simmer gently until the beans are soft. Adjust water consistency as needed.
Setting up for wind and cold
Cold and wind are the two biggest enemies of fuel efficiency in ultralight backpacking cookware systems. A stove that boils water in five minutes on a calm day can take twenty minutes or more when battling a gusty ridge. The goal is not just to survive the conditions, but to conserve your canister fuel by minimizing heat loss. Proper setup transforms a fragile, exposed flame into a contained, efficient heat source.
Position the windscreen close
Your windscreen is not optional; it is the most critical component for cold-weather cooking. Place it as close to the pot base as possible without touching the flame. Even a small gap allows heat to escape laterally, forcing the stove to work harder. If you are using a integrated canister stove system, ensure the windscreen legs are stable on uneven ground. A wobbly stove wastes energy as the pot shifts and breaks the thermal seal.
Shield the flame, not just the pot
A standard windscreen only protects the pot. To maximize efficiency, you need to shield the flame itself. Use a small, portable windbreak or position your cookware behind a natural barrier like a rock or snow wall. This reduces the convective heat loss from the burner head. In high winds, a simple foil windscreen placed directly under the pot can double your fuel efficiency by reflecting heat back into the cooking vessel.
Pre-heat the canister
In cold conditions, the pressure inside your fuel canister drops significantly, leading to a weak, sputtering flame. To counter this, keep your fuel canister warm until you are ready to cook. Store it inside your jacket or sleeping bag for the last hour before use. The body heat raises the internal pressure, ensuring a strong, consistent flame that boils water faster and uses less fuel overall.
Use a lid and tight fit
Always cook with a lid. This traps steam and heat, reducing boil time by up to 50%. Ensure your pot lid fits tightly; if it is loose, wrap a small piece of heat-resistant tape around the rim to create a better seal. This simple adjustment is often overlooked but is one of the most effective ways to conserve fuel in cold, windy environments.
What the Ultralight Community Swears By
Gear advice from hikers who actually carry it matters more than spec sheets. Reddit’s r/Ultralight is the best place to see what survives the trail. Users test titanium pots, bivy covers, and alcohol stoves in real conditions, sharing hard-won tips on weight savings and durability.
Real Talk on Pot Choices
The debate between titanium and aluminum pots is constant. Titanium is lighter and more durable but expensive. Aluminum is cheaper and heats faster but dents easily. Most veterans recommend a 1L titanium pot for solo hikers, balancing weight and capacity.
Community Insights
"The best pot is the one you actually use. Don't overthink the weight savings of 20 grams if it compromises your ability to cook a meal." — r/Ultralight User
One user shared a clever hack: using a pot cozy to retain heat after boiling, saving fuel. Another recommended a simple lid made from a bivy sack cover, turning a pot into a stew maker. These small tweaks add up over a multi-day trip.
Pre-trip cooking checklist
Before heading out, verify that your ultralight backpacking cookware kit covers every meal without adding dead weight. A missing fuel canister or a mismatched lid can turn a simple dinner into a frustrating ordeal.
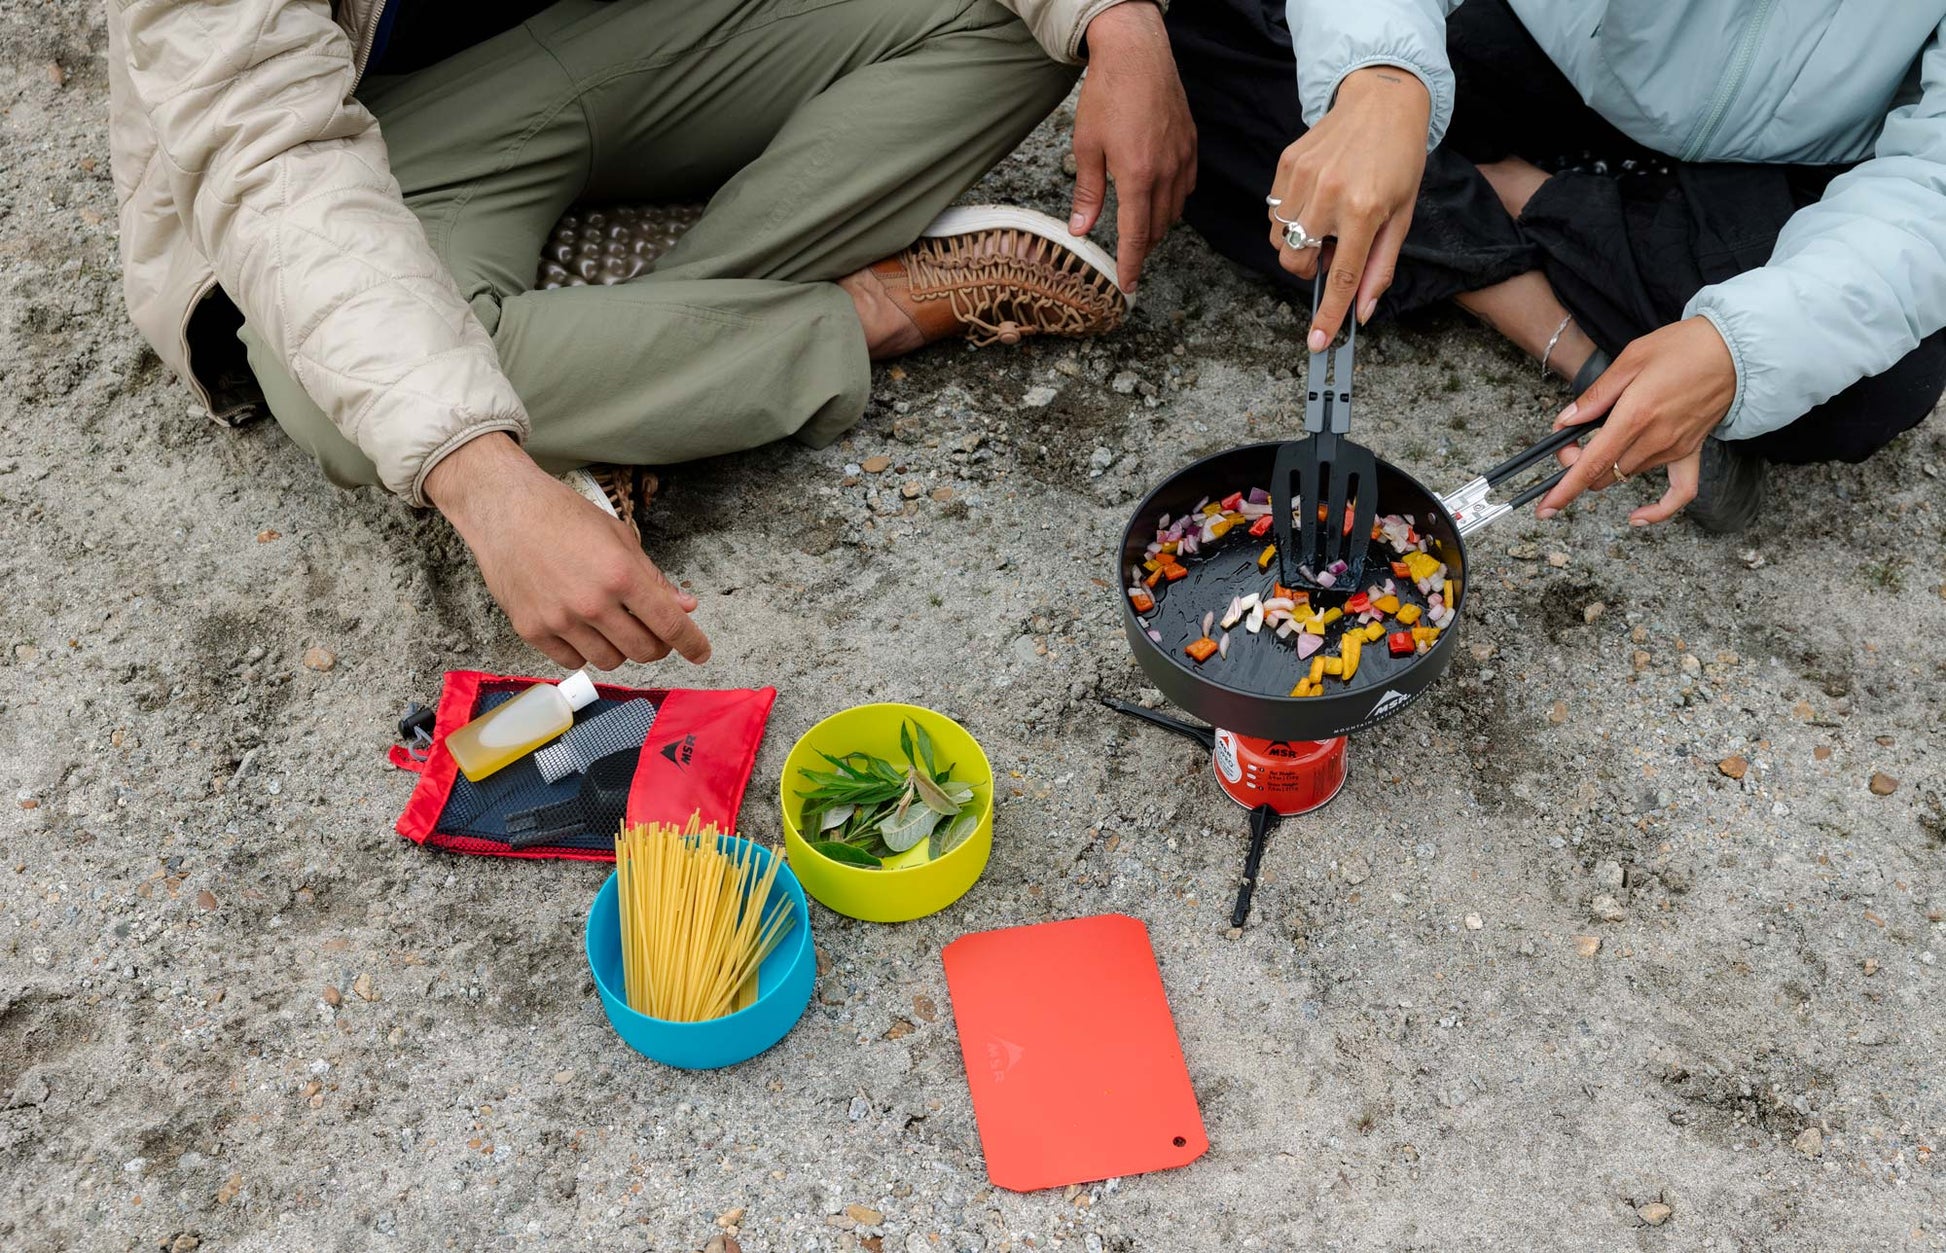
-
Titanium pot with nested lid
-
Lightweight stove and fuel
-
Silicone spork or chopsticks
-
Insulated mug
-
Biodegradable soap and scrubber
-
Stuff sack or dry bag
High-altitude cooking: what to check next
Cooking at altitude changes the physics of your ultralight backpacking cookware setup. Water boils at lower temperatures, which means you need more time—and more fuel—to cook food thoroughly. Here are the most common practical questions about managing heat and gear in thin air.
How much extra fuel do I need at altitude?
Expect to burn 20–30% more fuel than at sea level. Because the boiling point drops, you must maintain a simmer longer to pasteurize water or cook grains. Carry an extra 50g of canister fuel or a slightly larger isobutane-propane mix to ensure you don’t run out mid-trip.
Why won’t my food cook properly even when boiling?
At 10,000 feet, water boils at roughly 197°F (92°C), which is too cool to cook pasta or rice efficiently. Use a pressure cooker if possible, or switch to foods that require less heat, like dehydrated meals that just need rehydration time. Stirring frequently helps distribute the limited heat evenly.
How do I clean my pot without wasting water?
At high camps, water is precious. Use a biodegradable soap sparingly and rinse with minimal water. For ultralight pots, a quick scrub with a silicone brush and hot water is often enough. If you’re in a backcountry zone, pack out your trash and avoid washing dishes in natural water sources.
No comments yet. Be the first to share your thoughts!