
Solo hiking kitchen safety
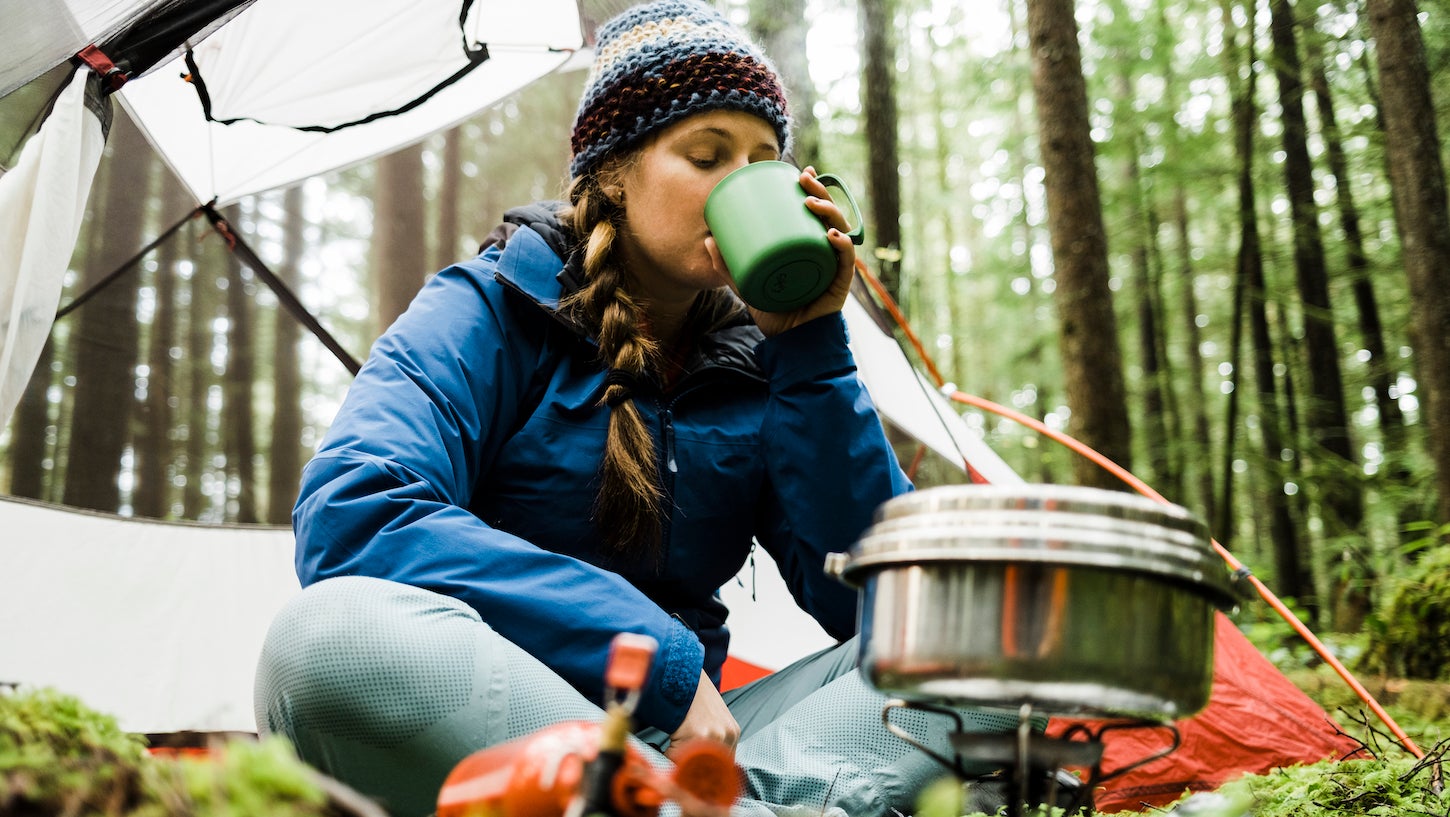
When I'm out alone, my kitchen setup is about staying invisible and independent. I don't just worry about the weight; I worry about how much noise I'm making and how fast I can pack up if I feel uneasy. Choosing gear is about reducing the chance of a gear failure or a fire that I'd have to handle without help.
The potential dangers aren’t always dramatic. A simple spill of fuel can be disastrous if not handled correctly. A flimsy stove can become unstable on uneven terrain. Even a forgotten pot lid can create unnecessary noise, potentially attracting unwanted attention. A well-planned kitchen helps mitigate these everyday hazards, fostering confidence and peace of mind.
I remember one trip in the High Sierra where the regulator on my canister stove started leaking while I was making dinner. Thankfully, I had a backup stove, but the incident shook me up. The smell of propane attracted a curious marmot, and I was miles from other hikers. It was a stark reminder that even seemingly minor equipment issues can escalate quickly in a remote setting. That experience shaped how seriously I approach kitchen setup now.
This guide focuses on building a backpacking kitchen specifically with those concerns in mind. We’ll look at gear choices that prioritize stability, reliability, and discreet operation. It's about creating a system that allows you to focus on the joy of hiking, knowing you’re prepared for anything.
Stoves and fuel
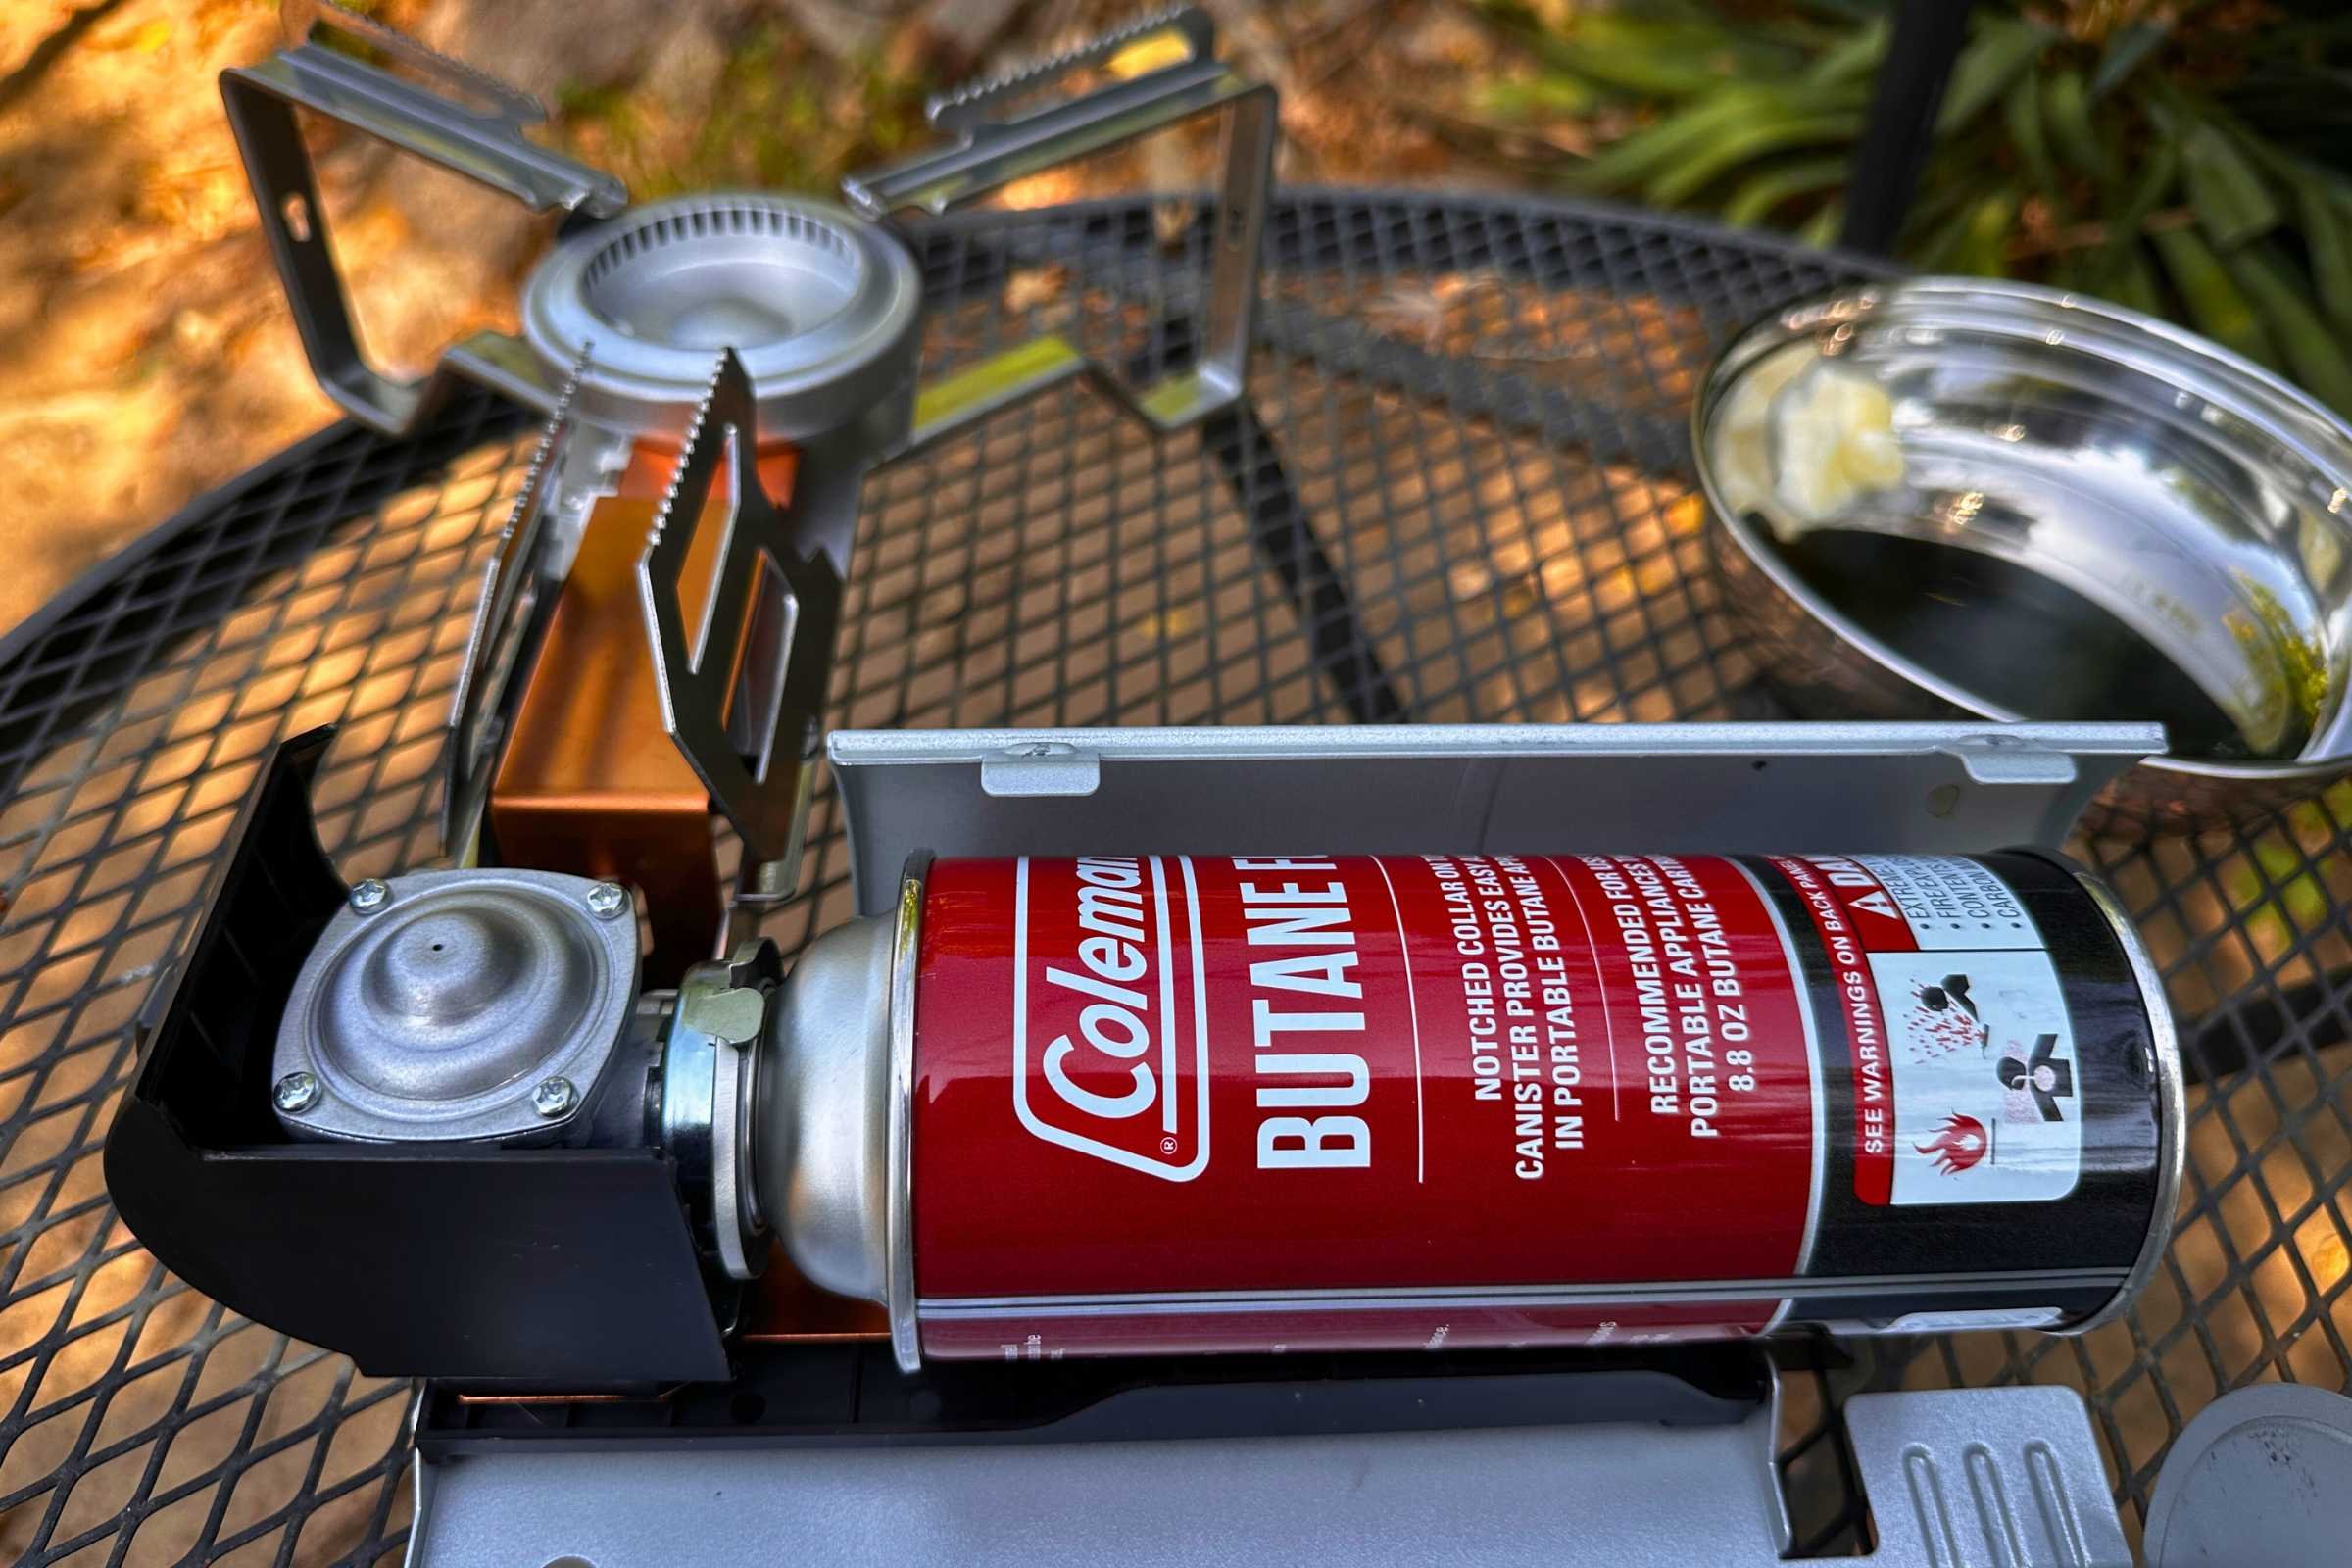
The stove is the heart of your backpacking kitchen, and choosing the right one is critical. Canister stoves are popular for their ease of use and quick setup. They offer good temperature control and are relatively lightweight, but fuel canisters can be difficult to find in some areas, and performance drops significantly in cold weather. MSR PocketRocket 2 is a solid, reliable choice, often weighing under 3 ounces.
Liquid fuel stoves, like those from Primus or Soto, are more versatile. They perform reliably in cold conditions and allow you to use readily available white gas. However, they require more maintenance and have a steeper learning curve. They’re also heavier and require careful handling of fuel. They also present a fire risk if not operated correctly.
Alcohol stoves are the simplest and lightest option, but they’re also the least efficient. They require a longer cook time and aren’t ideal for boiling water quickly. They’re a good backup option, but I wouldn't recommend relying on one as your primary cooking source. The Trangia Spirit Burner is a classic example, known for its simplicity and durability.
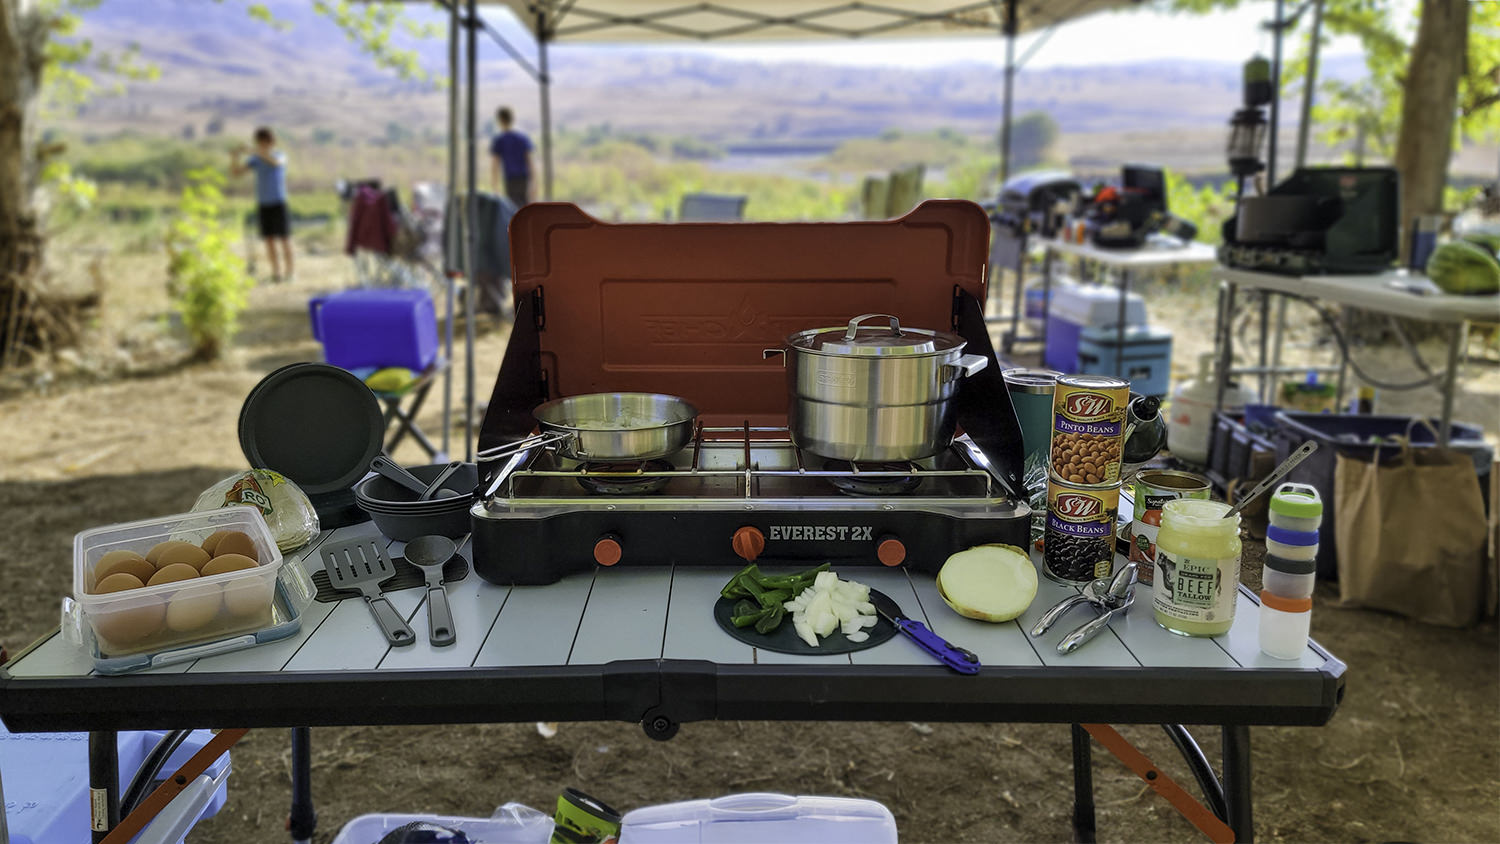
Stability is the biggest issue with small stoves. I look for wide pot supports or use a folding base to keep things level. A tipped stove is a quick way to start a forest fire or lose your only dinner. I usually slide a flat titanium plate under my stove if the ground is too rocky or soft.
- Canister stoves are light and easy but the fuel is expensive and the cans are bulky to pack out.
- Liquid Fuel Stoves: Reliable in cold weather, versatile, but require more maintenance.
- Alcohol Stoves: Simple and lightweight, but less efficient.
Backpacking Stove Comparison: Safety & Suitability for Solo Hikers
| Stove Type | Weight & Packability | Fuel Availability | Cold Weather Performance | Safety Considerations |
|---|---|---|---|---|
| Canister Stoves | Generally lighter and more compact | Widely available in many regions; international availability varies. | Performance decreases significantly in colder temperatures. | Risk of canister leaks if damaged; potential for burns from hot stove components. |
| Liquid Fuel Stoves | Heavier and bulkier than canister stoves | Fuel readily available globally; can be sourced in remote locations. | Excellent performance in cold weather and at high altitudes. | Requires careful fuel handling; potential fire hazard if not operated correctly; more maintenance needed. |
| Alcohol Stoves | Ultralight and simple design | Fuel (denatured alcohol) available in many hardware stores, but not always at outdoor retailers. | Moderate performance; can be affected by wind and cold, but more reliable than canister stoves in cold. | Lower risk of explosion compared to pressurized fuels; fuel is less volatile, but still flammable. |
| Wood-Burning Stoves | Lightweight, no fuel needed | Fuel is readily available in forested areas (check local regulations). | Performance is dependent on fuel availability and quality; can be challenging in wet conditions. | Risk of forest fires; requires careful site selection and fire management. |
| Integrated Canister Stoves | Compact and efficient | Relies on canister fuel availability. | Similar to standard canister stoves, performance drops in cold. | Offers increased stability and wind protection, reducing spill risk compared to standard canister stoves. |
Qualitative comparison based on the article research brief. Confirm current product details in the official docs before making implementation choices.
Choosing your cookware
Backpacking cookware needs to be lightweight and durable. Titanium is the gold standard for weight savings. It's incredibly strong for its weight, corrosion-resistant, and doesn’t impart any flavor to your food. However, it’s also the most expensive option. Toaks Titanium 750ml pot is a popular choice for solo hikers.
Stainless steel is a more affordable and durable alternative. It's heavier than titanium, but it can withstand a lot of abuse and is easy to clean. It also distributes heat more evenly, which is beneficial for simmering. Sea to Summit Alpha Light stainless steel cookware offers a good balance of weight and durability.
Non-stick coatings offer convenience, making cleanup a breeze. But they’re less durable than titanium or stainless steel and can scratch easily. I generally avoid non-stick cookware for backpacking, as the risk of damaging the coating and having it flake into your food outweighs the convenience factor.
For a solo hiker, a 1-2 liter pot is usually sufficient. Consider a pot with a wide mouth for easy filling and cleaning. Integrated systems like the Jetboil are convenient, but they’re less versatile than a separate stove and pot. They also lock you into a specific fuel type and pot size. I prefer the flexibility of a separate system.
- Titanium: Lightweight, strong, expensive.
- Stainless Steel: Durable, affordable, heavier.
- Non-Stick: Convenient, less durable.
Bears and food storage
Proper food storage is absolutely crucial, especially for solo female hikers. Attracting bears or other wildlife can have serious consequences. The best method depends on the regulations of the area you’re hiking in. Many parks require the use of bear canisters, which are hard-sided containers that prevent animals from accessing your food.
If bear canisters aren’t required, a bear bag and rope can be used to hang your food at least 10 feet off the ground and 4 feet from the trunk of a tree. This requires practice and a good understanding of how to tie a proper bear hang. Improperly hung food is just as attractive to bears as food left on the ground.
Scent-proof bags are a useful addition, but they aren’t foolproof. Bears have an incredible sense of smell, and they can still be attracted to the scent of food even if it’s contained in a scent-proof bag. They should be used in conjunction with a bear canister or bear hang, not as a replacement.
Check the National Park Service website for the specific unit you are visiting. Regulations change yearly, and some parks now require specific canister models rather than just any bear-resistant container.
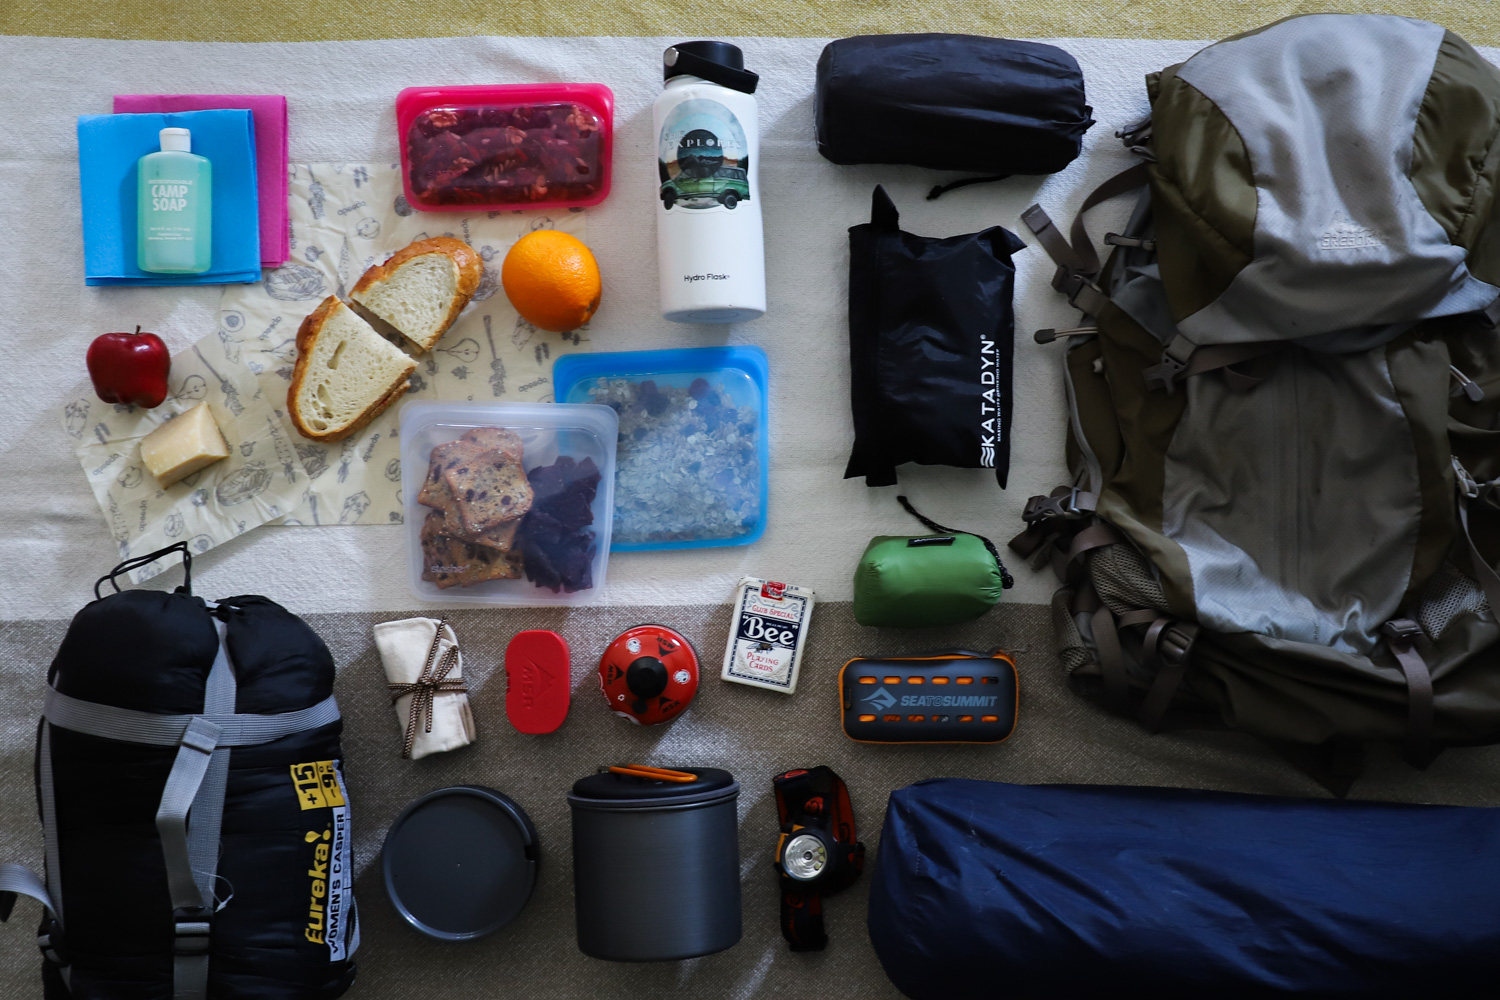
Utensils & Camp Tools: Minimizing Weight
Every ounce counts when you’re carrying everything on your back. A spork is a classic choice for backpacking, combining a spoon and fork into one lightweight utensil. Titanium sporks are particularly durable and lightweight. I also carry a small, folding knife for food prep and other tasks.
Instead of a bulky cutting board, I use a flexible plastic sheet. It’s lightweight and takes up minimal space. A durable camp towel is essential for cleaning up spills and drying dishes. Microfiber towels are absorbent and quick-drying.
Multi-tools can be useful, but they often add unnecessary weight. I prefer to carry dedicated utensils and tools that are specifically designed for backpacking. A small scraper is handy for cleaning pots and pans, especially after cooking sticky meals. Folding utensils are great for saving space and reducing clutter.
Essential Camp Tools
- Folding Knife - A reliable folding knife is crucial for food prep and general camp tasks. Consider the Benchmade Proper, known for its durability and safety features.
- Spork - The Light My Fire Spork is a classic for a reason – lightweight, durable, and combines fork and spoon functionality. It minimizes pack weight and dishwashing.
- Pot Scraper - A silicone pot scraper, like the GSI Outdoors Pinnacle Dualist II Pot Scraper, is essential for cleaning your cook pot efficiently and minimizing food waste. It’s much more effective than trying to clean with just water.
- Small Cutting Board - A flexible cutting board, such as the DexFit Flexible Cutting Board, provides a sanitary surface for food preparation without adding significant weight or bulk. Choose one with a hanging loop for easy storage.
- Biodegradable Soap - Dr. Bronner's Pure-Castile Liquid Soap is a versatile, biodegradable option for washing dishes and yourself. It's concentrated, so a small bottle goes a long way.
- Collapsible Sink/Bowl - The Sea to Summit X-Bowl is lightweight and collapsible, providing a dedicated basin for washing dishes or soaking feet. It saves space and keeps your campsite cleaner.
- Quick-drying Towel - A compact, quick-drying towel like the PackTowl Ultralite is vital for drying dishes, hands, or even wiping down gear. It’s far more efficient than using clothing.
Water Purification: Beyond the Filter
Access to clean water is paramount. A water filter is a must-have for any backpacking trip. Sawyer Squeeze and Katadyn BeFree are popular choices, offering fast flow rates and reliable filtration. However, filters can clog and become ineffective, so it's essential to have a backup method.
Chemical treatments, such as chlorine dioxide tablets or drops, are a lightweight and effective backup option. They kill bacteria and viruses, but they don’t remove sediment or improve the taste of the water. UV purifiers, like the SteriPen, use ultraviolet light to kill microorganisms. They’re effective and quick, but they require batteries.
Always pre-filter murky water through a bandana or coffee filter to extend the life of your filter. Learn how to identify safe water sources and avoid collecting water from stagnant ponds or areas with visible pollution. Knowing how to find and treat water is a crucial survival skill.
My 2026 gear picks
After extensive testing and research, a few pieces of gear consistently stand out for solo female hikers prioritizing safety and efficiency. The MSR PocketRocket 2 stove ($45) is incredibly reliable and packs down small. Its wind-blocking design is a huge plus in exposed areas.
For cookware, the Toaks Titanium 750ml pot ($80) offers an excellent balance of weight and durability. It’s perfect for boiling water and cooking simple meals. I also highly recommend the Sawyer Squeeze Water Filter ($35) for its fast flow rate and ease of use.
Regarding safety, a Garmin inReach Mini 2 ($400) is an investment that can literally save your life. Its satellite communication capabilities allow you to send and receive messages, share your location, and trigger an SOS in an emergency. This is especially valuable for solo hikers. Finally, a Sea to Summit Alpha Light Spork ($12) is a simple, durable, and lightweight utensil that won’t let you down.
What's your biggest challenge when it comes to Leave No Trace principles?
Vote below and tell us which Leave No Trace task is hardest to manage on the trail.
No comments yet. Be the first to share your thoughts!