
How altitude changes your kitchen
Air pressure drops as you climb, which means water boils at a lower temperature. At 10,000 feet, your pot hits a rolling boil at 203°F instead of the usual 212°F. It sounds like a small gap, but it adds a lot of time to your dinner prep.
The implications are widespread. Foods that rely on prolonged boiling, like beans and rice, will take considerably longer to cook. Steaming vegetables becomes less efficient. Even something as simple as making pasta requires adjustments. I remember a trip to the Collegiate Peaks in Colorado, around 12,000 feet, where I stubbornly stuck to my usual rice cooking time. The result? Crunchy rice. A frustrating, and hungry, evening taught me a valuable lesson.
A common misconception is that you simply need more fuel to compensate. While bringing extra fuel is always a good idea, it doesn't address the core issue of reduced heat transfer. Lower boiling points mean less energy is being delivered to your food per unit of time. You need to consider extending cooking times, increasing the amount of liquid, or using pressure cooking methods to overcome this.
If you're baking, the lower pressure actually helps bread rise higher. But for most of us boiling water for a meal, it just means waiting longer for the rice to soften.
Stoves we tested in the high country
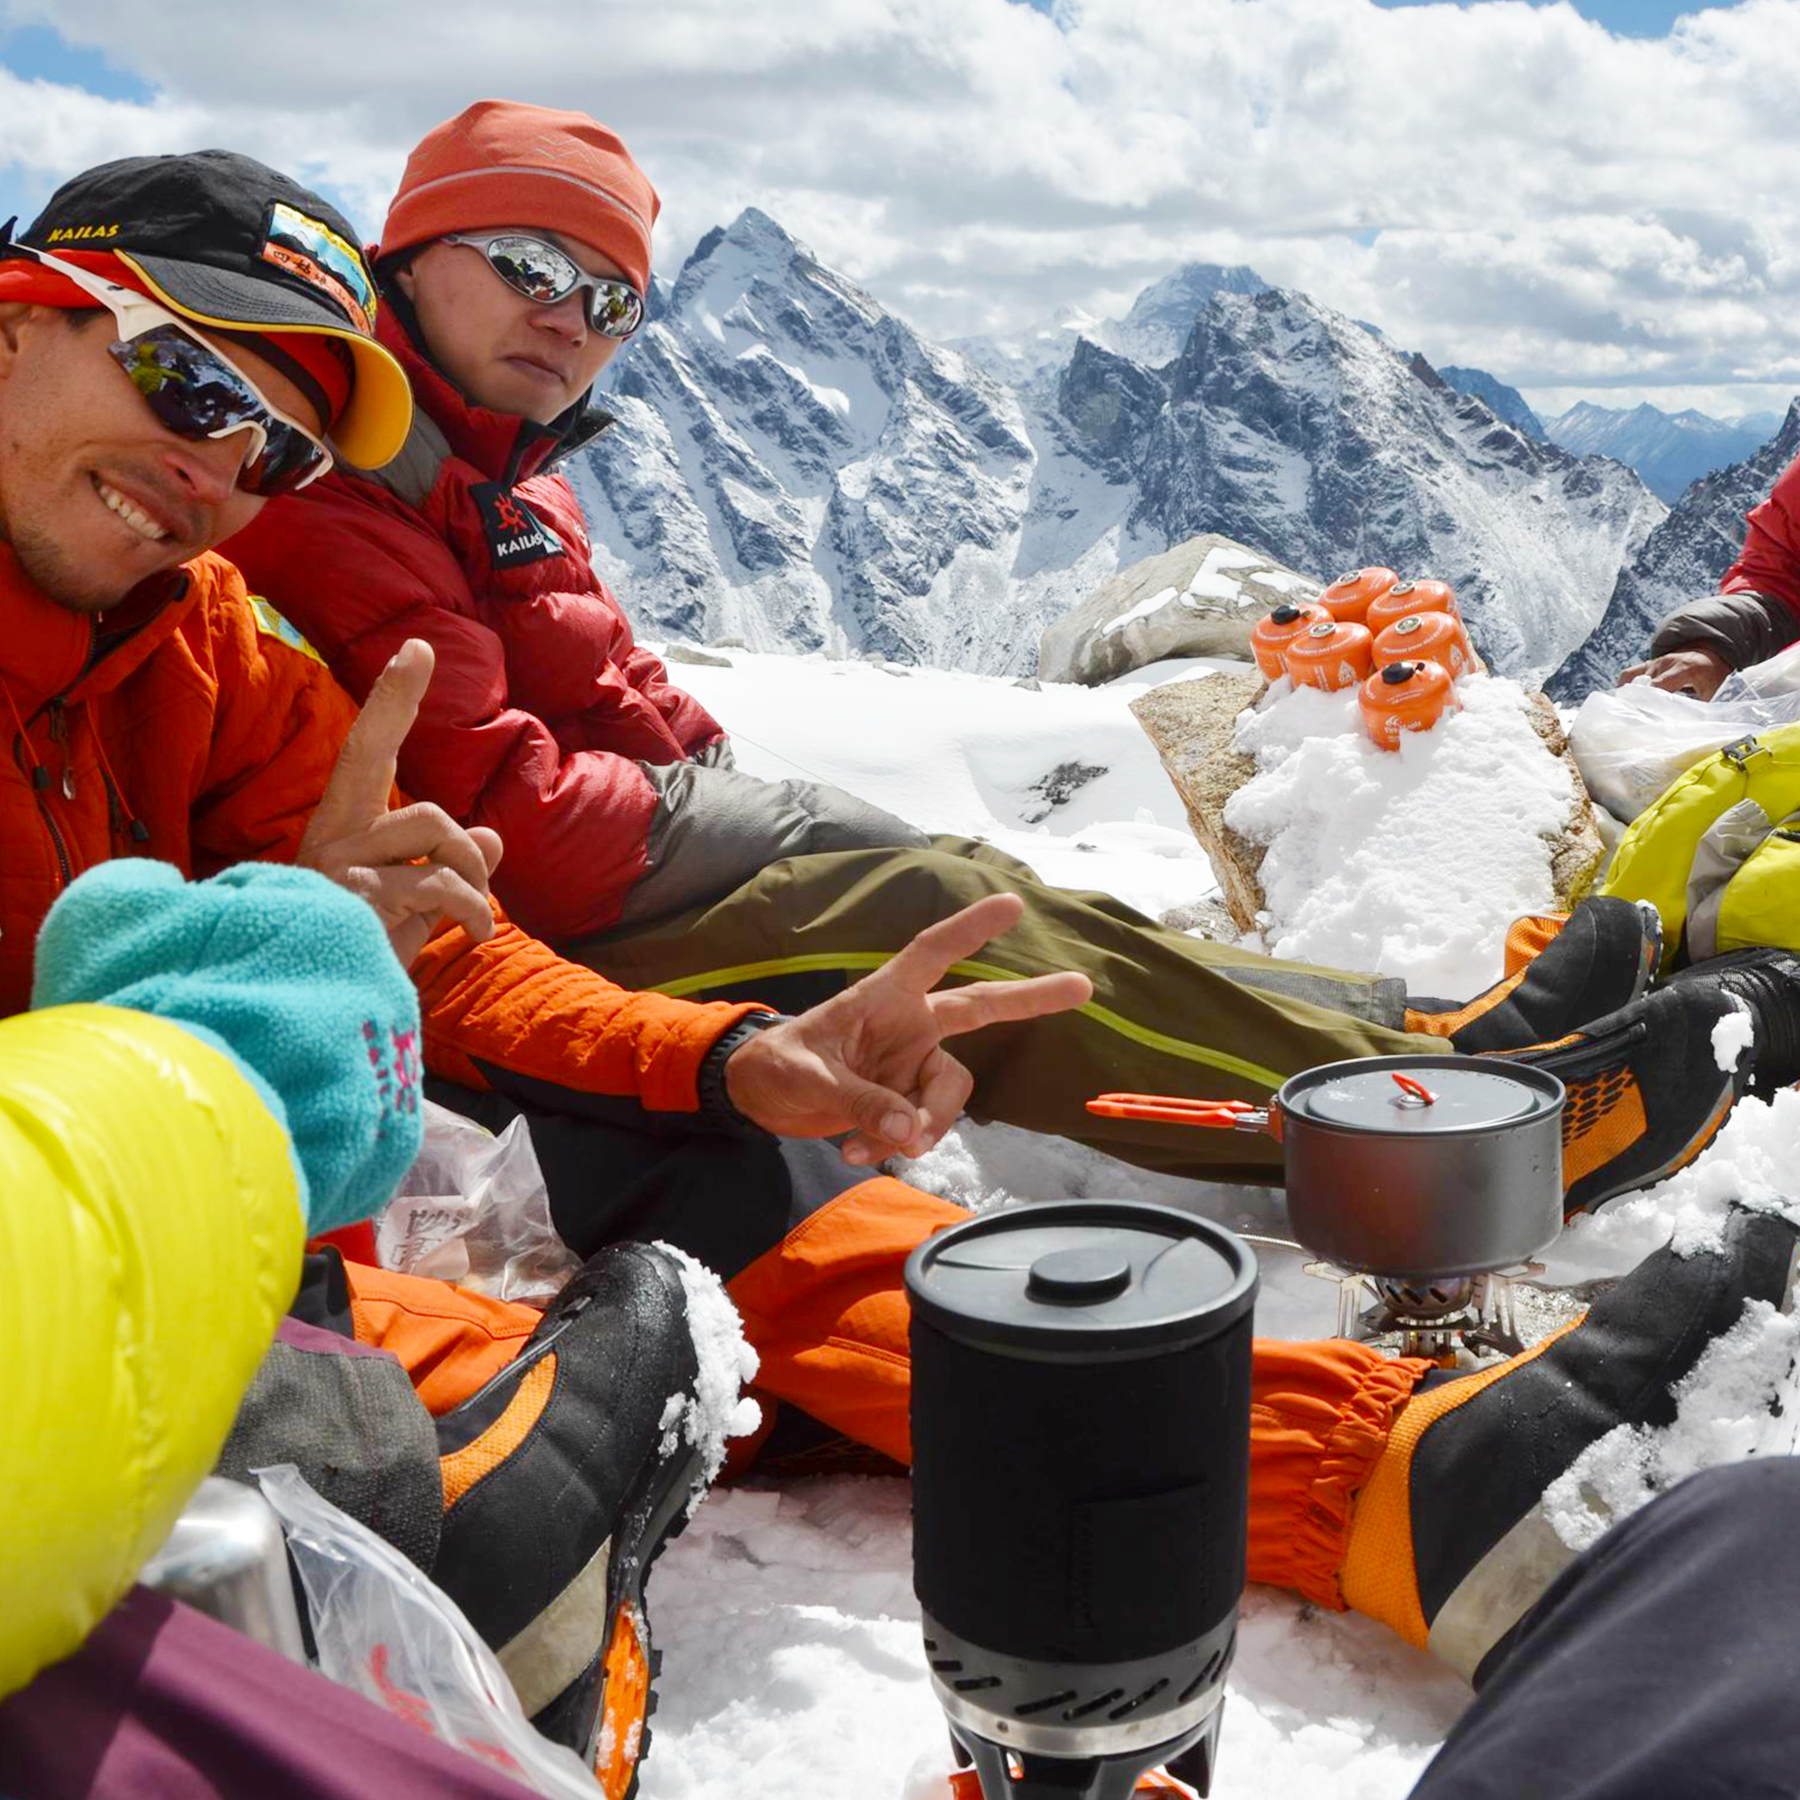
We spent the better part of last summer and fall testing stoves at elevations ranging from 10,200 to 14,000 feet in both Colorado and California. Our criteria focused on consistent performance, simmer control, fuel efficiency, and wind resistance. We tested canister stoves, liquid fuel stoves, and integrated systems, cooking a variety of meals – from simple pasta dishes to more complex stews – at each altitude.
Canister stoves are popular for their convenience, but their performance suffers noticeably at altitude. We found that butane-propane mixes performed better than pure butane, but even then, output diminishes significantly as the canister pressure drops. The MSR PocketRocket 2 ($45) is a reliable option, offering decent performance for its size and price, but it struggled to maintain a consistent simmer at 13,000 feet. The Jetboil Flash ($150) integrated system, while heavier, consistently outperformed other canister stoves due to its efficient heat exchanger, boiling water faster even at higher elevations.
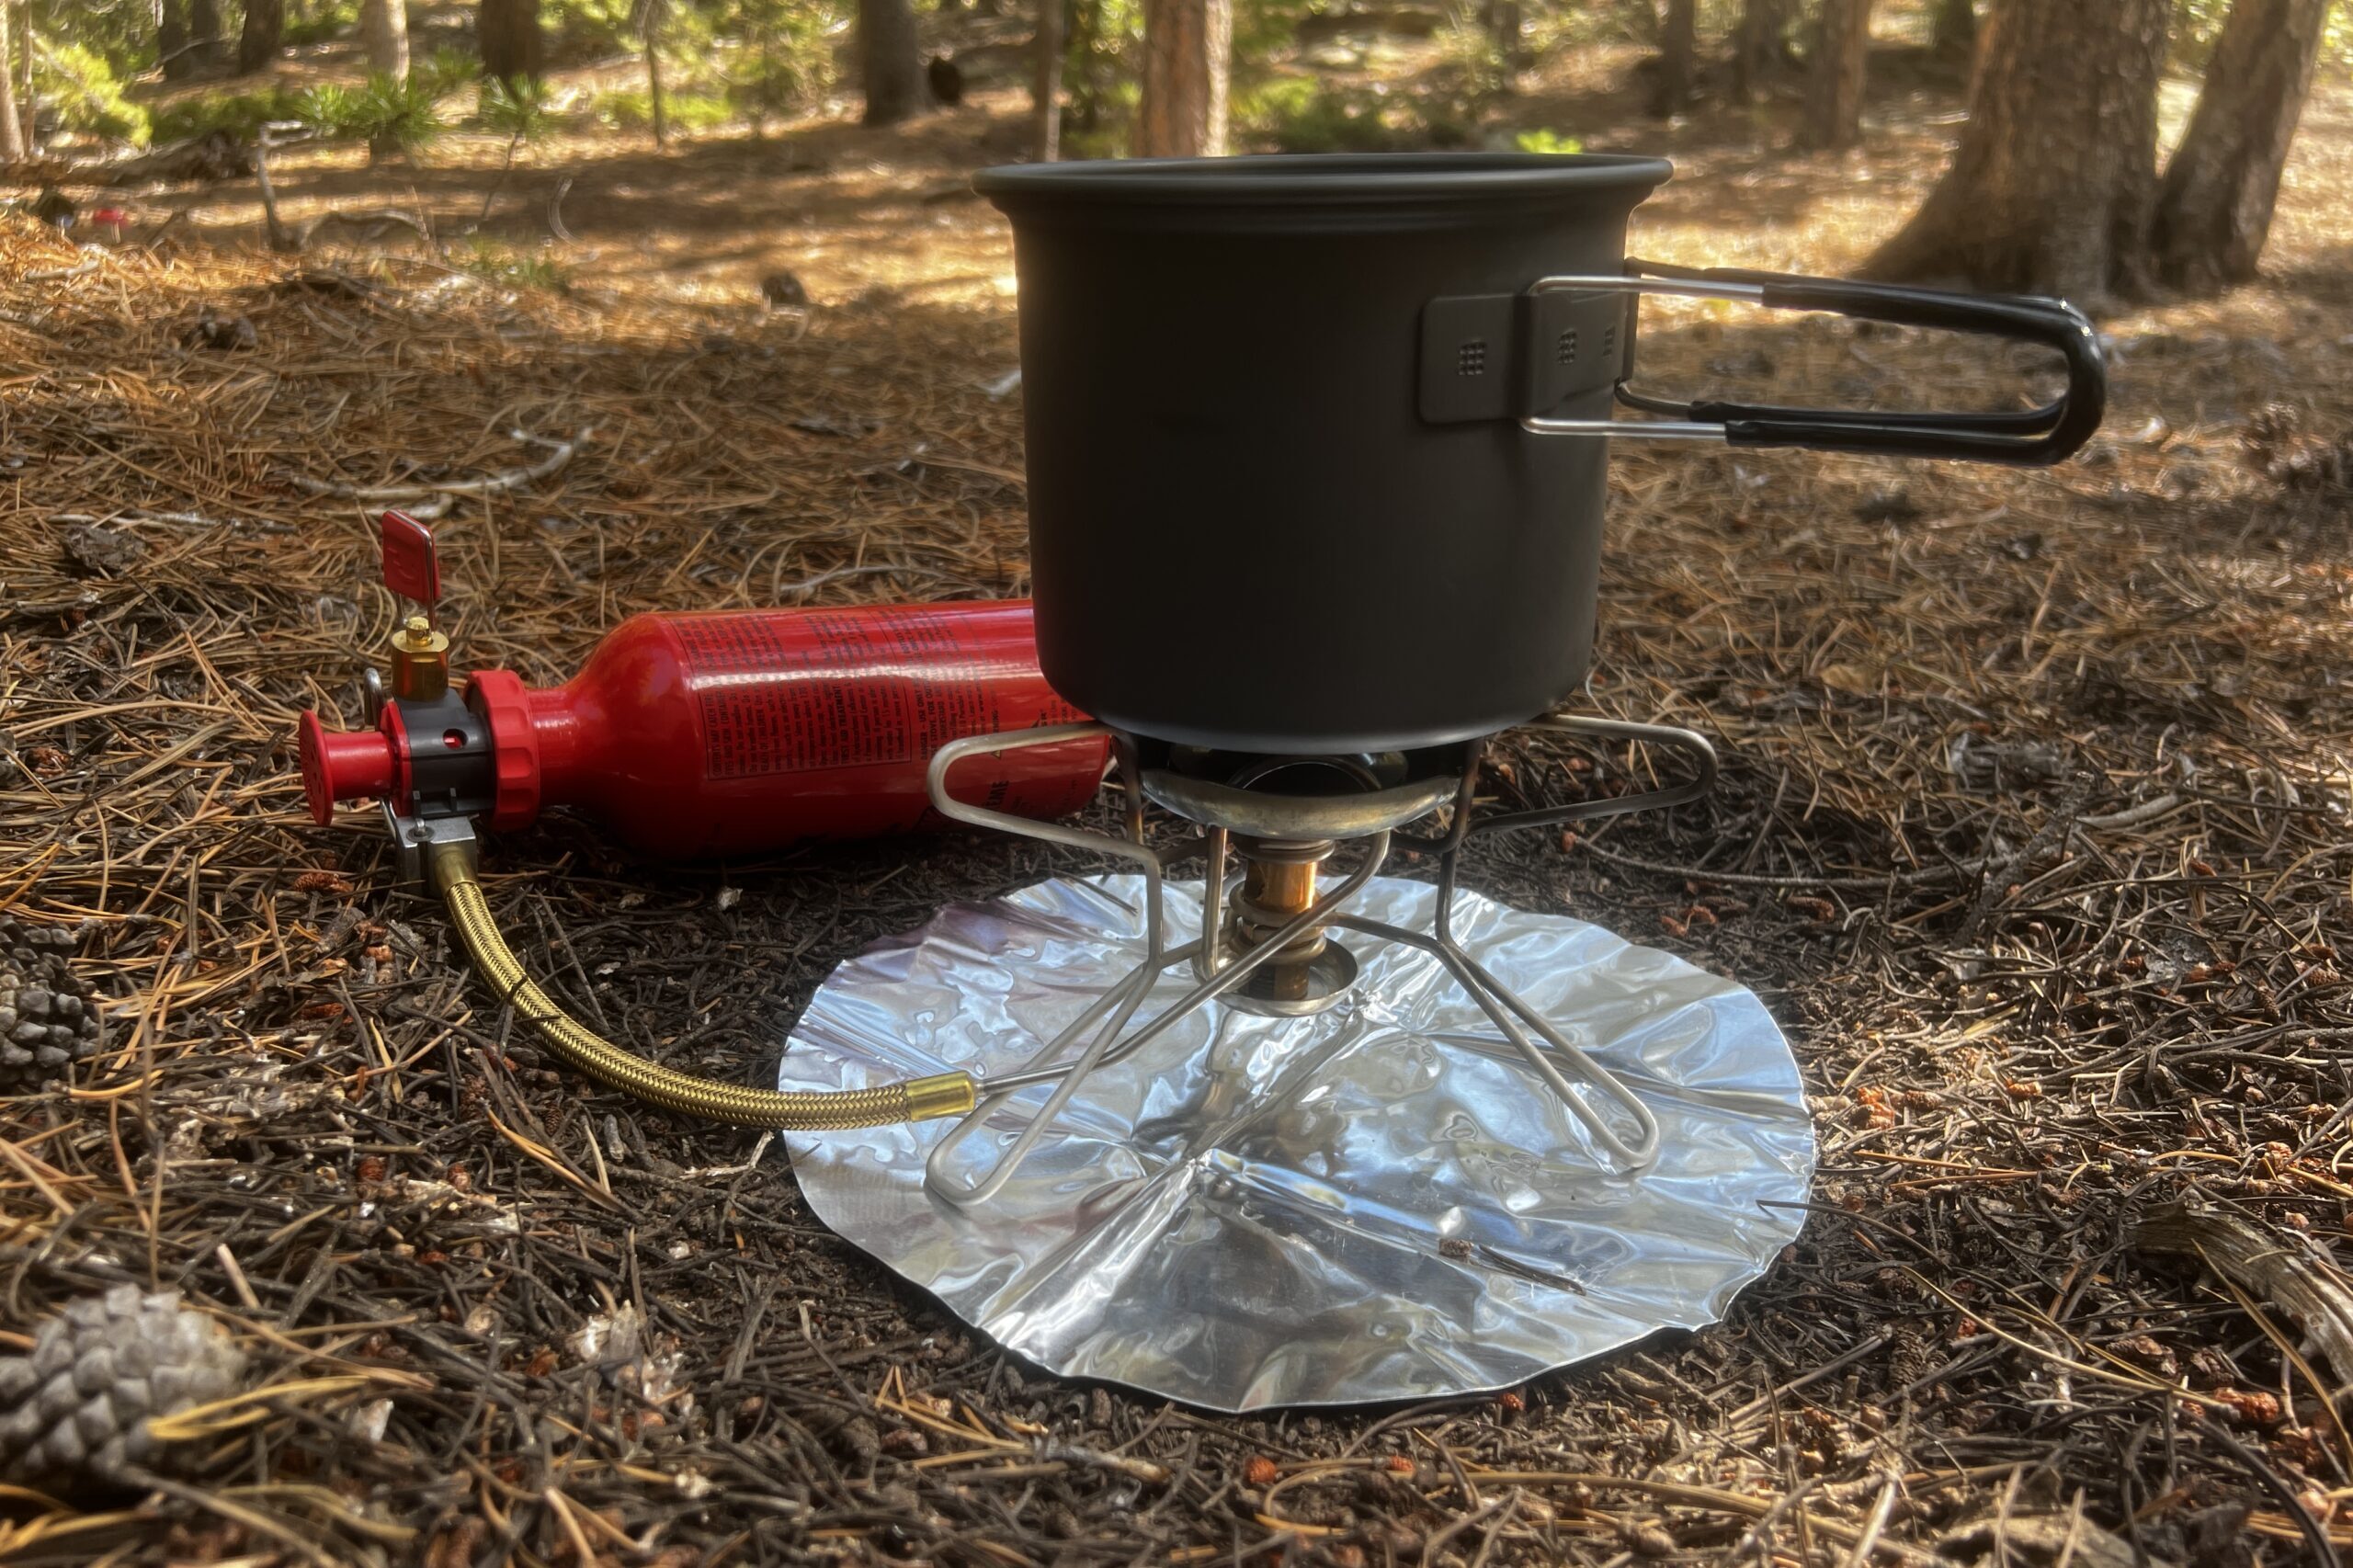
Liquid fuel stoves shine at altitude. White gas, in particular, maintains consistent pressure regardless of temperature, providing reliable heat output. The Soto OD-1RG Pocket Torch ($80) proved to be exceptionally stable and efficient, even in strong winds. It’s a bit more involved to operate than a canister stove, requiring priming and maintenance, but the consistent performance is worth the effort. We found it boiled a liter of water in about 4 minutes at 14,000 feet.
Primus offers a good middle ground with their OmniFuel ($170). This multi-fuel stove can burn white gas, kerosene, propane, and butane, providing flexibility for various conditions and fuel availability. However, it's heavier and more complex than the PocketRocket 2 or the Soto Pocket Torch. I personally prefer the predictability of white gas for extended trips at high altitude, even with the added weight and maintenance.
- MSR PocketRocket 2: Light and cheap, but the flame flickers too much when you try to simmer at 13,000 feet.
- Jetboil Flash: Excellent heat exchange for faster boiling, but heavier and more expensive.
- Soto OD-1RG Pocket Torch: Reliable and efficient liquid fuel stove, ideal for extended trips.
- Primus OmniFuel: Versatile multi-fuel stove, but heavier and more complex.
High Altitude Stove Performance: 2026 Field Tested Results (Above 10,000 Feet)
| Stove Model | Fuel Type | Weight (oz) | Boil Time (1 Liter at 10,000ft) | Boil Time (1 Liter at 14,000ft) | Wind Resistance (1-5) | Simmer Control (1-5) | Overall Score (1-5) |
|---|---|---|---|---|---|---|---|
| MSR PocketRocket 2 | Isobutane-Propane | 2.6 | 3:30 min | 5:45 min | 3 | 2 | 4 |
| Jetboil Flash Cooking System | Isobutane-Propane | 13.1 | 2:45 min | 4:15 min | 4 | 3 | 4.5 |
| BRS-3000T | Isobutane-Propane | 0.9 | 4:15 min | 6:30 min | 2 | 1 | 3 |
| Soto Amica | Isobutane-Propane | 3.3 | 3:00 min | 5:00 min | 3 | 4 | 4.5 |
| Primus Lite III | Isobutane-Propane | 2.8 | 3:45 min | 6:00 min | 3 | 2 | 3.5 |
| Snow Peak GigaPower Automatic Stove | Isobutane-Propane | 3.4 | 3:15 min | 5:15 min | 3 | 3 | 4 |
Illustrative comparison based on the article research brief. Verify current pricing, limits, and product details in the official docs before relying on it.
Pots and pans that hold heat
Your stove is only as good as the cookware it sits on. At high altitude, where every bit of heat is precious, material and design matter. Titanium cookware is incredibly lightweight and durable, but it’s a poor conductor of heat, meaning it takes longer to boil water. Aluminum cookware heats up quickly but is less durable and can impart a metallic taste to food. Stainless steel offers a good balance of durability, heat conductivity, and flavor neutrality.
Pot shape also plays a role. Wider pots maximize surface area for heat absorption, while taller pots minimize heat loss to the wind. Lids are essential – they trap heat and reduce cooking times. I’m particularly picky about lids that fit securely and don’t blow off in a gust of wind. Look for pots with locking handles or lids.
We tested several cookware sets. The Toaks Titanium 750ml Pot ($60) is a popular choice for ultralight backpackers, but it took noticeably longer to boil water than the aluminum or stainless steel options. The Sea to Summit Alpha Light Spork ($15) is a lightweight and durable utensil that's perfect for backpacking. The GSI Outdoors Pinnacle Dualist II ($130) stainless steel cookset offers a good balance of weight, durability, and performance, with a well-fitting lid and a stable base.
Consider the handles. Folding handles are convenient for storage, but they can be less stable than fixed handles. Silicone grips provide a comfortable and secure hold, even when the pot is hot. Ultimately, the best cookware for you will depend on your priorities – weight, durability, and cooking performance.
Why white gas beats canisters
As mentioned, canister fuel performance degrades at altitude. Butane, the primary component in many canister fuels, vaporizes poorly in cold temperatures and at low pressure. Isobutane has a lower boiling point and performs better, but a blend of butane, propane, and isobutane is generally the best option for all-around performance. Look for canisters labeled as “alpine” or “winter blend,” as these contain a higher percentage of isobutane and propane.
Liquid fuel offers a more reliable alternative. White gas (naphtha) maintains consistent pressure regardless of temperature, making it ideal for high-altitude cooking. Kerosene is another option, but it produces more soot and requires more maintenance. Liquid fuel stoves are heavier and require more skill to operate, but the consistent performance is worth it for longer trips.
I learned a valuable lesson about fuel consumption on a trip to the Wind River Range in Wyoming. I underestimated the amount of white gas I would need and ended up rationing fuel for the last two days. Cold dinners aren’t fun, and it highlighted the importance of accurate fuel calculation. A good rule of thumb is to overestimate your fuel needs, especially at altitude.
When calculating fuel needs, consider the altitude, the duration of your trip, and the type of food you'll be cooking. Simmering complex meals requires significantly more fuel than boiling water for instant noodles.
Accessories for Altitude Success
Small accessories can make a big difference in your high-altitude cooking experience. A wind screen is arguably the most important accessory. Even a light breeze can significantly reduce the efficiency of your stove, extending cooking times and wasting fuel. A good wind screen will block the wind and reflect heat back towards your pot.
Pot supports are useful for stabilizing your pot on uneven surfaces. Lid lifters are helpful for removing hot lids without burning your fingers. A small spatula or spoon is essential for stirring and serving food. Don't forget a pot scrubber and biodegradable soap for cleaning up.
I’ve found a simple aluminum foil wind screen, shaped to fit around my stove, to be surprisingly effective and lightweight. The BRS-3000T Titanium Stove ($20) already comes with a decent windscreen, which is a bonus. Investing in a quality pot gripper, like the Light My Fire Spork & Bottle Opener ($10), makes handling hot cookware much safer.
Consider bringing a lightweight pot cozy to keep your food warm while you eat. This is especially useful in cold weather.
Food Safety Above the Clouds
Lower boiling points at high altitude require extra caution when it comes to food safety. Bacteria are killed at higher temperatures, and lower boiling points may not reach those temperatures. According to the USDA’s Food Safety and Inspection Service (fsis.usda.gov), you need to cook food longer at high altitude to ensure it’s safe to eat.
The New Mexico State University Cooperative Extension Service (pubs.nmsu.edu) provides specific recommendations for adjusting cooking times at different altitudes. For example, they recommend increasing the boiling time for dried beans by 15-20 minutes at 5,000 feet, and even longer at higher elevations. Similarly, meat and poultry should be cooked to a higher internal temperature at altitude.
Always use a food thermometer to verify that your food has reached a safe internal temperature. Don’t rely on visual cues alone. Pay close attention to the recommended cooking times for different foods and adjust accordingly. Remember, it’s not just about taste; it’s about preventing foodborne illness.
Proper food storage is also crucial. Keep perishable foods cold and protect them from contamination. Pack food in airtight containers to prevent spoilage and minimize the risk of attracting animals.


No comments yet. Be the first to share your thoughts!