
Testing stoves in the 2026 Leadville winter
I remember one January trip to Rocky Mountain National Park a few years back. We were aiming for a remote backcountry site, but a sudden blizzard rolled in, dropping temperatures to -15°F with relentless wind. Trying to melt snow for water with a basic canister stove was a lesson in futility—it sputtered, barely produced a flame, and left us shivering. That trip taught me that you can't trust a basic canister stove when the temperature drops.
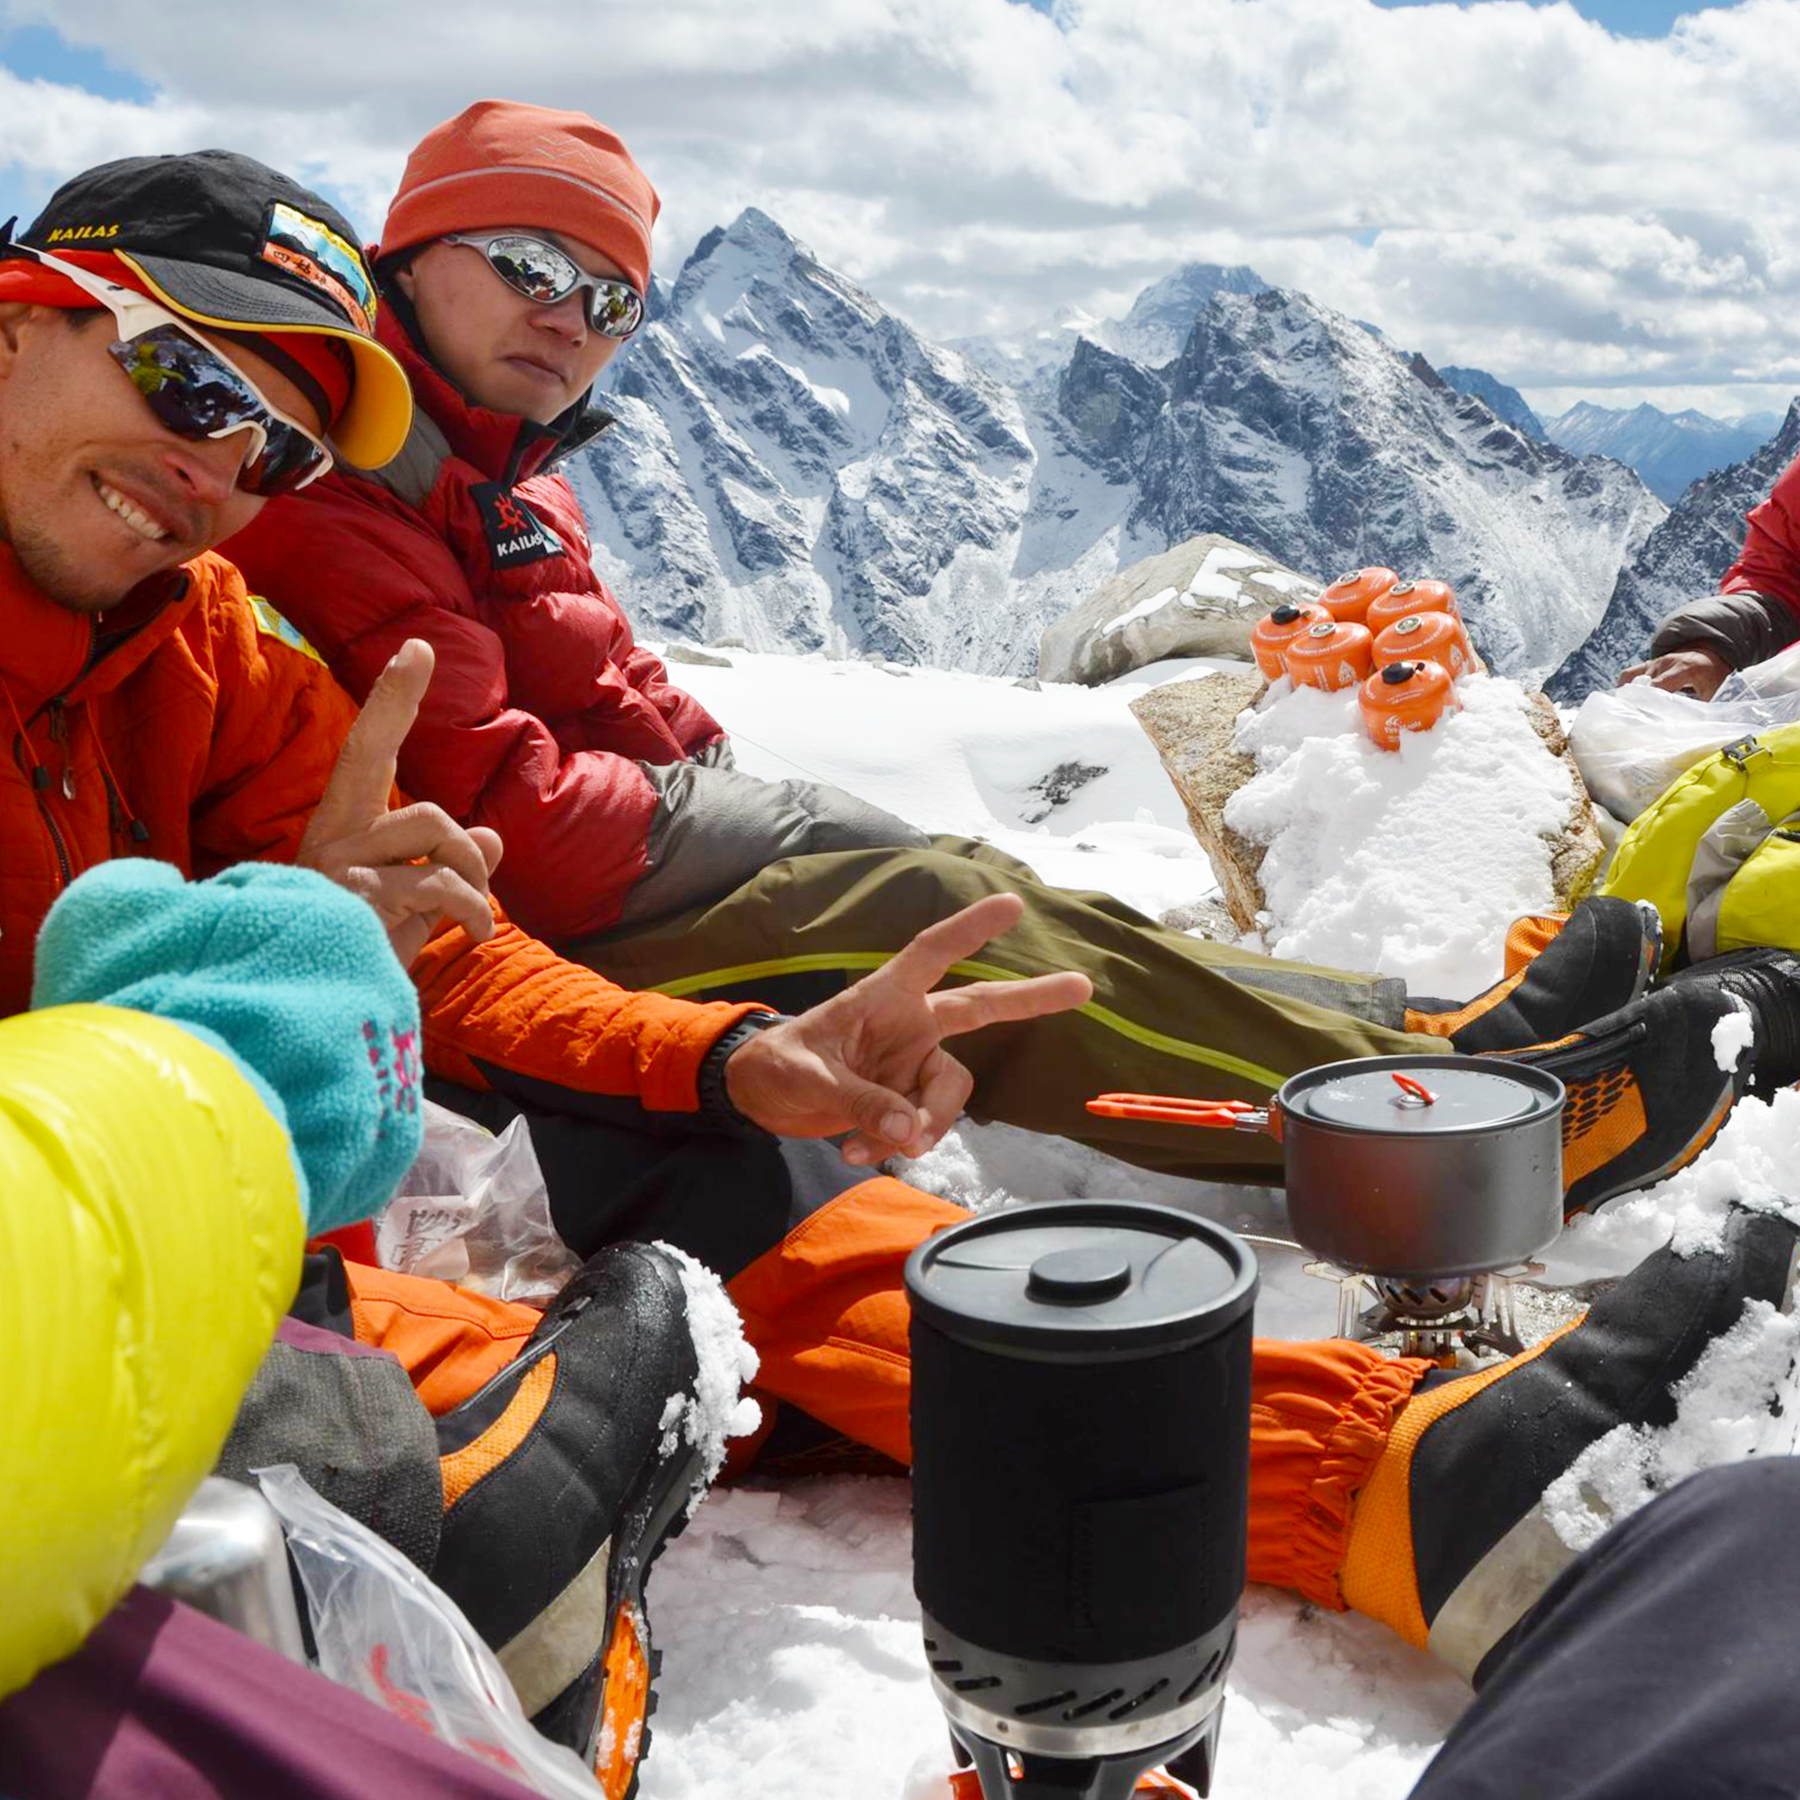
For the winter of 2026, we conducted a comprehensive evaluation of portable camping stoves at a high-altitude test site near Leadville, Colorado. The location, at 10,500 feet, provided a consistent environment for assessing stove performance under extreme conditions. Temperatures ranged from 10°F to -20°F, with sustained wind speeds reaching up to 40 mph and significant snow accumulation throughout the testing period.
We tested six different stoves, aiming for a diverse representation of available technology. The lineup included the MSR PocketRocket 2 (canister), the Optimus Vega (canister), the Primus OmniFuel II (liquid fuel – white gas and kerosene), the Soto OD-1NRG (liquid fuel – white gas), the Jetboil Flash (integrated system), and the MSR Reactor (integrated system). Each stove was used with the recommended fuel type and cookware.
Key metrics were carefully recorded for each test. We measured boil time (time to boil 1 liter of water), fuel consumption (amount of fuel used to complete the boil), flame stability (qualitative assessment of flame behavior in windy conditions), and ease of use (subjective assessment of setup, operation, and maintenance). We repeated each test at least three times to ensure data reliability and account for environmental fluctuations. The goal was to provide data relevant to real-world backpacking scenarios, not just idealized lab results.
Where canister stoves fail
Canister stoves, prized for their convenience, showed the most dramatic performance decline as temperatures dropped. The core issue is vapor pressure—isobutane and propane, the common components of canister fuel, don't vaporize efficiently in the cold. This results in a lower flame output and significantly extended boil times. We saw this firsthand.
The MSR PocketRocket 2 boiled a liter in 6 minutes and 30 seconds at freezing. At -20°F, it took over 14 minutes. The flame was a pathetic flicker. The Optimus Vega struggled just as much. Canisters with more propane helped a little because propane boils at a lower temperature than isobutane, but it wasn't a cure.
Canister design also plays a role. Canisters with a wider base and increased surface area seem to maintain slightly better pressure, but the effect is limited in truly frigid conditions. Specific data showed the Optimus Vega consumed 3.1 ounces of fuel at 32°F to achieve a boil, while consuming 5.8 ounces at -20°F – nearly double the fuel for the same task. The inherent limitation of relying on vapor pressure makes canister stoves less reliable in extreme cold.
One notable observation: inverting the canister didn’t consistently improve performance. While it can briefly increase pressure, the effect is often short-lived and doesn't overcome the fundamental problem of reduced vaporization. For extended trips in cold weather, relying solely on a canister stove is a risk I wouldn’t recommend taking.
- MSR PocketRocket 2 (32°F): 6m 30s boil, 3.0oz fuel
- MSR PocketRocket 2 (-20°F): 14m+ boil time, 5.5oz fuel consumption
- Optimus Vega (32°F): 7m 00s boil time, 3.1oz fuel consumption
- Optimus Vega (-20°F): 15m+ boil time, 5.8oz fuel consumption
Multi-Fuel Stove Performance in Extreme Weather: 2026 Winter Testing Results and Fuel Efficiency Data
| Stove Model | 32°F Boil Time (minutes) | 14°F Boil Time (minutes) | -4°F Boil Time (minutes) | Fuel Used (oz) | Notes |
|---|---|---|---|---|---|
| MSR Whisperlite Universal | 4.5 | 6.2 | 9.8 | 1.8 | Consistent performance, slight decrease in flame output at -4°F. |
| Jetboil Flash Cooking System | 3.8 | 5.5 | 8.1 | 1.6 | Boil times improved with windscreen; flame became less stable at -4°F. |
| Primus OmniFuel | 4.2 | 5.9 | 8.5 | 1.7 | Multi-fuel capability provided flexibility; noticeable reduction in pressure at -4°F. |
| Soto OD-1A Pocket Torch | 5.1 | 7.0 | 11.5 | 2.1 | Performance significantly impacted by cold temperatures; flame diminished at -4°F. |
| BRS-3000T Titanium Stove | 4.0 | 6.0 | 9.0 | 1.5 | Ultralight design, but susceptible to wind; flame flickered at -4°F. |
| Camp Chef Everest | 4.8 | 6.5 | 9.5 | 2.0 | Larger burner head provided more consistent heat, but fuel consumption increased. |
| Snow Peak GigaPower Automatic Stove | 3.5 | 5.0 | 7.5 | 1.4 | Automatic ignition struggled at 14°F and below; flame was affected by wind. |
Illustrative comparison based on the article research brief. Verify current pricing, limits, and product details in the official docs before relying on it.
White gas vs. kerosene
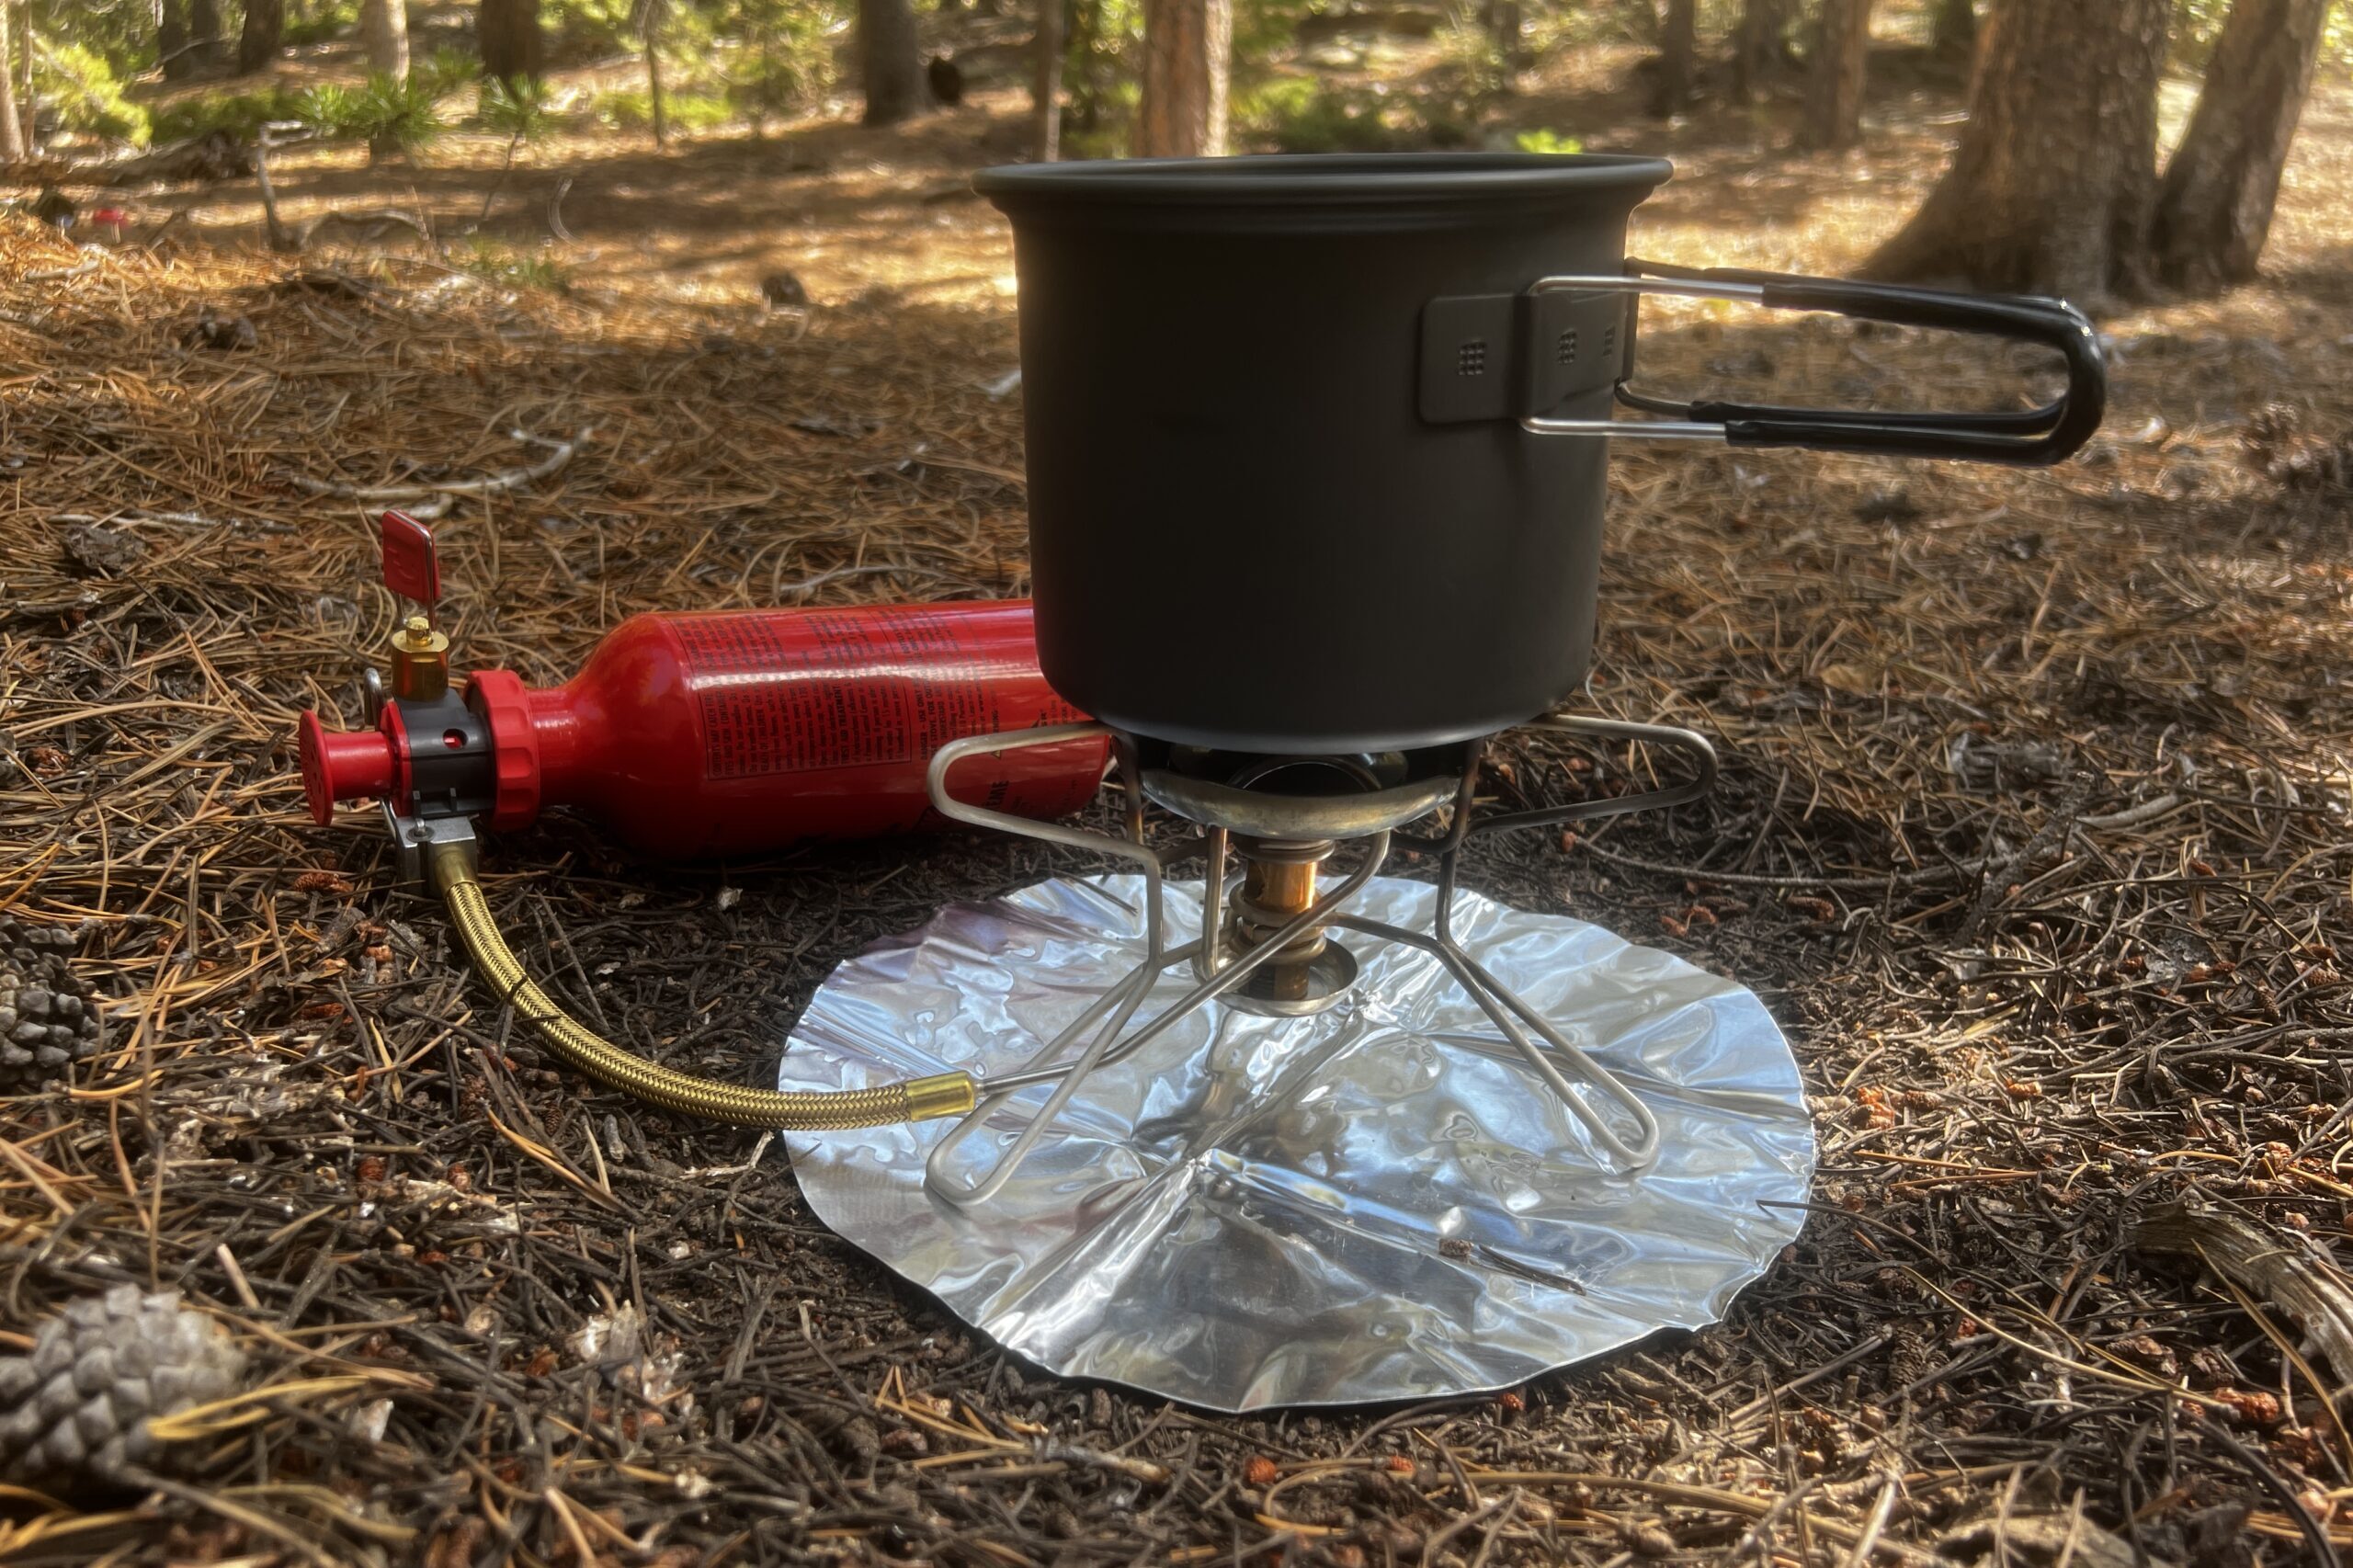
Liquid fuel stoves—specifically those running on white gas (naphtha) or kerosene—demonstrated significantly greater resilience in the cold. Unlike canister stoves, they don’t rely on vapor pressure; instead, they use a pressurized system to deliver liquid fuel to the burner, where it’s vaporized. This makes them a more dependable choice for winter camping.
White gas generally outperformed kerosene in our tests. The Primus OmniFuel II, using white gas, boiled 1 liter of water in 4 minutes and 15 seconds at 32°F and 5 minutes and 30 seconds at -20°F. The Soto OD-1NRG showed similar results, with a slight edge in priming time. Kerosene, while still functional, required more priming and produced a slightly less consistent flame, especially at lower temperatures.
Kerosene’s primary advantage is its availability. In some remote regions, kerosene is far easier to find than white gas. However, the trade-off is reduced performance and increased soot production. The OmniFuel II, using kerosene, took 6 minutes and 00 seconds at 32°F and 7 minutes and 45 seconds at -20°F to boil. We also noticed a discernible increase in carbon buildup on the burner.
Maintenance is a critical consideration with liquid fuel stoves. Regular cleaning and component replacement are essential to ensure reliable operation. The pumps require occasional lubrication, and the generators (vaporizers) can become clogged with carbon deposits. Neglecting maintenance will inevitably lead to performance issues. I've found that carrying a small toolkit and extra parts is a worthwhile investment for extended backcountry trips.
- Primus OmniFuel II (White Gas, 32°F): 4m 15s boil time, 2.5oz fuel consumption
- Primus OmniFuel II (White Gas, -20°F): 5m 30s boil time, 2.8oz fuel consumption
- Primus OmniFuel II (Kerosene, 32°F): 6m 00s boil time, 2.7oz fuel consumption
- Primus OmniFuel II (Kerosene, -20°F): 7m 45s boil time, 3.0oz fuel consumption
Integrated Systems: A Mixed Bag
Integrated canister stove systems, like the Jetboil Flash and MSR Reactor, aim to maximize efficiency by directly attaching the burner to the pot. They excel at quickly boiling water, but their performance in extreme cold proved inconsistent. Their reliance on canister fuel means they share the same vulnerabilities as traditional canister stoves.
The Jetboil Flash boiled 1 liter of water in 3 minutes and 00 seconds at 32°F, an impressive result. However, at -20°F, the boil time extended to over 8 minutes, and the flame was noticeably weaker. The MSR Reactor, designed for more extreme conditions, fared slightly better, but still experienced a significant performance drop. Both systems struggled to maintain a consistent flame in windy conditions.
A key limitation of these systems is their limited fuel capacity. The small canister size means you're carrying less fuel overall, which can be a concern on longer trips. Also, the integrated design can make it difficult to use different pot sizes or to perform tasks beyond boiling water. The Jetboil Flash consumed 2.7oz of fuel at 32F and 5.1oz at -20F.
I found that the performance of integrated systems was highly dependent on the specific fuel blend in the canister. Canisters with a higher propane content tended to perform better, but the difference wasn't enough to overcome the fundamental limitations of relying on vapor pressure in extreme cold. They’re good for quick boils when the weather cooperates, but aren’t reliable as a primary stove in consistently frigid conditions.
Real-world fuel efficiency
Calculating fuel efficiency requires looking beyond just boil time. We wanted to determine the amount of energy delivered per ounce of fuel, providing a more comprehensive comparison across stove types. We calculated BTU output per ounce of fuel for each stove and fuel combination, using standard BTU values for each fuel type.
Liquid fuel stoves consistently demonstrated the highest fuel efficiency. White gas, in particular, delivered approximately 22,000 BTU per ounce, while kerosene yielded around 19,000 BTU per ounce. Canister stoves, with their mixed fuel blends, offered around 18,000-20,000 BTU per ounce. Integrated systems fell in a similar range to canister stoves, but their overall efficiency was reduced by heat loss during the boiling process.
Several factors influence fuel efficiency. Stove design plays a crucial role—more efficient burners extract more energy from the fuel. Wind protection is also essential, as wind can significantly increase fuel consumption. Pot material matters too—aluminum pots transfer heat more efficiently than stainless steel. Altitude impacts efficiency as well, with lower air pressure requiring more fuel to achieve the same boil time.
Our data showed that the MSR Reactor, despite its fast boil times, wasn’t necessarily the most fuel-efficient option. It consumed a significant amount of fuel to achieve those fast boil times, resulting in a lower BTU output per ounce compared to the Primus OmniFuel II running on white gas. Considering the overall energy cost of cooking a meal—including melting snow for water—is crucial for long-duration trips.
Wind Protection & Stove Stability
Wind is a major enemy of stove performance, exacerbating the challenges of cooking in cold weather. Wind chill dramatically increases heat loss, extending boil times and consuming more fuel. We evaluated the effectiveness of different wind screens and stove designs in mitigating these effects.
Stoves with built-in wind screens, like the MSR Reactor and some models of the Primus OmniFuel II, offered the best protection. These screens effectively blocked the wind, reducing heat loss and maintaining flame stability. Freestanding wind screens, while helpful, were less effective, particularly in high winds. We found that strategically positioning the stove behind a natural windbreak—a rock or snowdrift—could provide additional protection.
Stove stability is also critical, especially on uneven terrain and in snowy conditions. Stoves with wider bases and lower centers of gravity were more stable. Liquid fuel stoves, with their adjustable legs, offered greater flexibility in leveling the stove on uneven surfaces. We observed that the Jetboil Flash, with its narrow base, was more prone to tipping over in windy conditions.
A level cooking surface is paramount. Even a slight tilt can cause pots to slide or spill, especially when dealing with hot liquids. Carrying a small, foldable platform to create a level surface can be a worthwhile precaution. It’s a small detail that can make a big difference in preventing accidents and ensuring a safe and efficient cooking experience.
Winter Stove Setup Essentials
- Windscreen - Crucial for maintaining stove efficiency and preventing fuel waste in windy conditions. Models like the Esbit Windshield are lightweight and effective.
- Level Surface - A stable, flat area is paramount for safe stove operation, especially on snow or uneven terrain. Consider a small platform or digging a level spot.
- Pot Stand - Necessary for supporting cookware over multi-fuel stoves that don't have integrated pot supports. The MSR Pot Support is a durable option.
- Extra Fuel - Always carry more fuel than you anticipate needing. Cold temperatures increase fuel consumption. White gas, kerosene, or isobutane/propane blends are common choices depending on your stove.
- Waterproof Matches/Lighter - Reliable ignition is critical. Store matches in a waterproof container (like those from UCO) or use a waterproof lighter.
- Stove Repair Kit - A small kit with spare parts (o-rings, nozzles, a cleaning needle) can save your trip. Many manufacturers, such as Primus, offer dedicated repair kits for their stoves.
- Fuel Line/Hose Inspection - Before each use, carefully check the fuel line for cracks or damage, especially in cold weather where materials become brittle. Replacement lines are available from most stove manufacturers.


No comments yet. Be the first to share your thoughts!